
Typically, you’d use the Console tab on Proxmox’s UI to manage your Home Assistant server. But have you ever wanted to flip the (metaphorical) script by overseeing your Proxmox Virtual Environment’s operations from your HASS server? For tinkerers who find this wacky idea intriguing, here’s a detailed guide on how you can control your Proxmox workstation from your Home Assistant hub.

From the title alone, you may have guessed that a Proxmox server and a Home Assistant instance are the centerpieces of the project, and you’re free to virtualize the latter inside your PVE war machine. Speaking of, there are a couple of ways to deploy HASS on Proxmox, but I suggest ditching the container route and going with a virtual machine for your Home Assistant hub. You could technically set up the necessary HACS add-on regardless of your virtual guest, but VMs make the installation process a lot simpler.
Configuring the HACS integration in Home Assistant
Once you’ve got a Proxmox server and an HASS instance up and running, it’s time to arm the latter with Home Assistant Community Store. To do so,
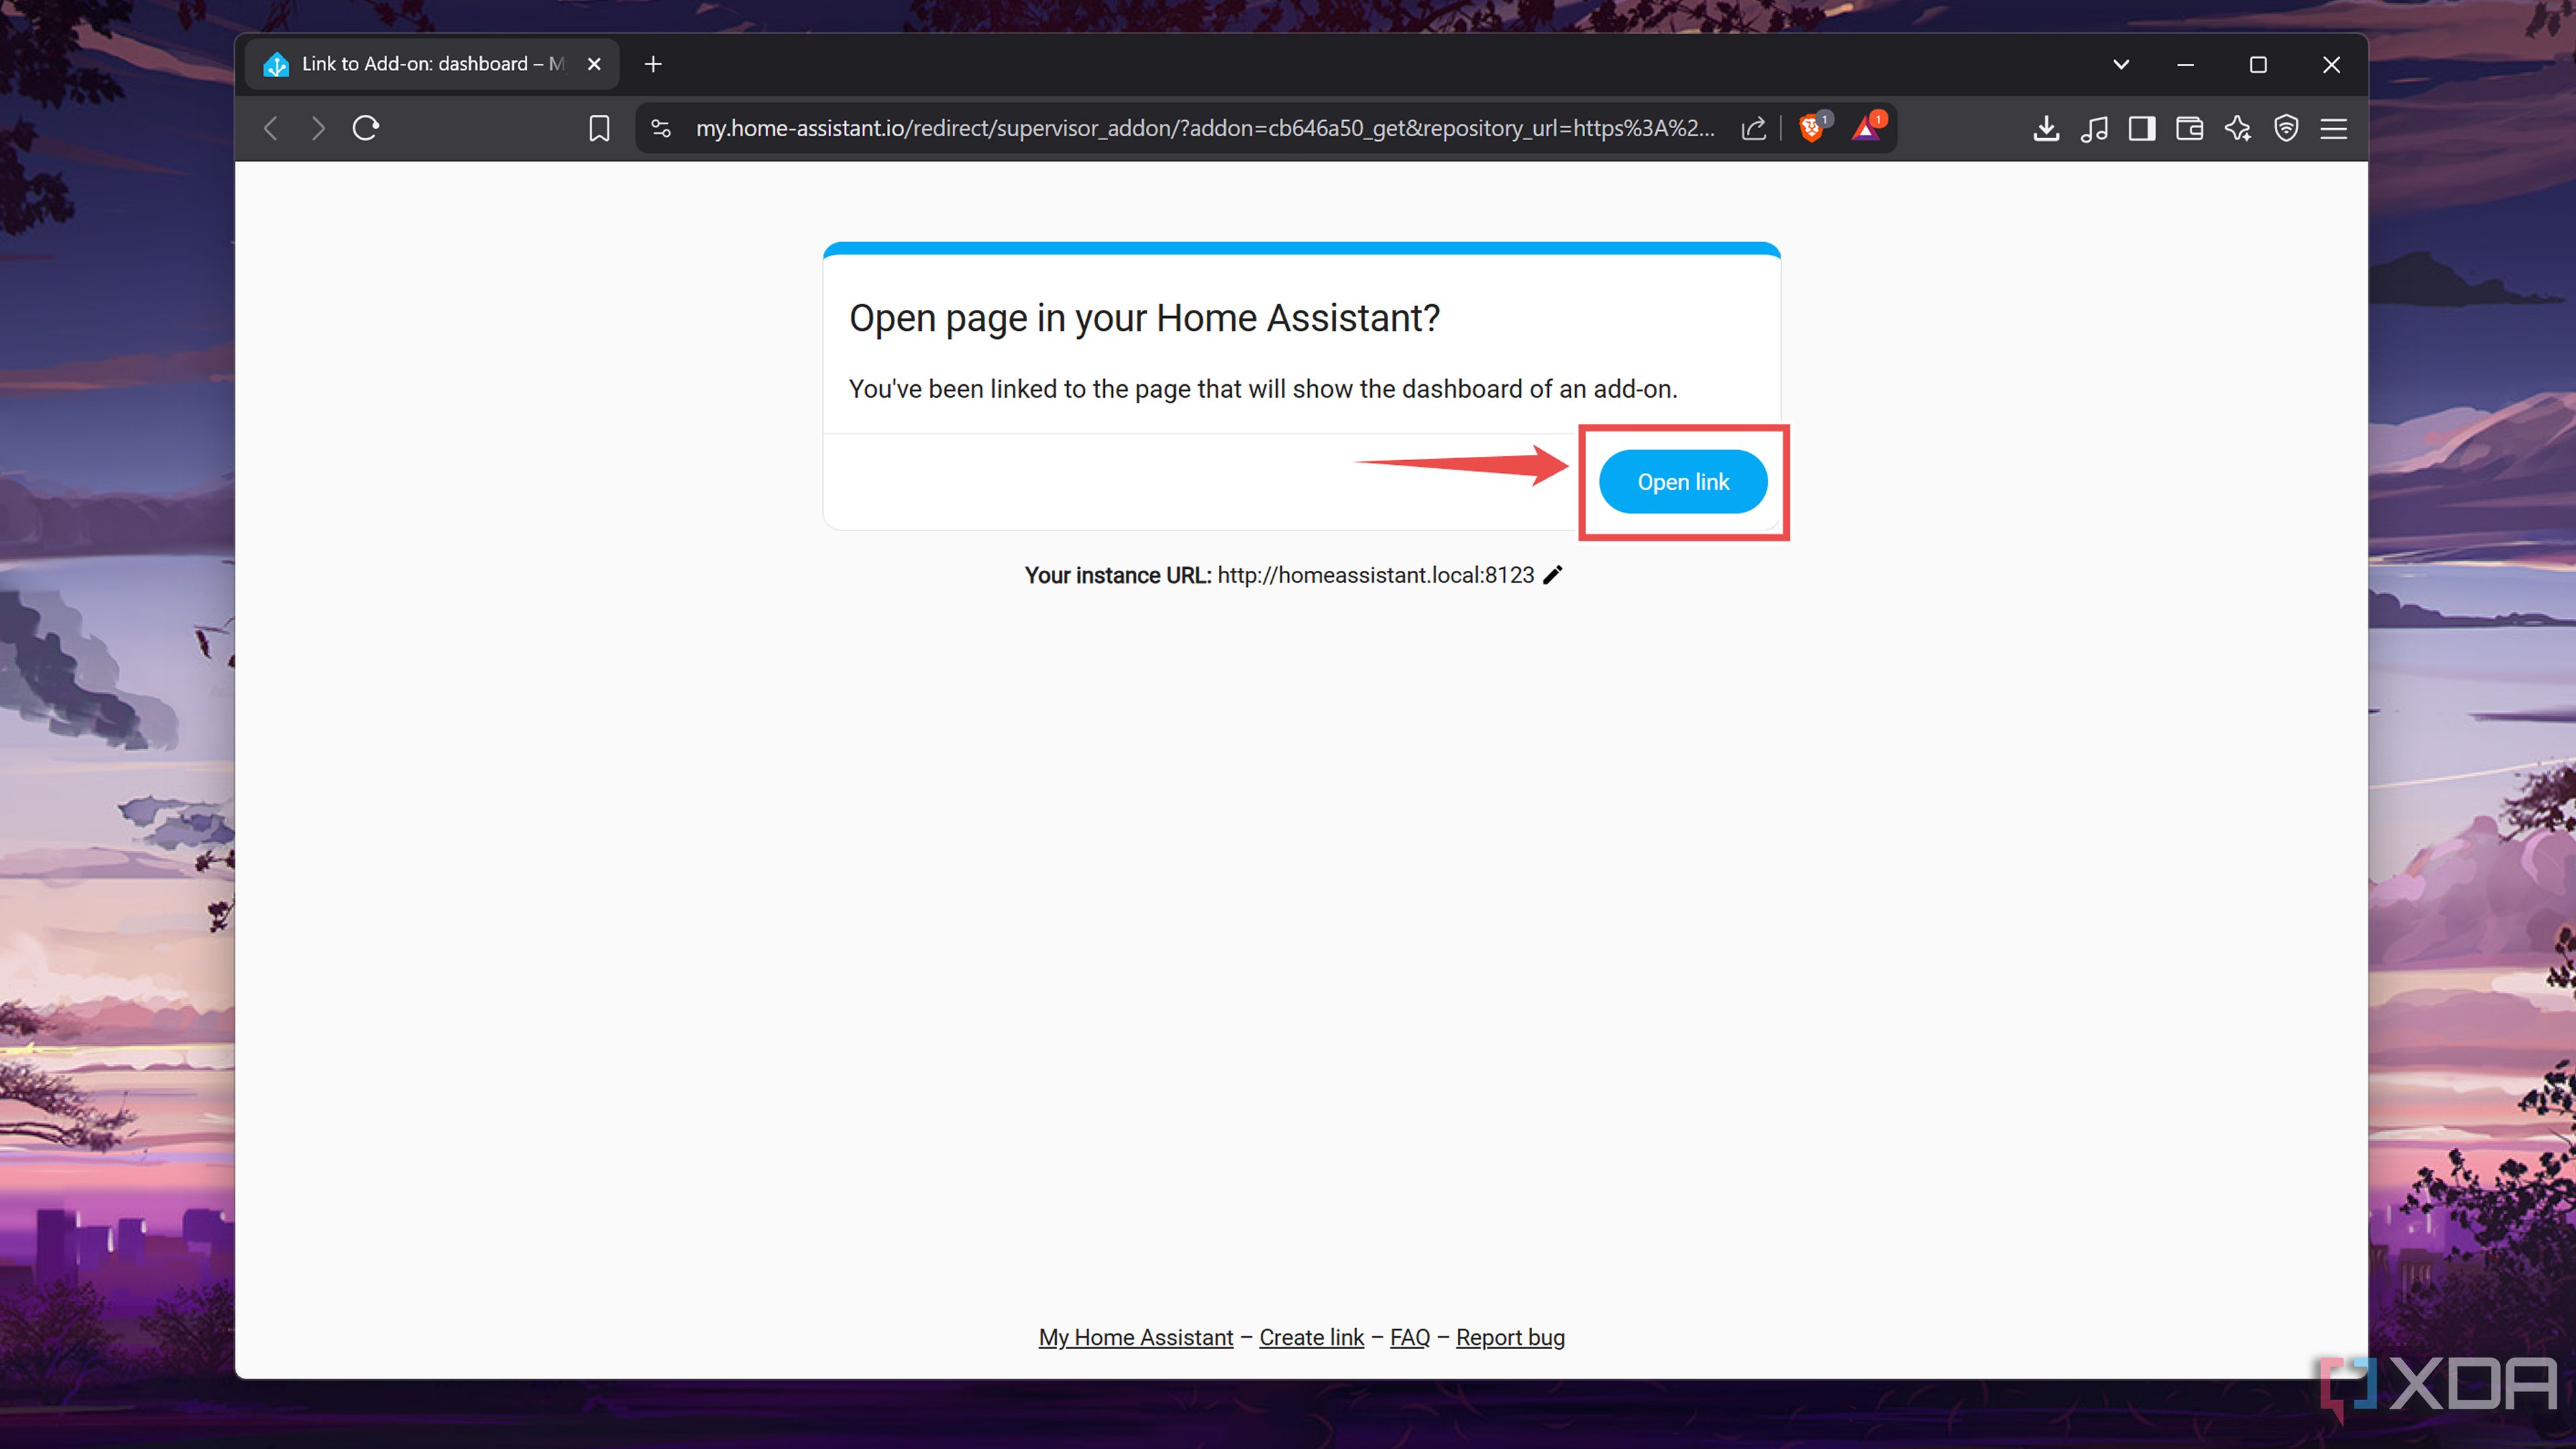
- Head to the official HACS page, click on my link, and tap Open Link�to add the Get HACS�add-on to your Home Assistant instance.
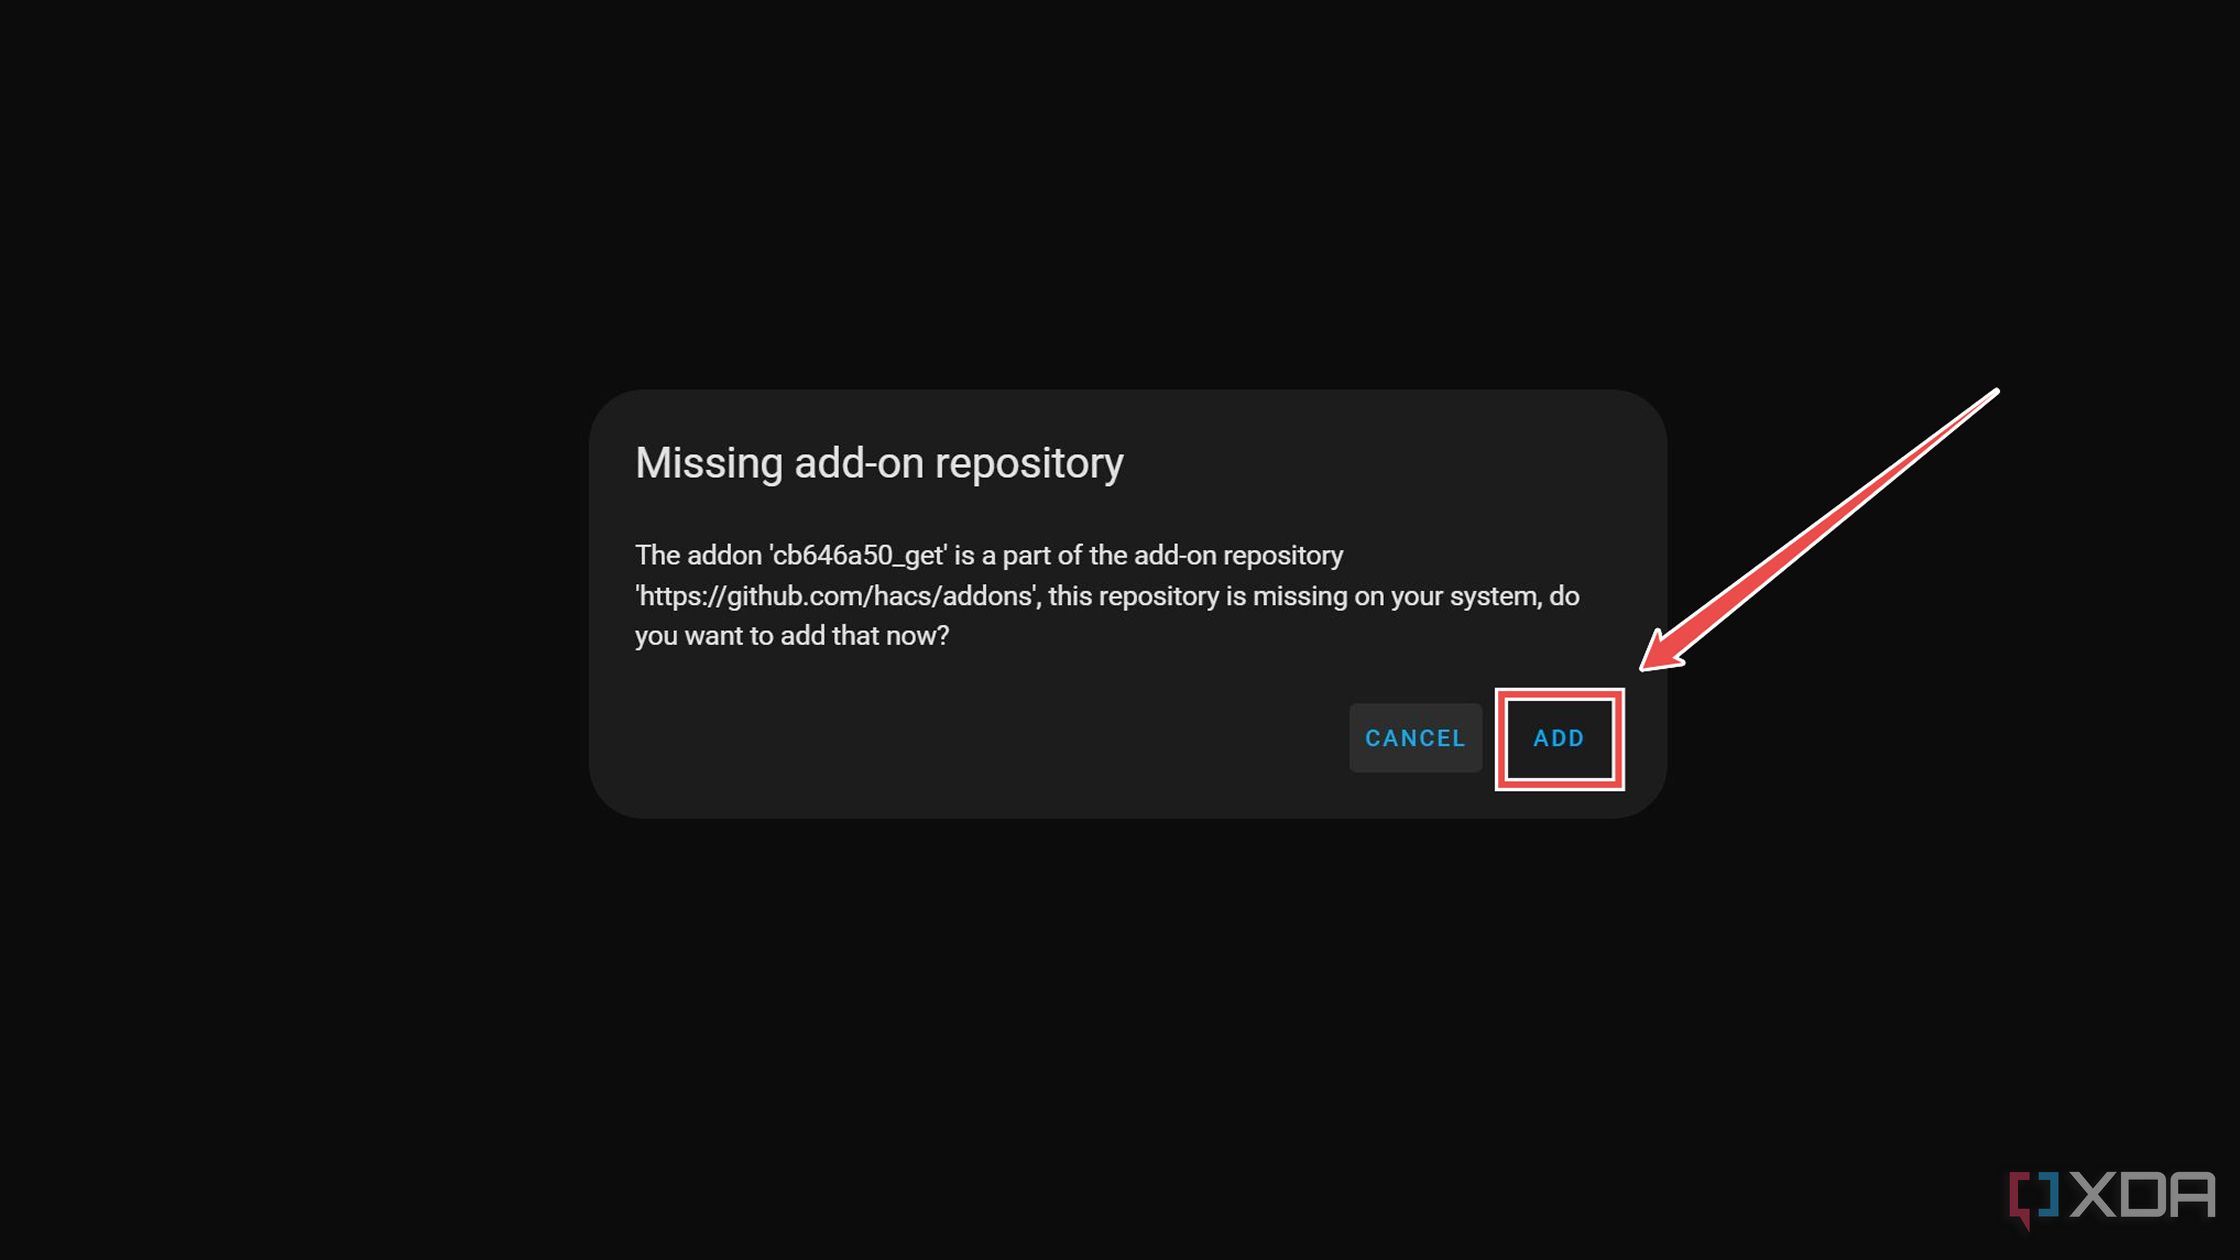
- Tap Add when the browser displays the Missing add-on repository pop-up.
- Press the Install button before tapping Start.
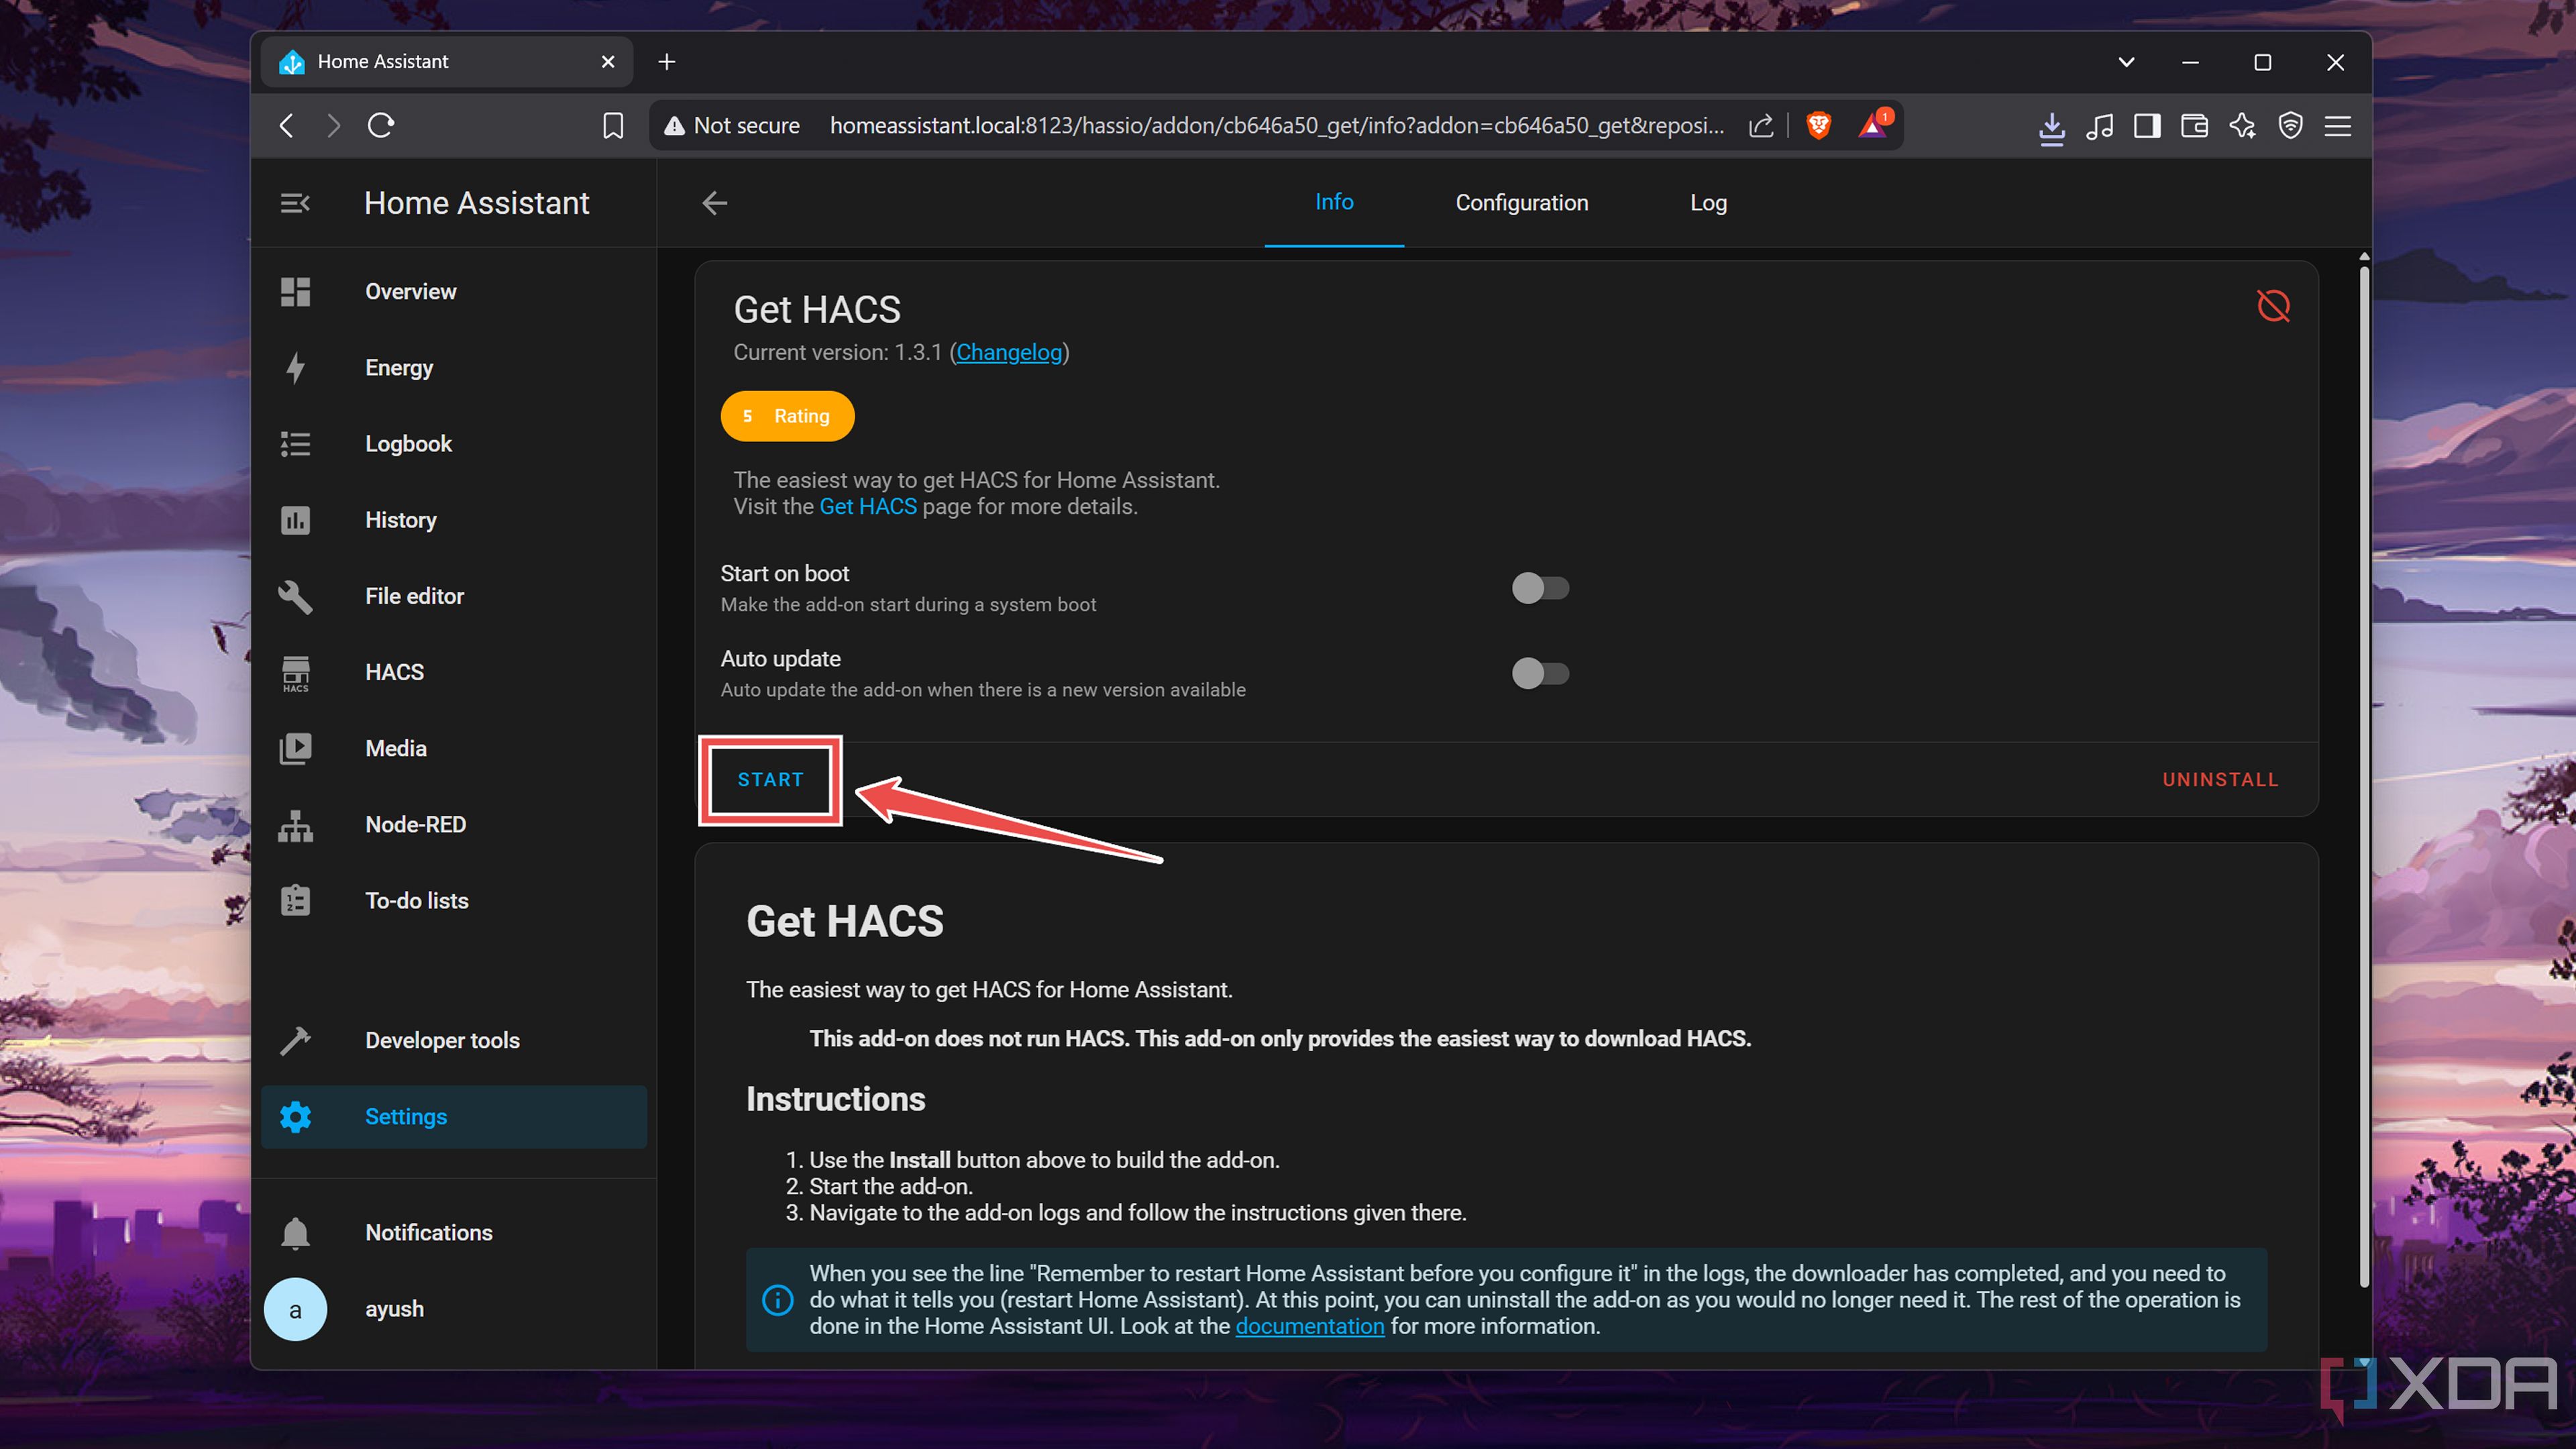
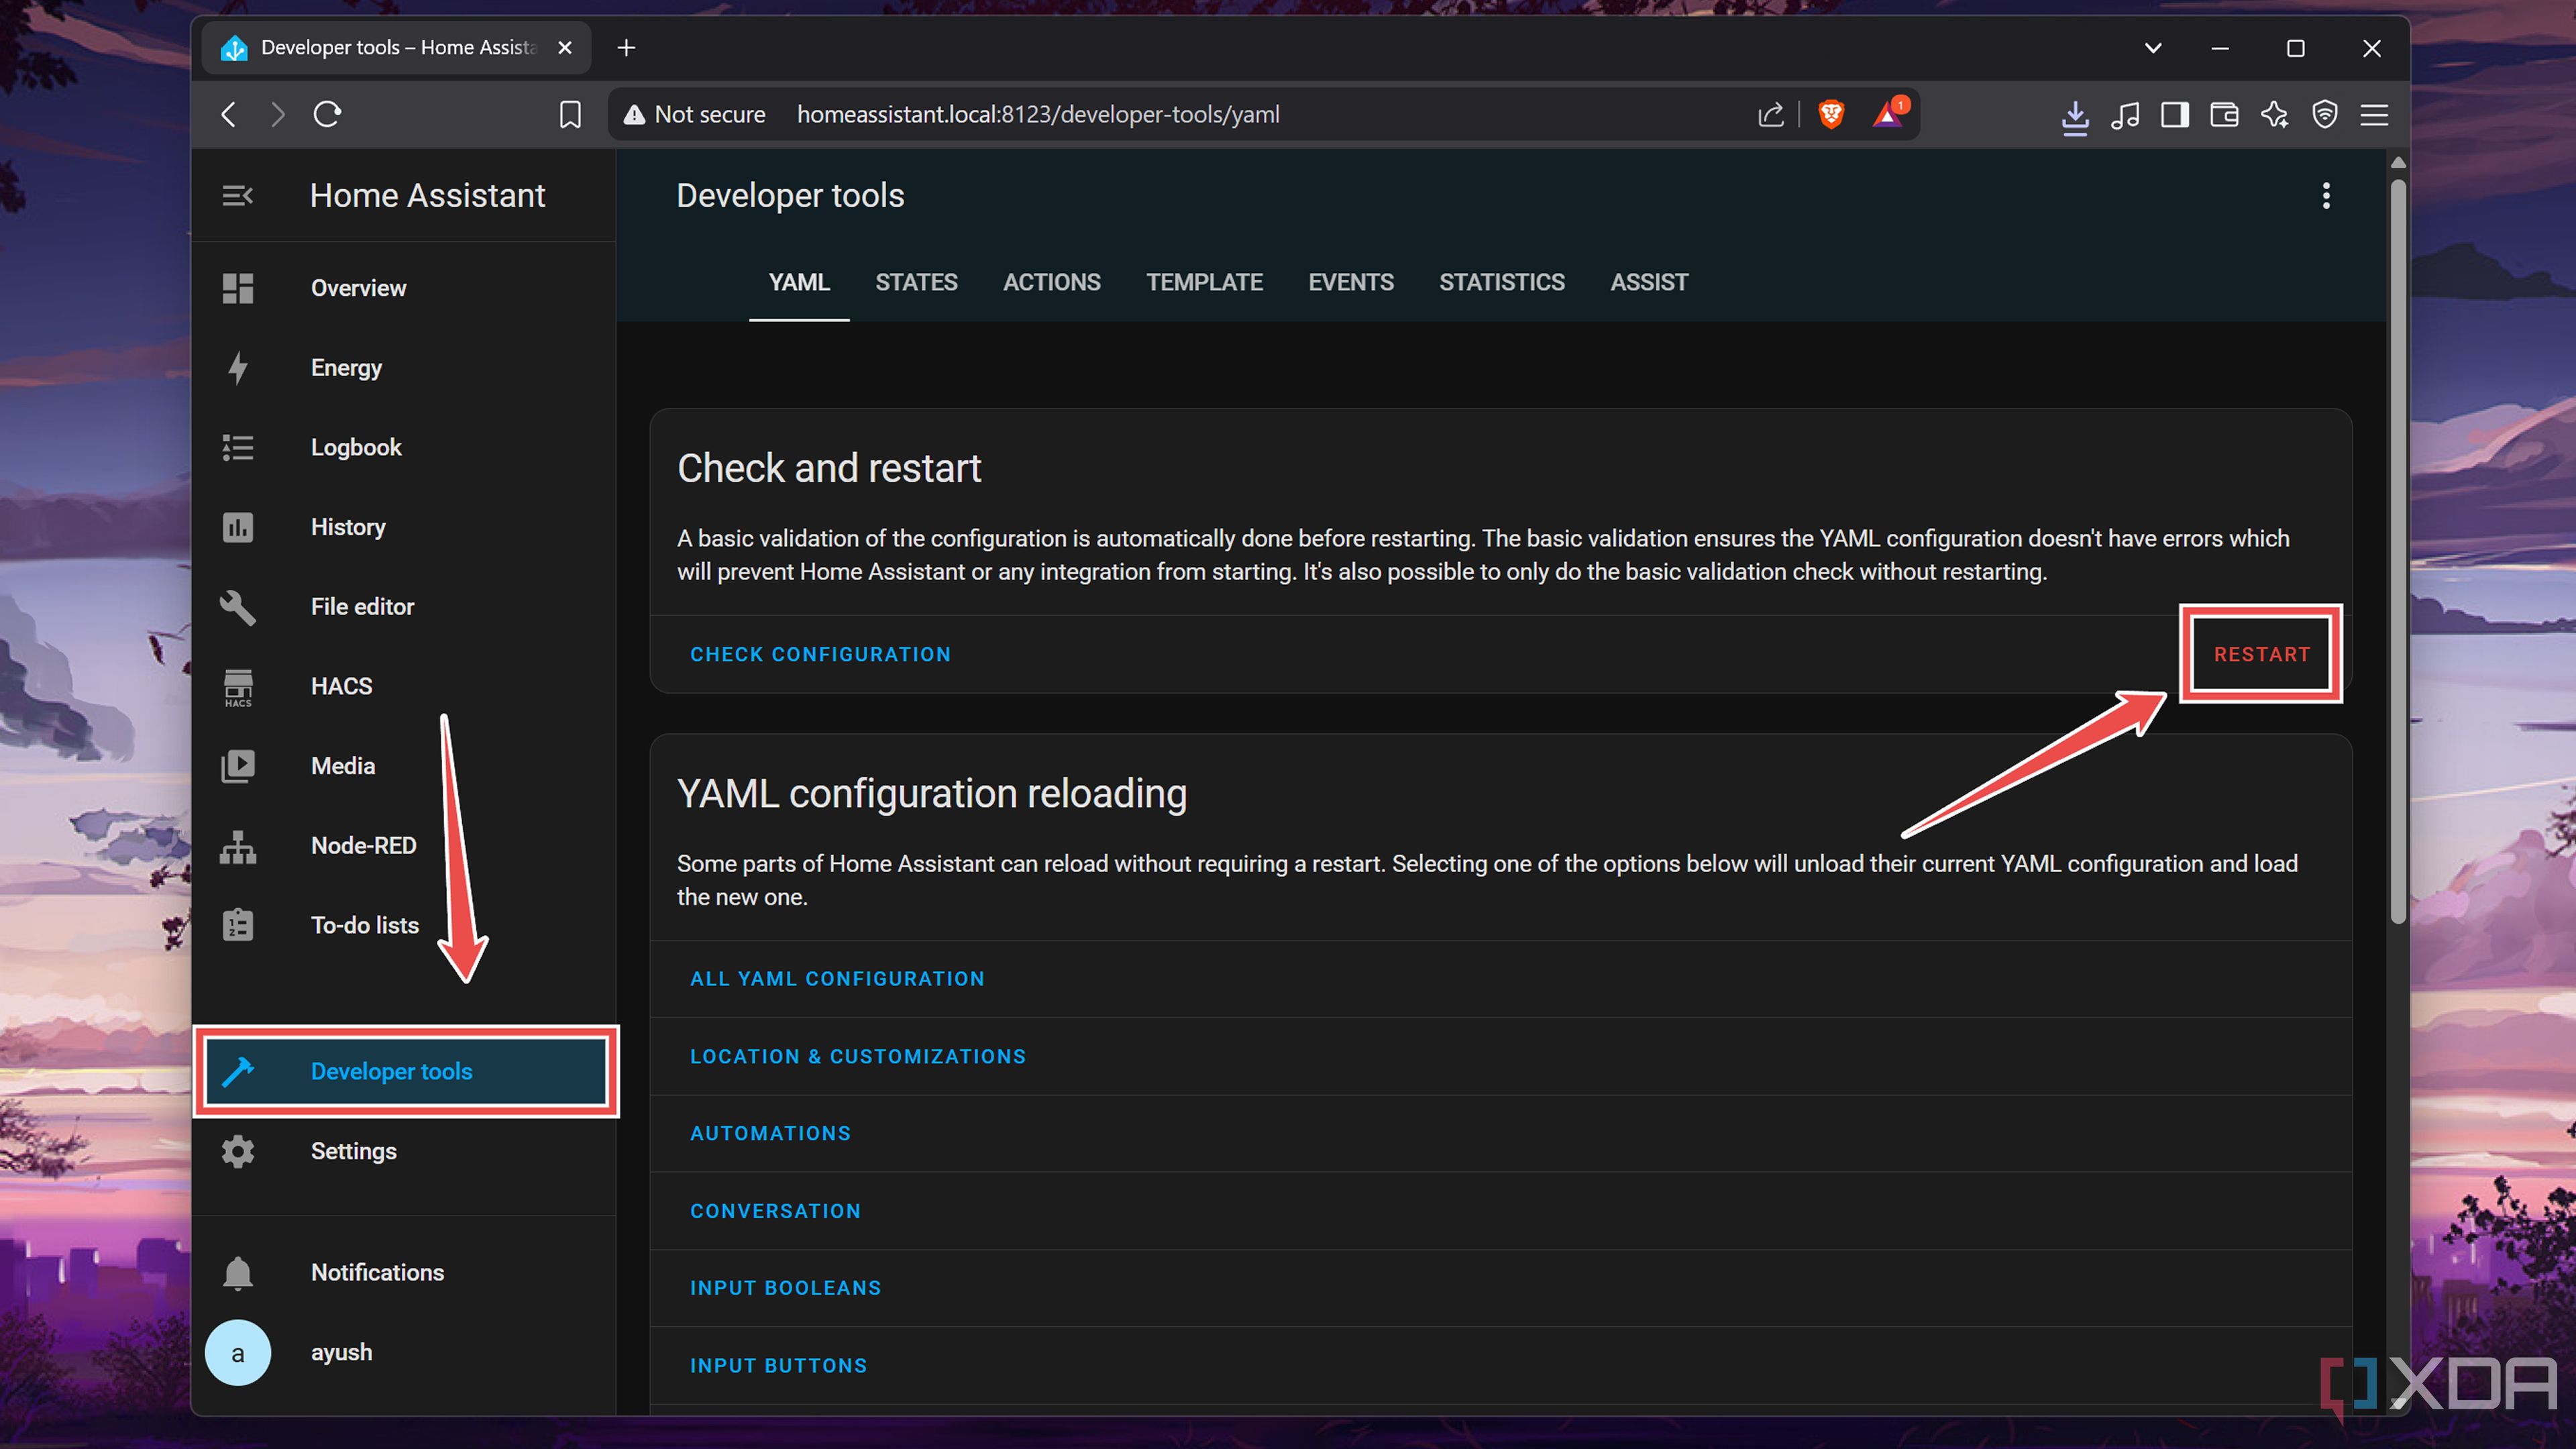
- The add-on will automatically stop once it has installed HACS, and that’s your cue to reboot your HASS instance by heading to the Developer Tools section and pressing the Restart button.
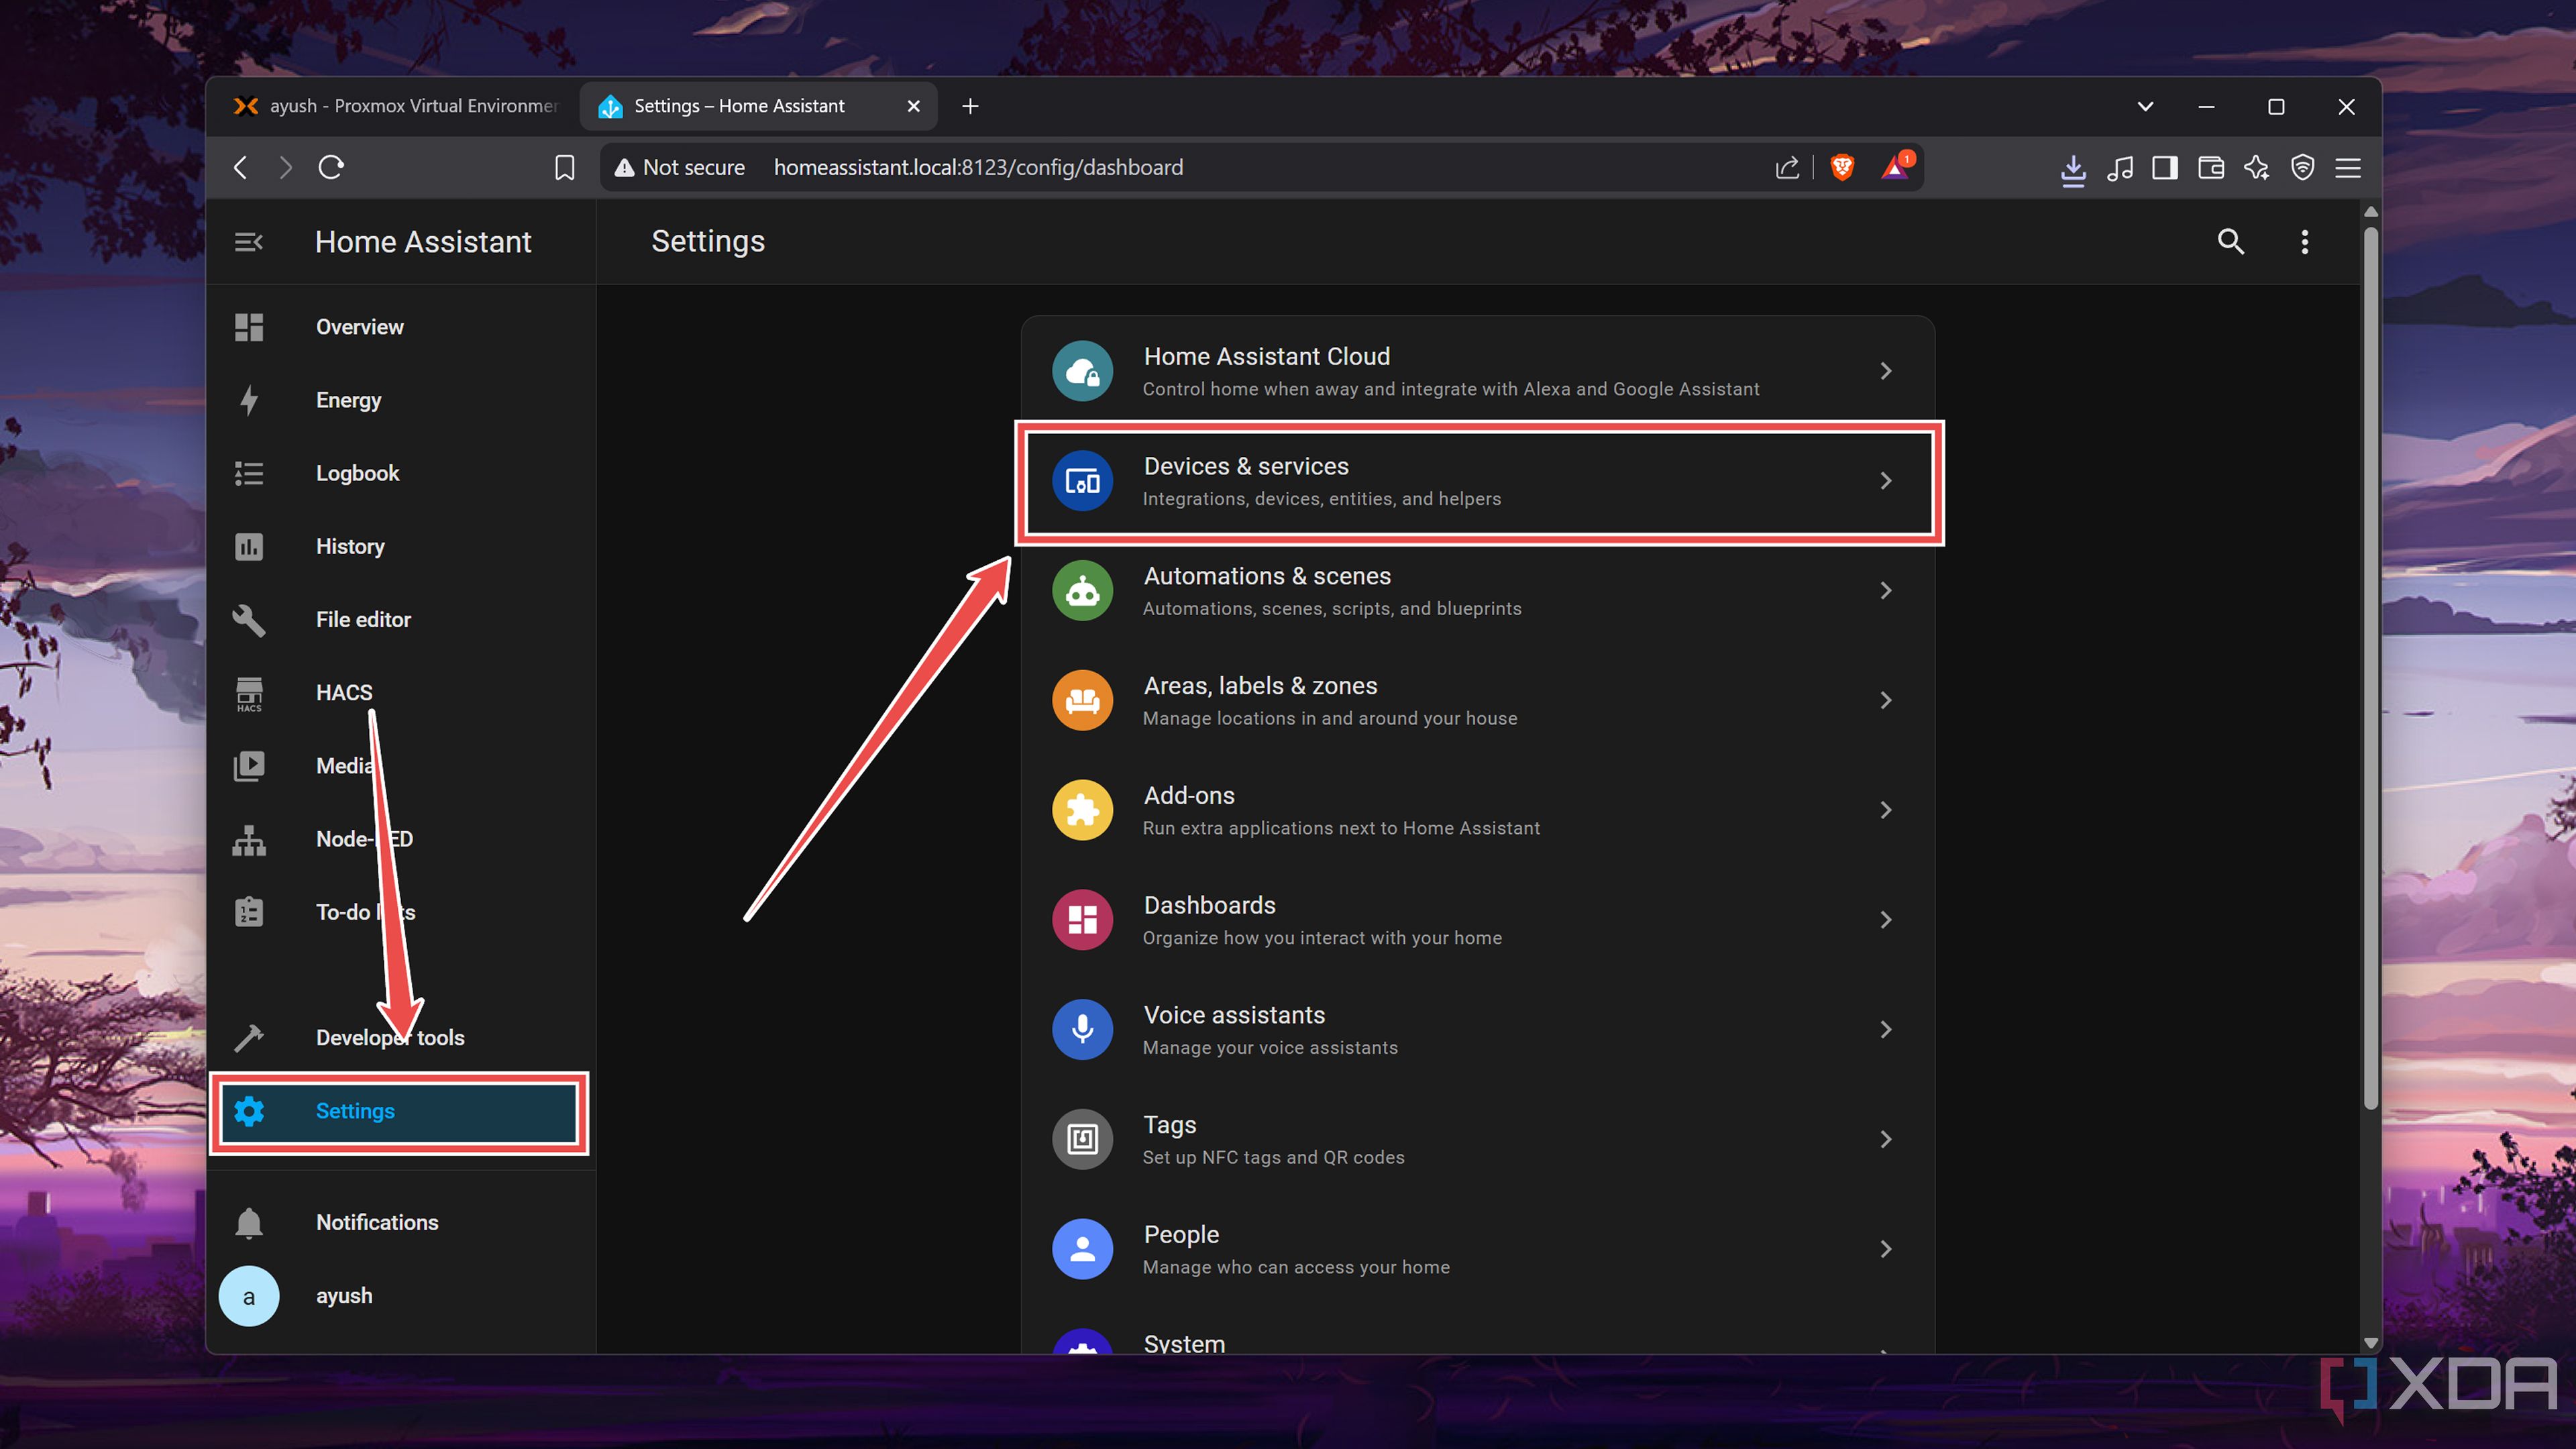
- When your Home Assistant virtual machine restarts, navigate to the Settings�tab and select Devices & services.
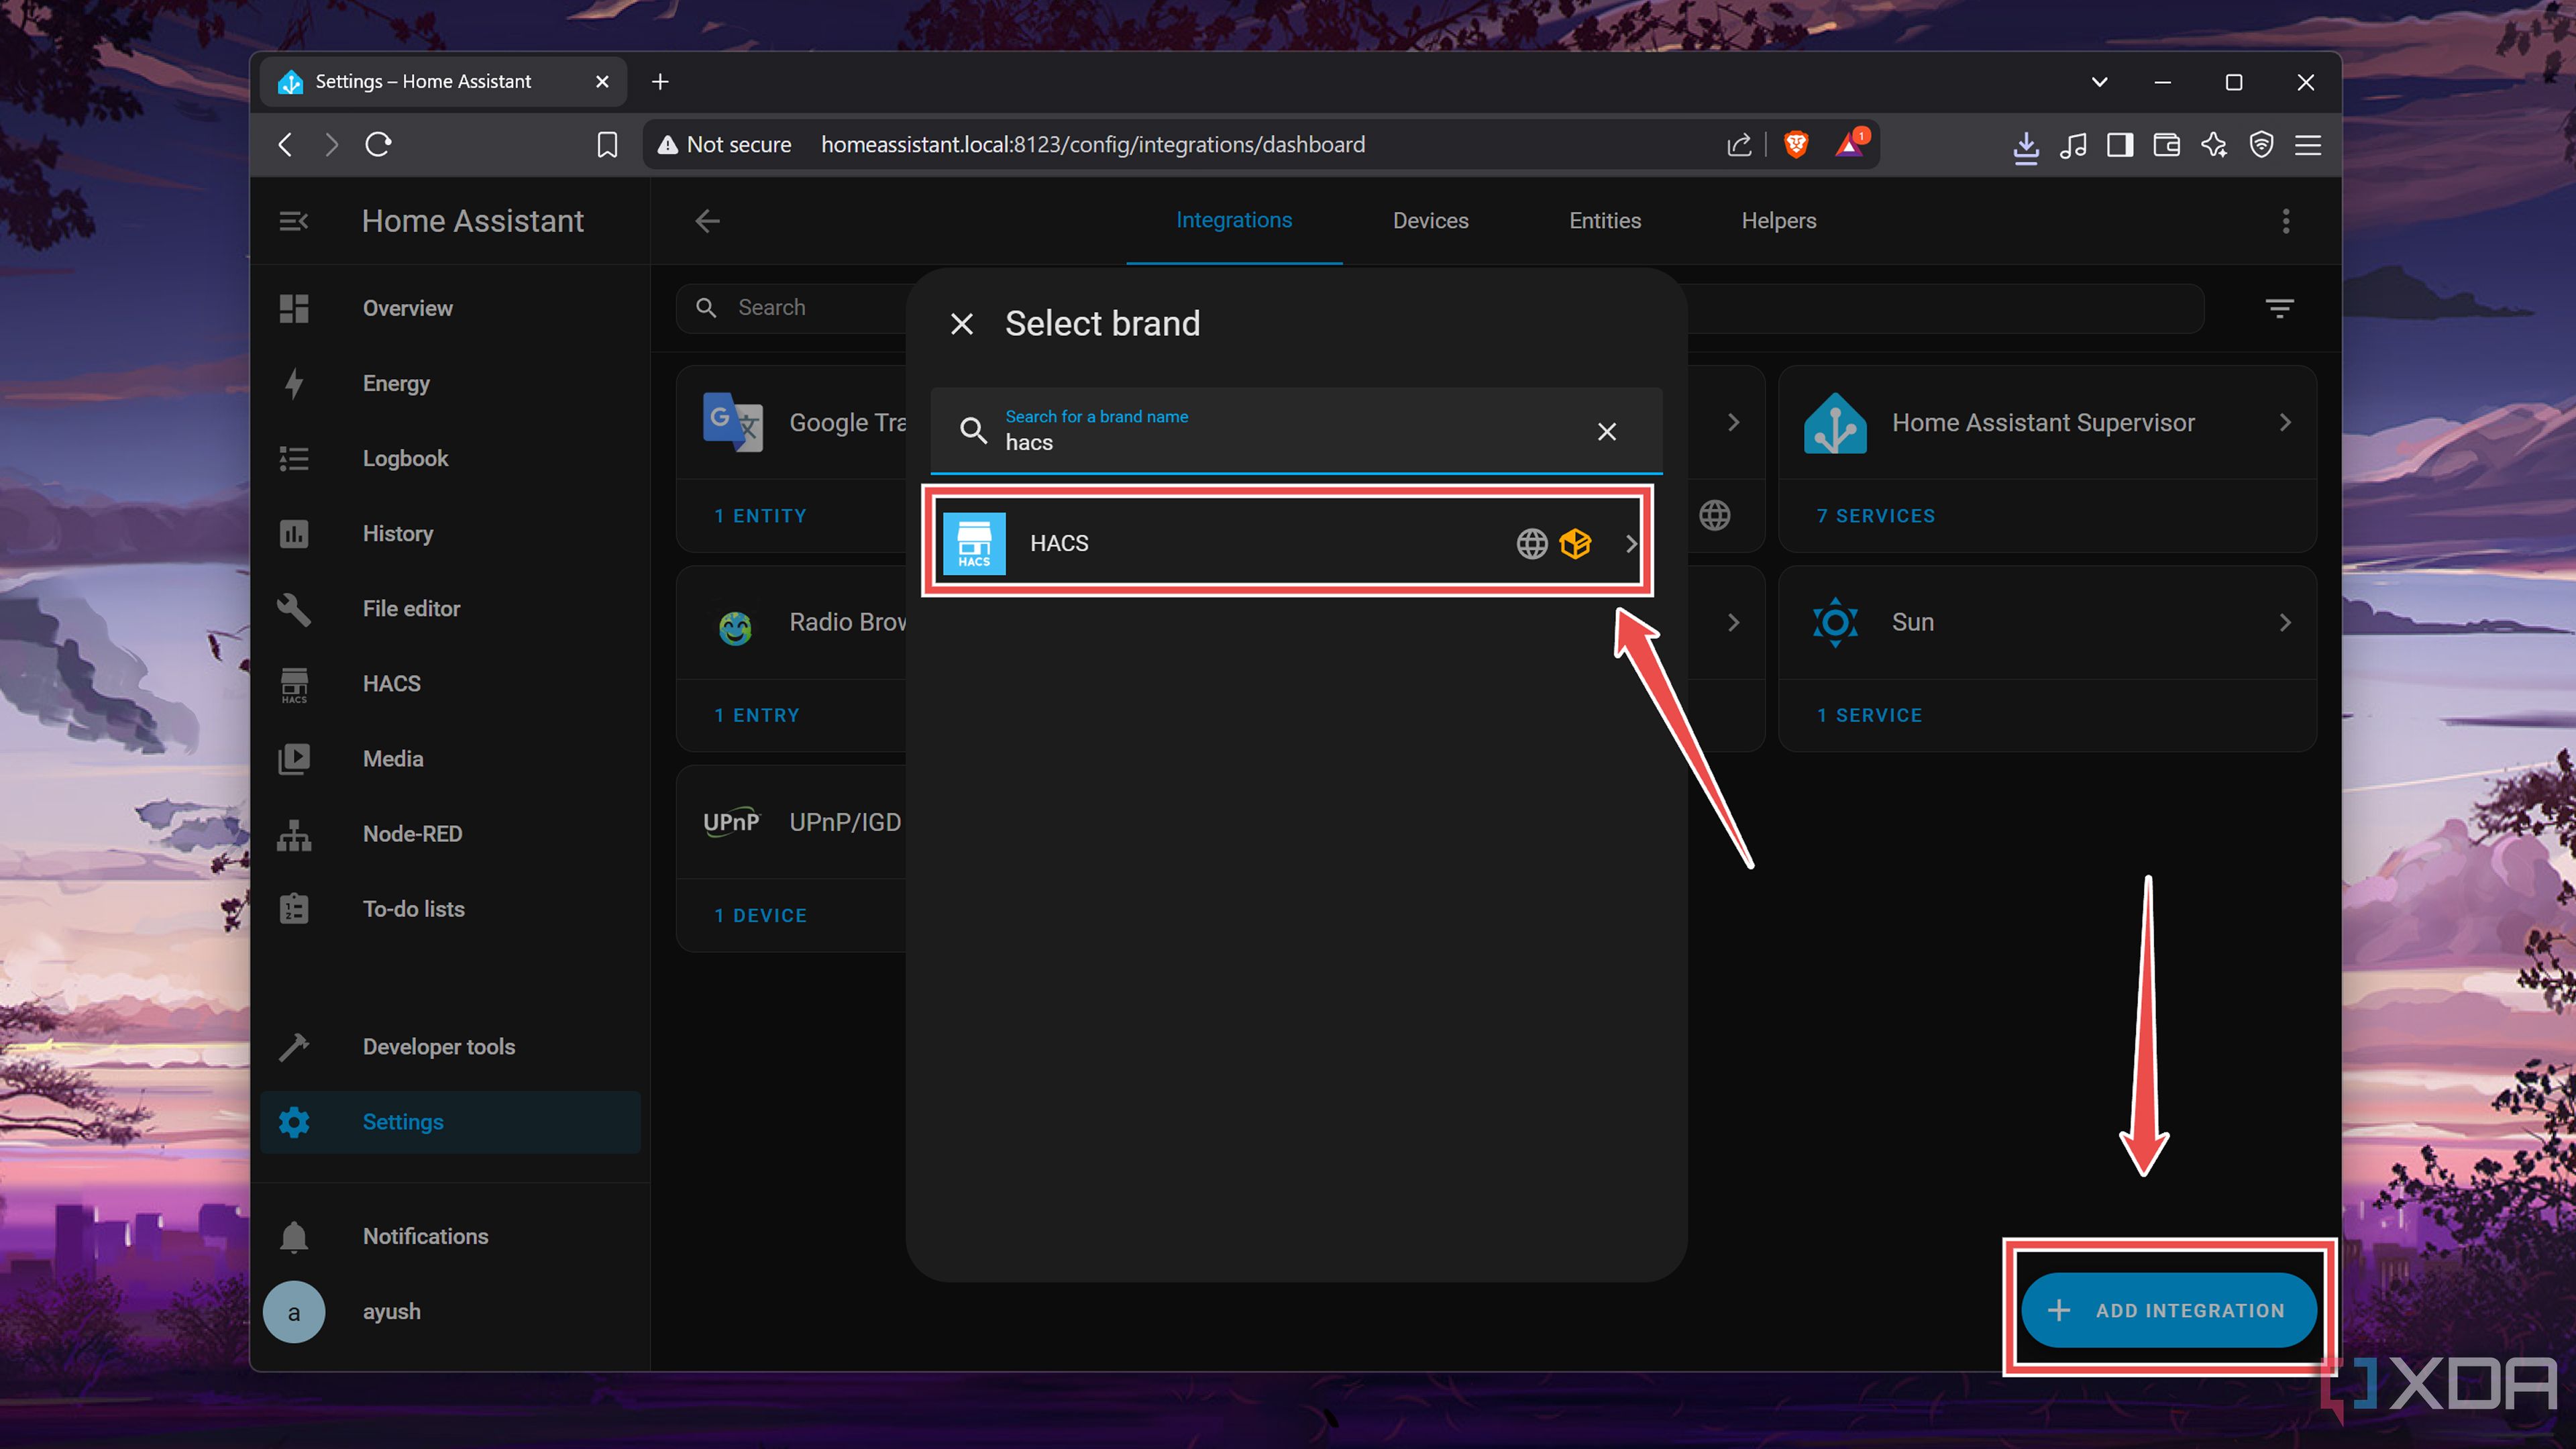
- Click on the Add Integration button and choose HACS.
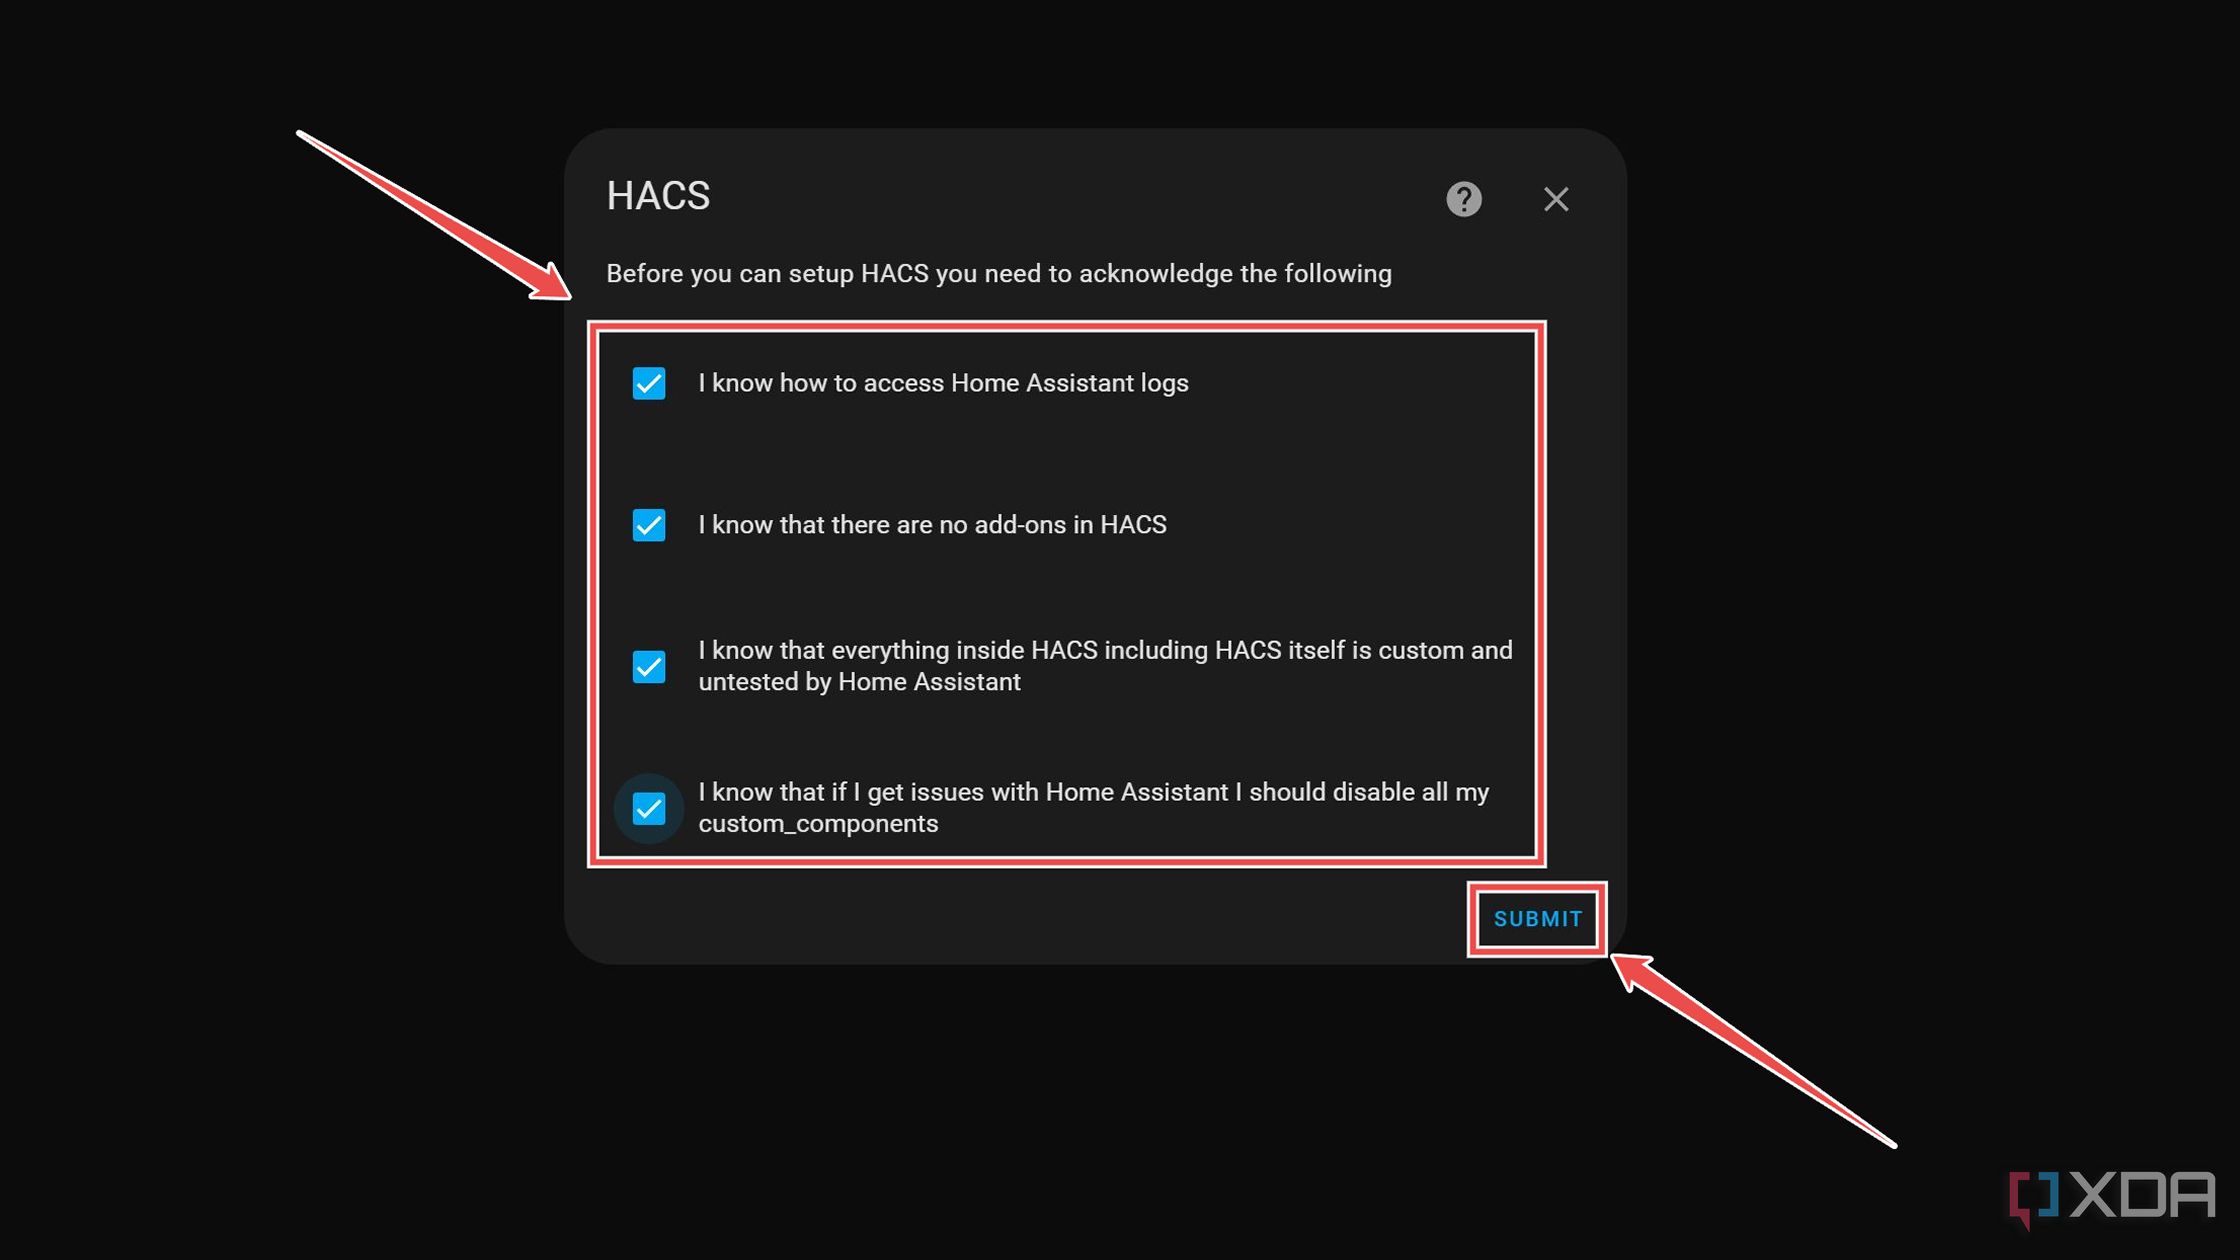
- Agree to the Acknowledgments and tap Submit.
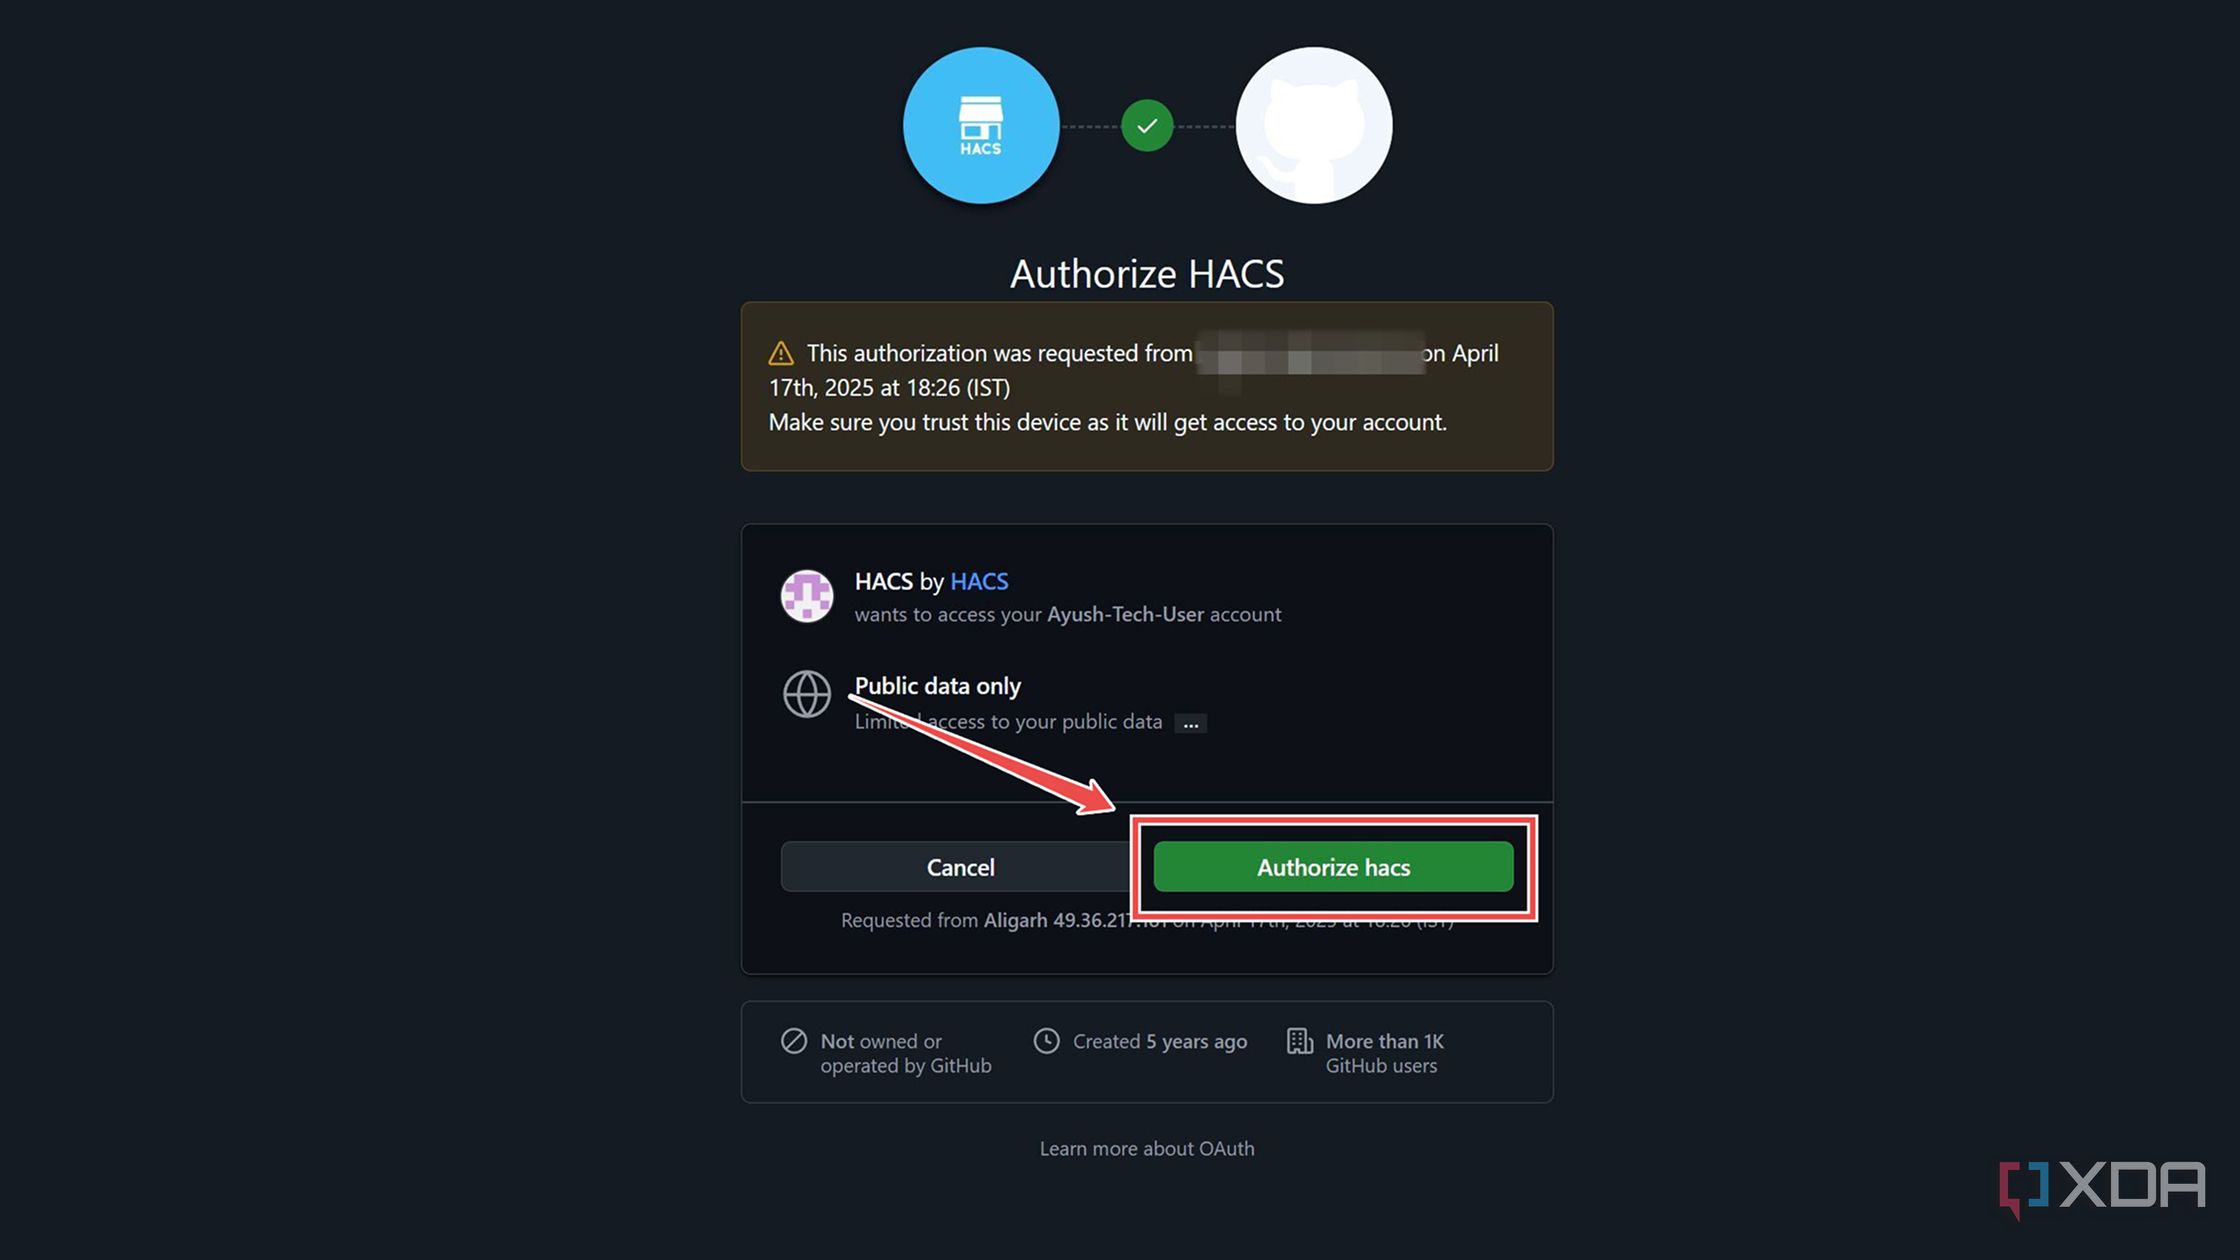
- Enter your GitHub account details when prompted by HACS and click on the Authorize hacs button to grant it access to your account.


Setting up the Proxmox integration on Home Assistant
Now that you’ve installed HACS on your Home Assistant server, you can use it to configure the Proxmox VE integration.
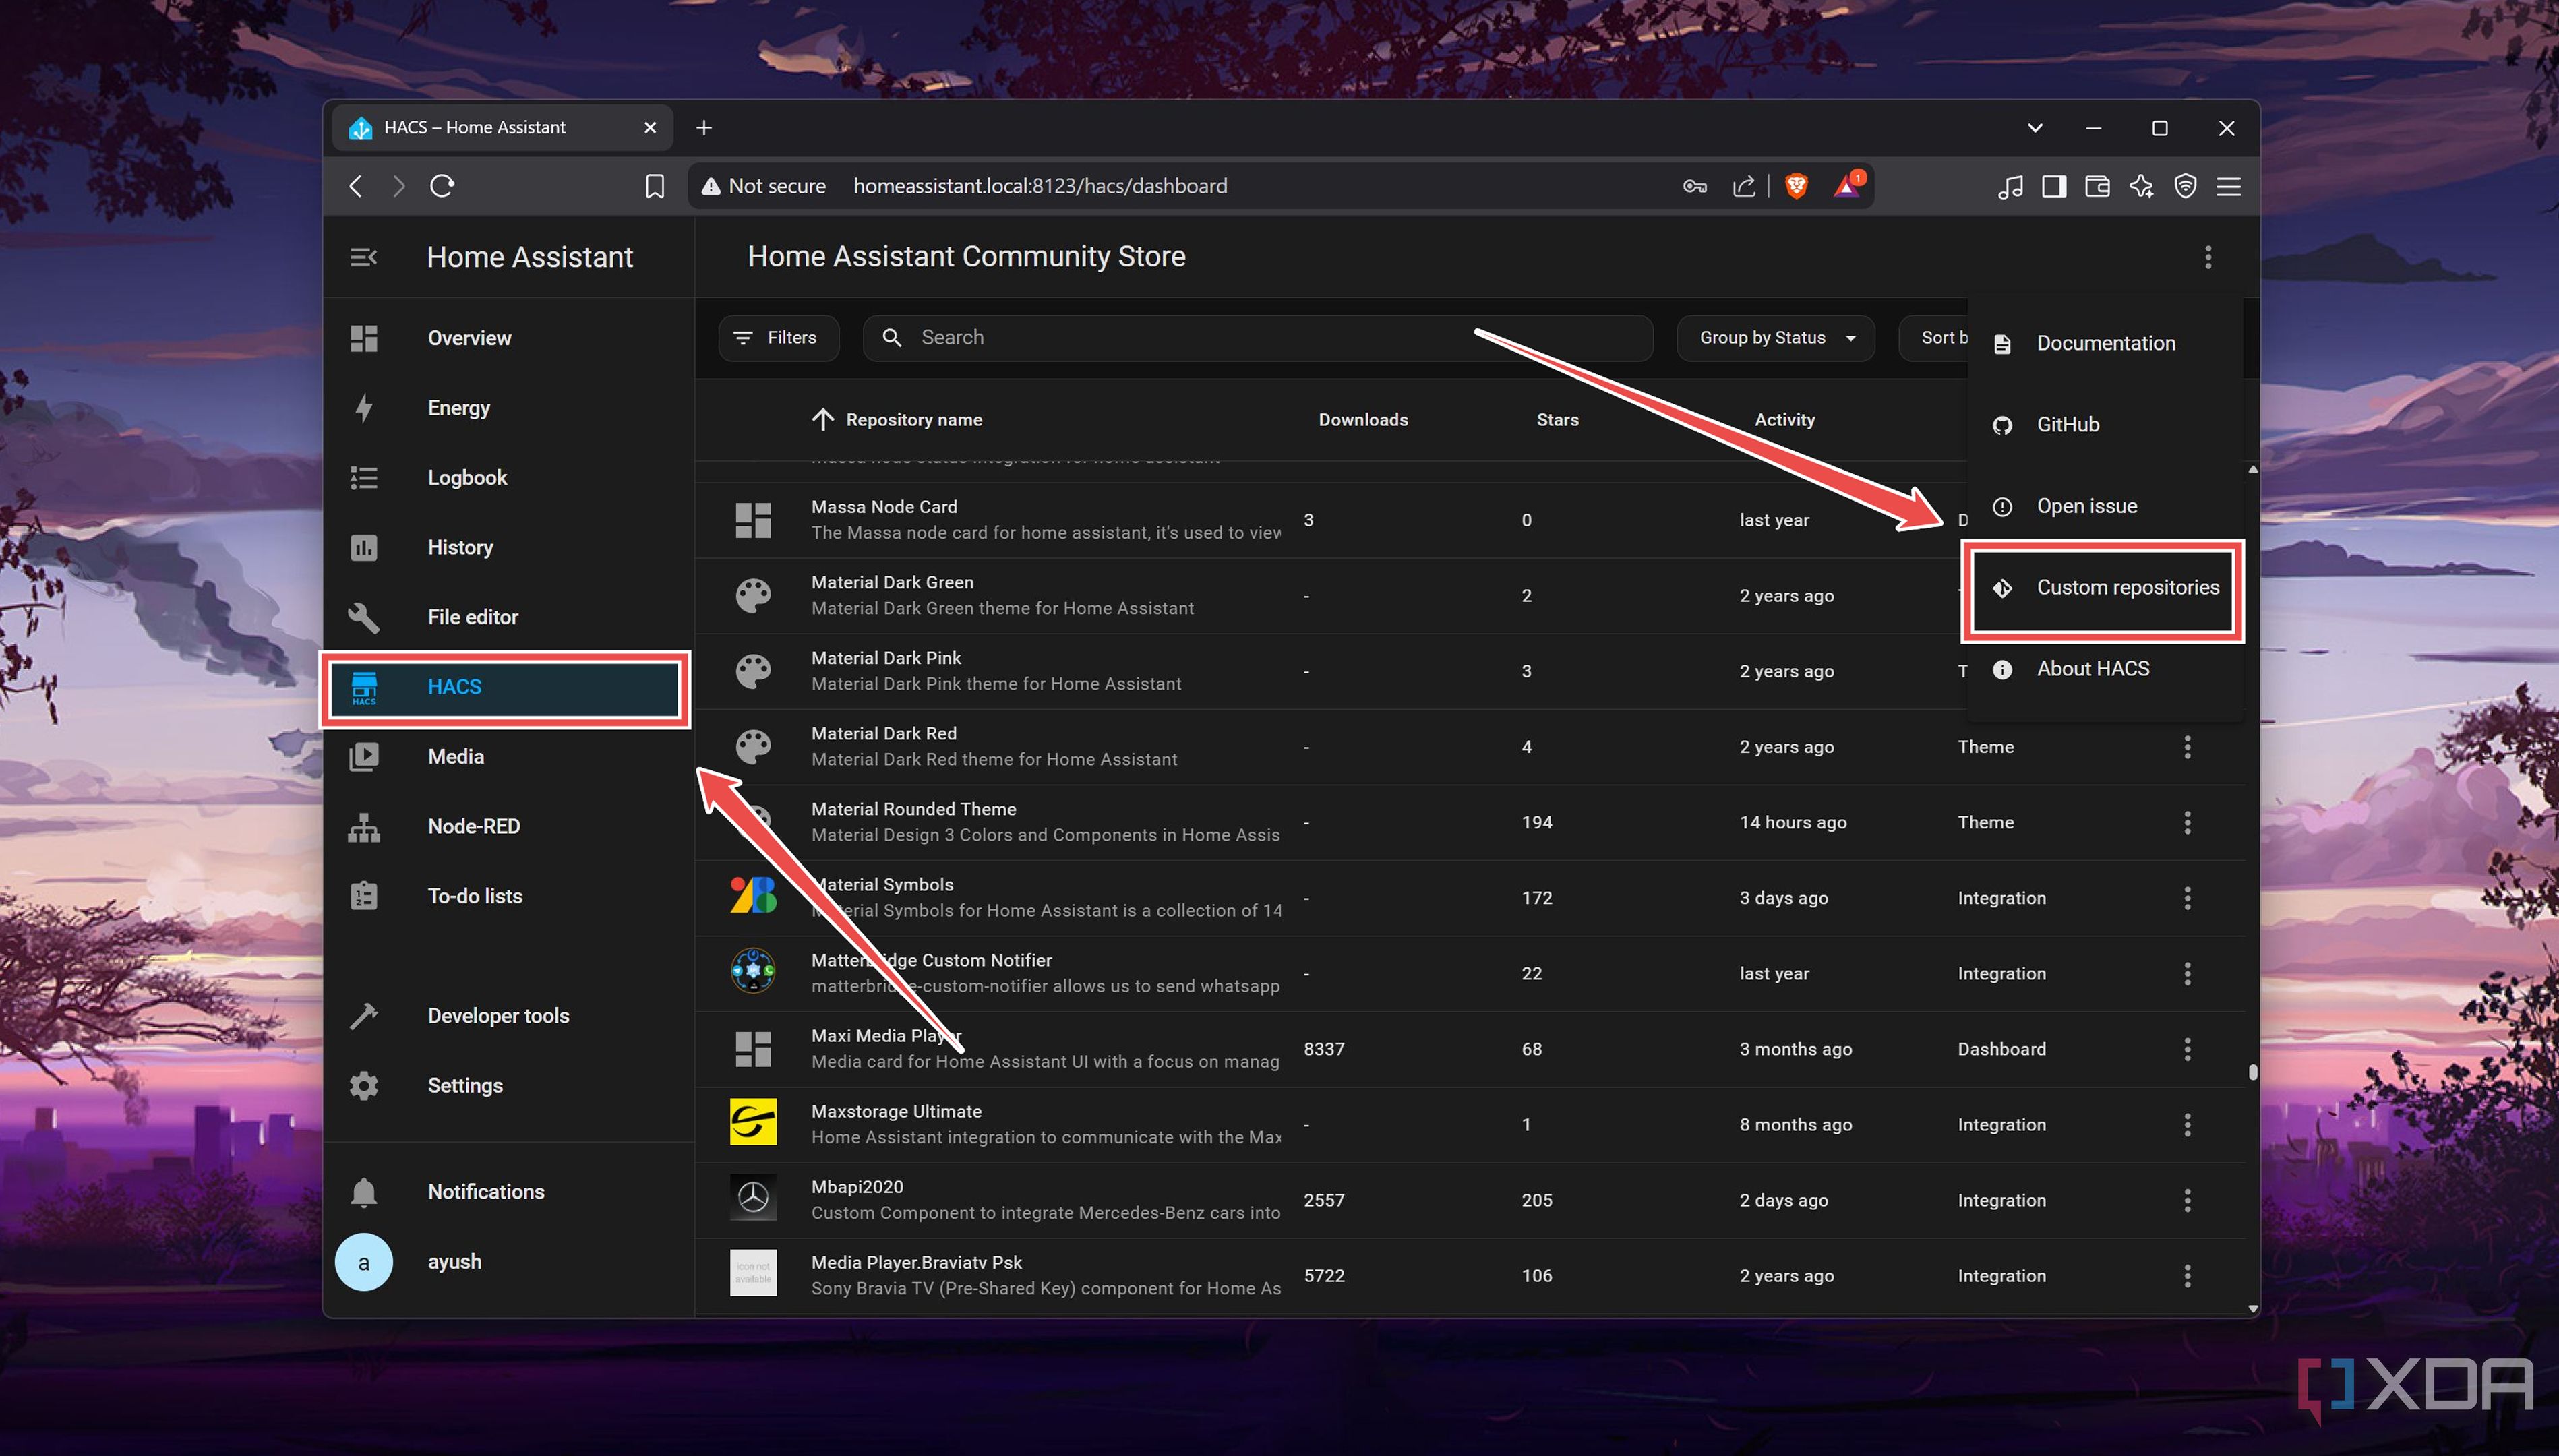
- Navigate to the HACS tab, tap the menu button (:) in the top right corner of the window, and select Custom repositories.
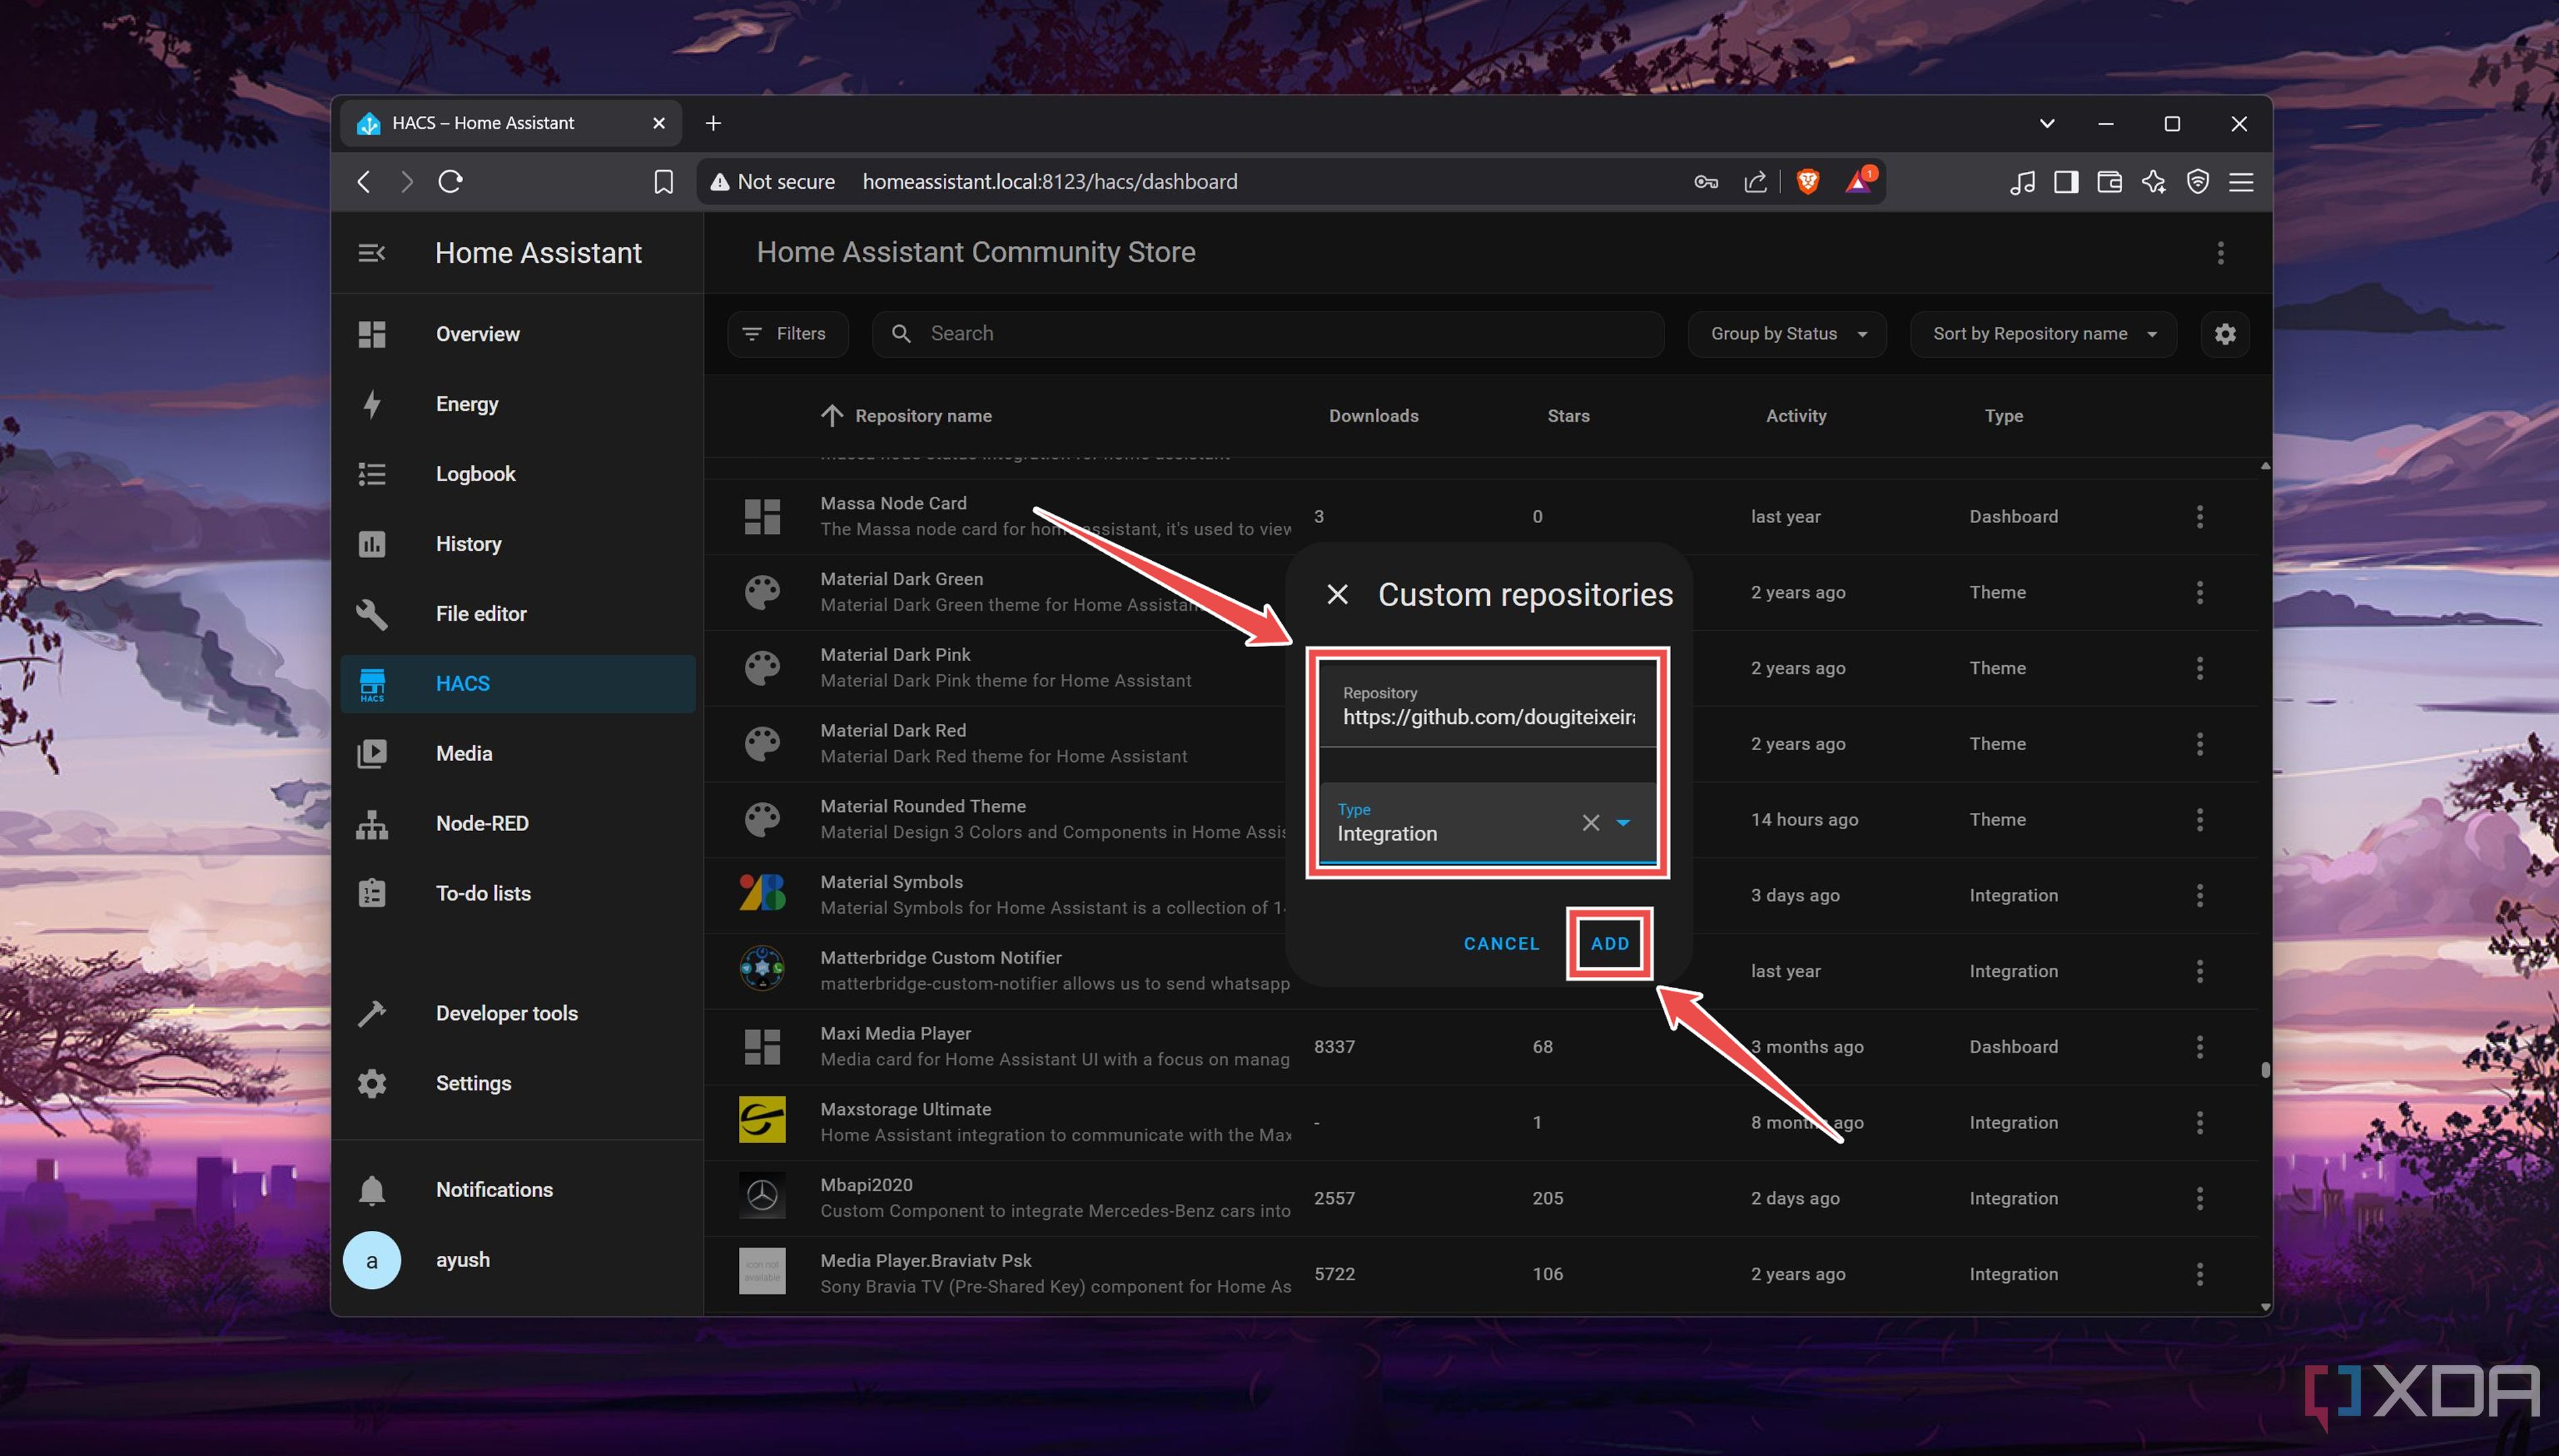
- Enter the following URL�into the Repository bar, set Integration as the Type, and hit Add.
https://github.com/dougiteixeira/proxmoxve
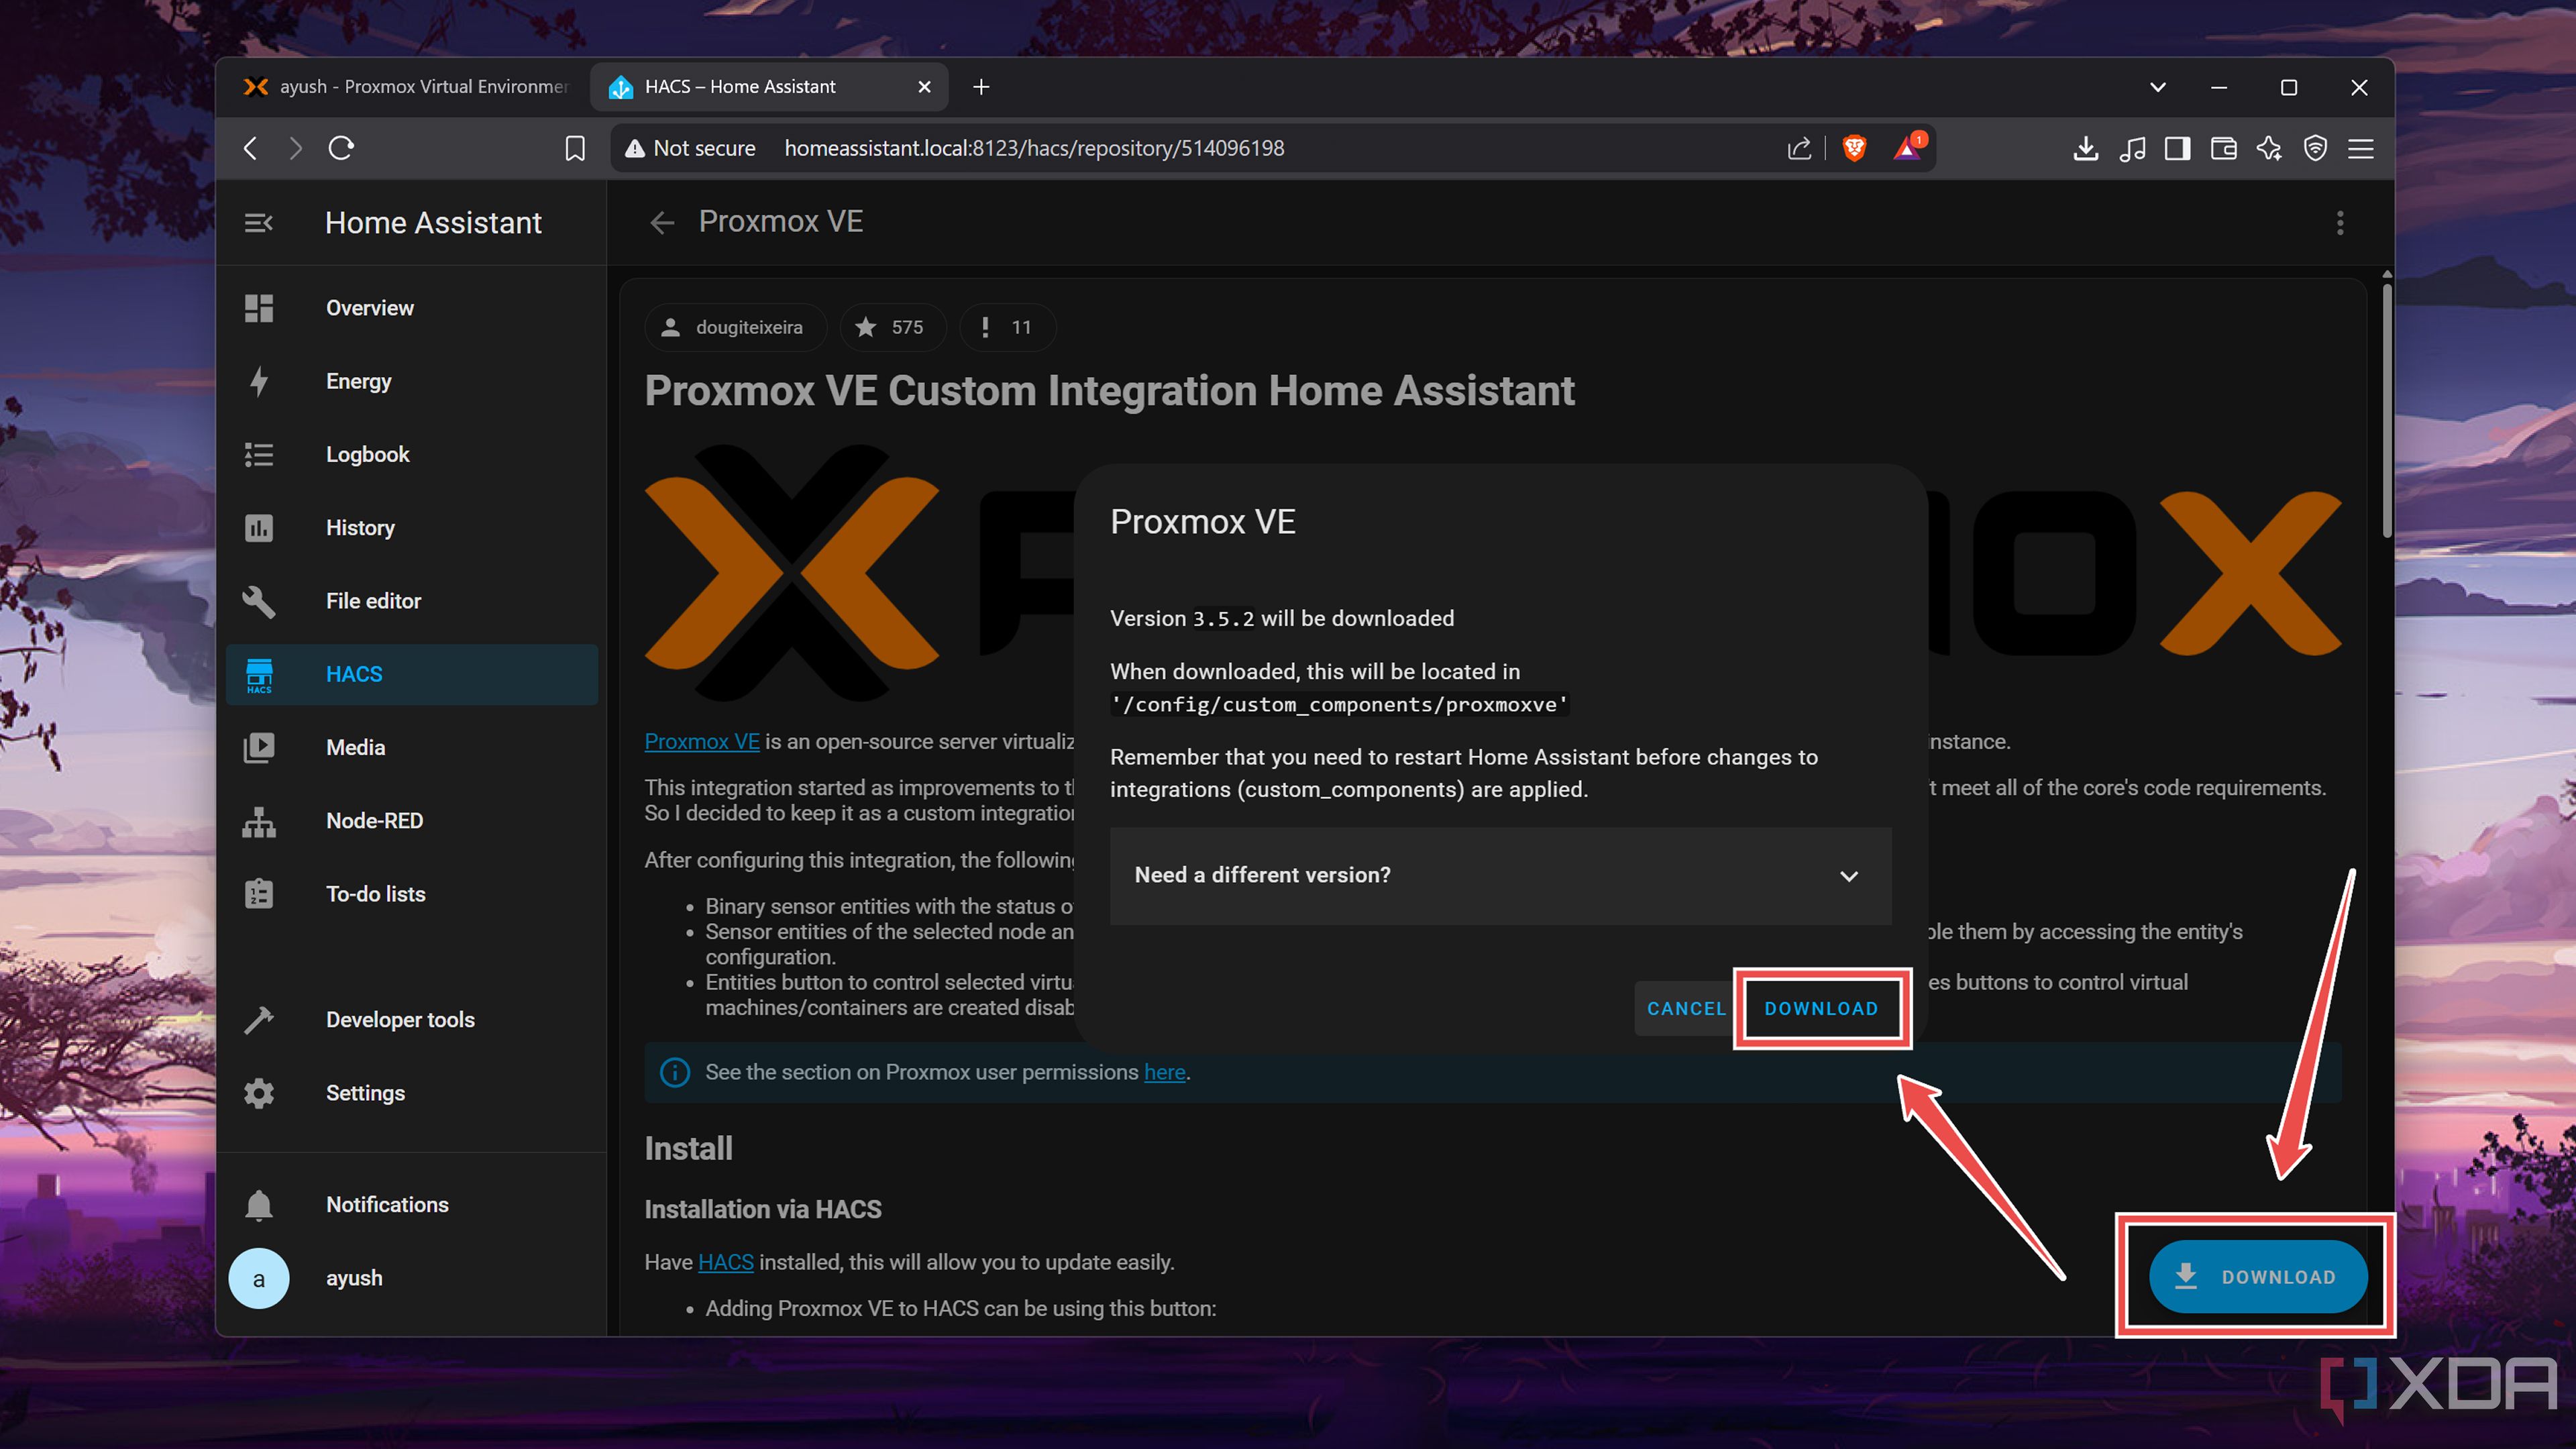
- Find the Proxmox VE�integration using the Search Bar and click on it.
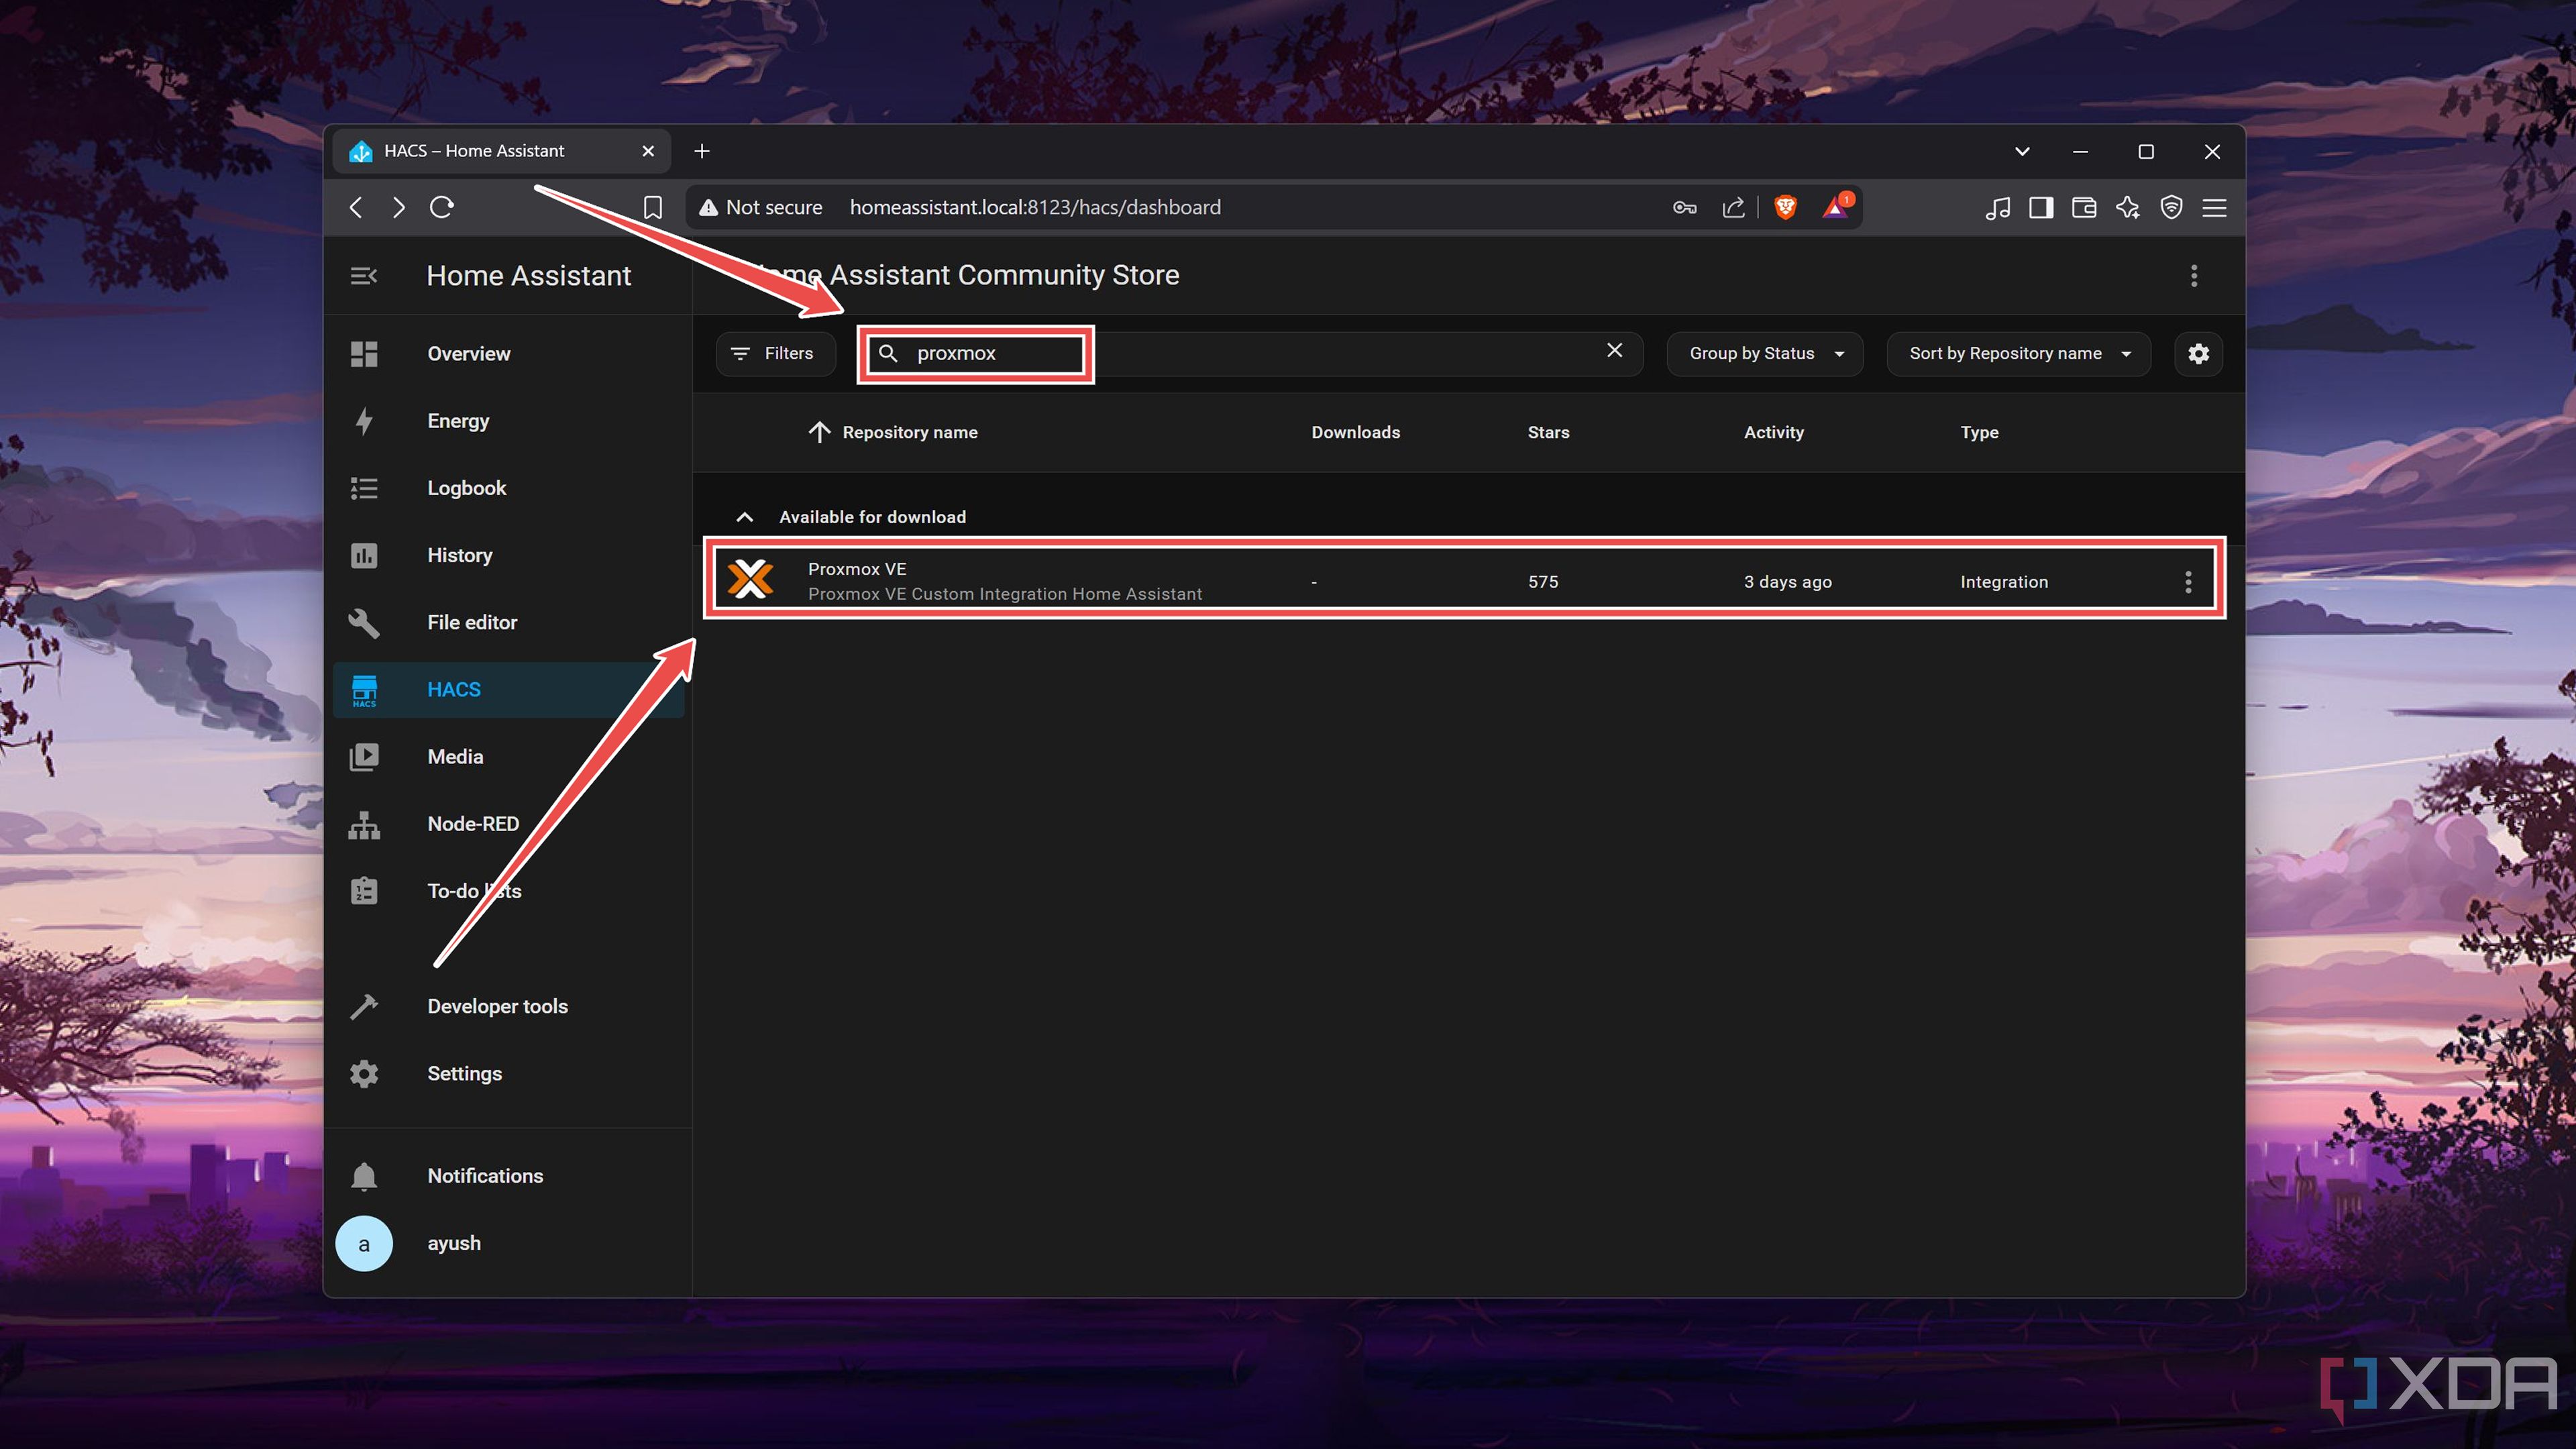
- Press the Download button in the bottom right corner of the page before pressing it again inside the pop-up window.
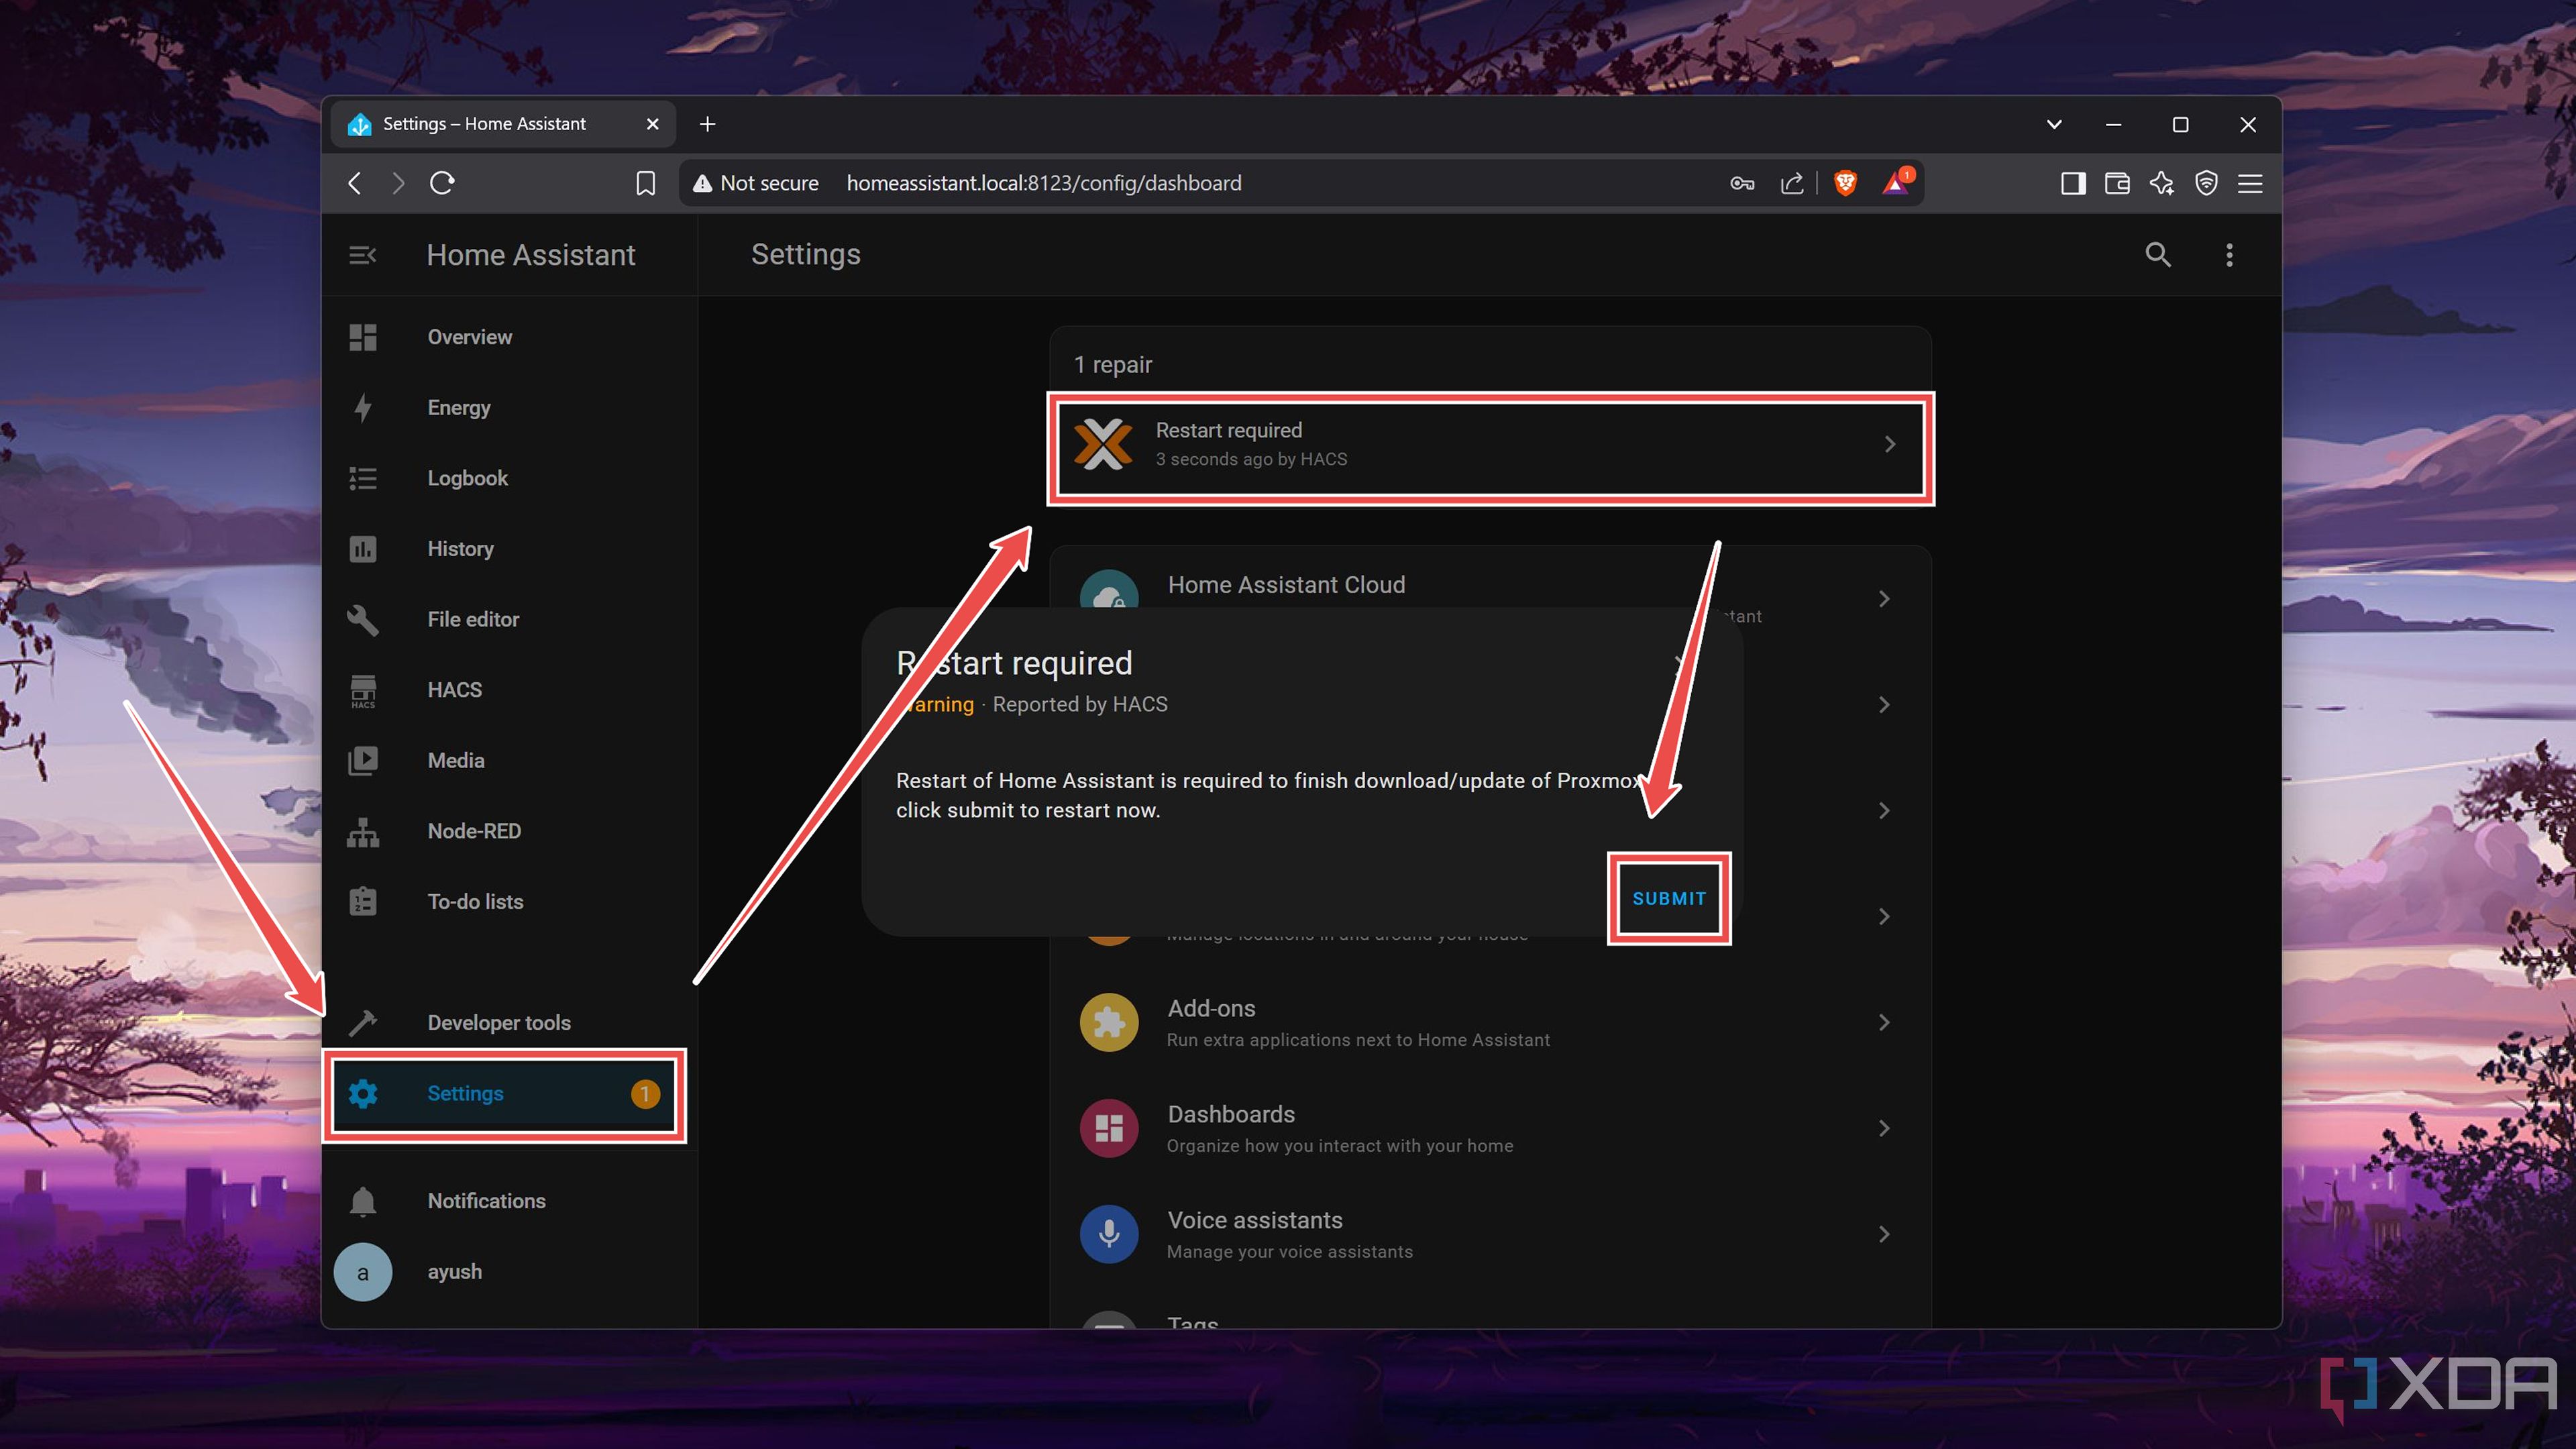
- Head back to the Settings tab, click on the Restart required notification, and press the Submit button.


Creating an access token in Proxmox
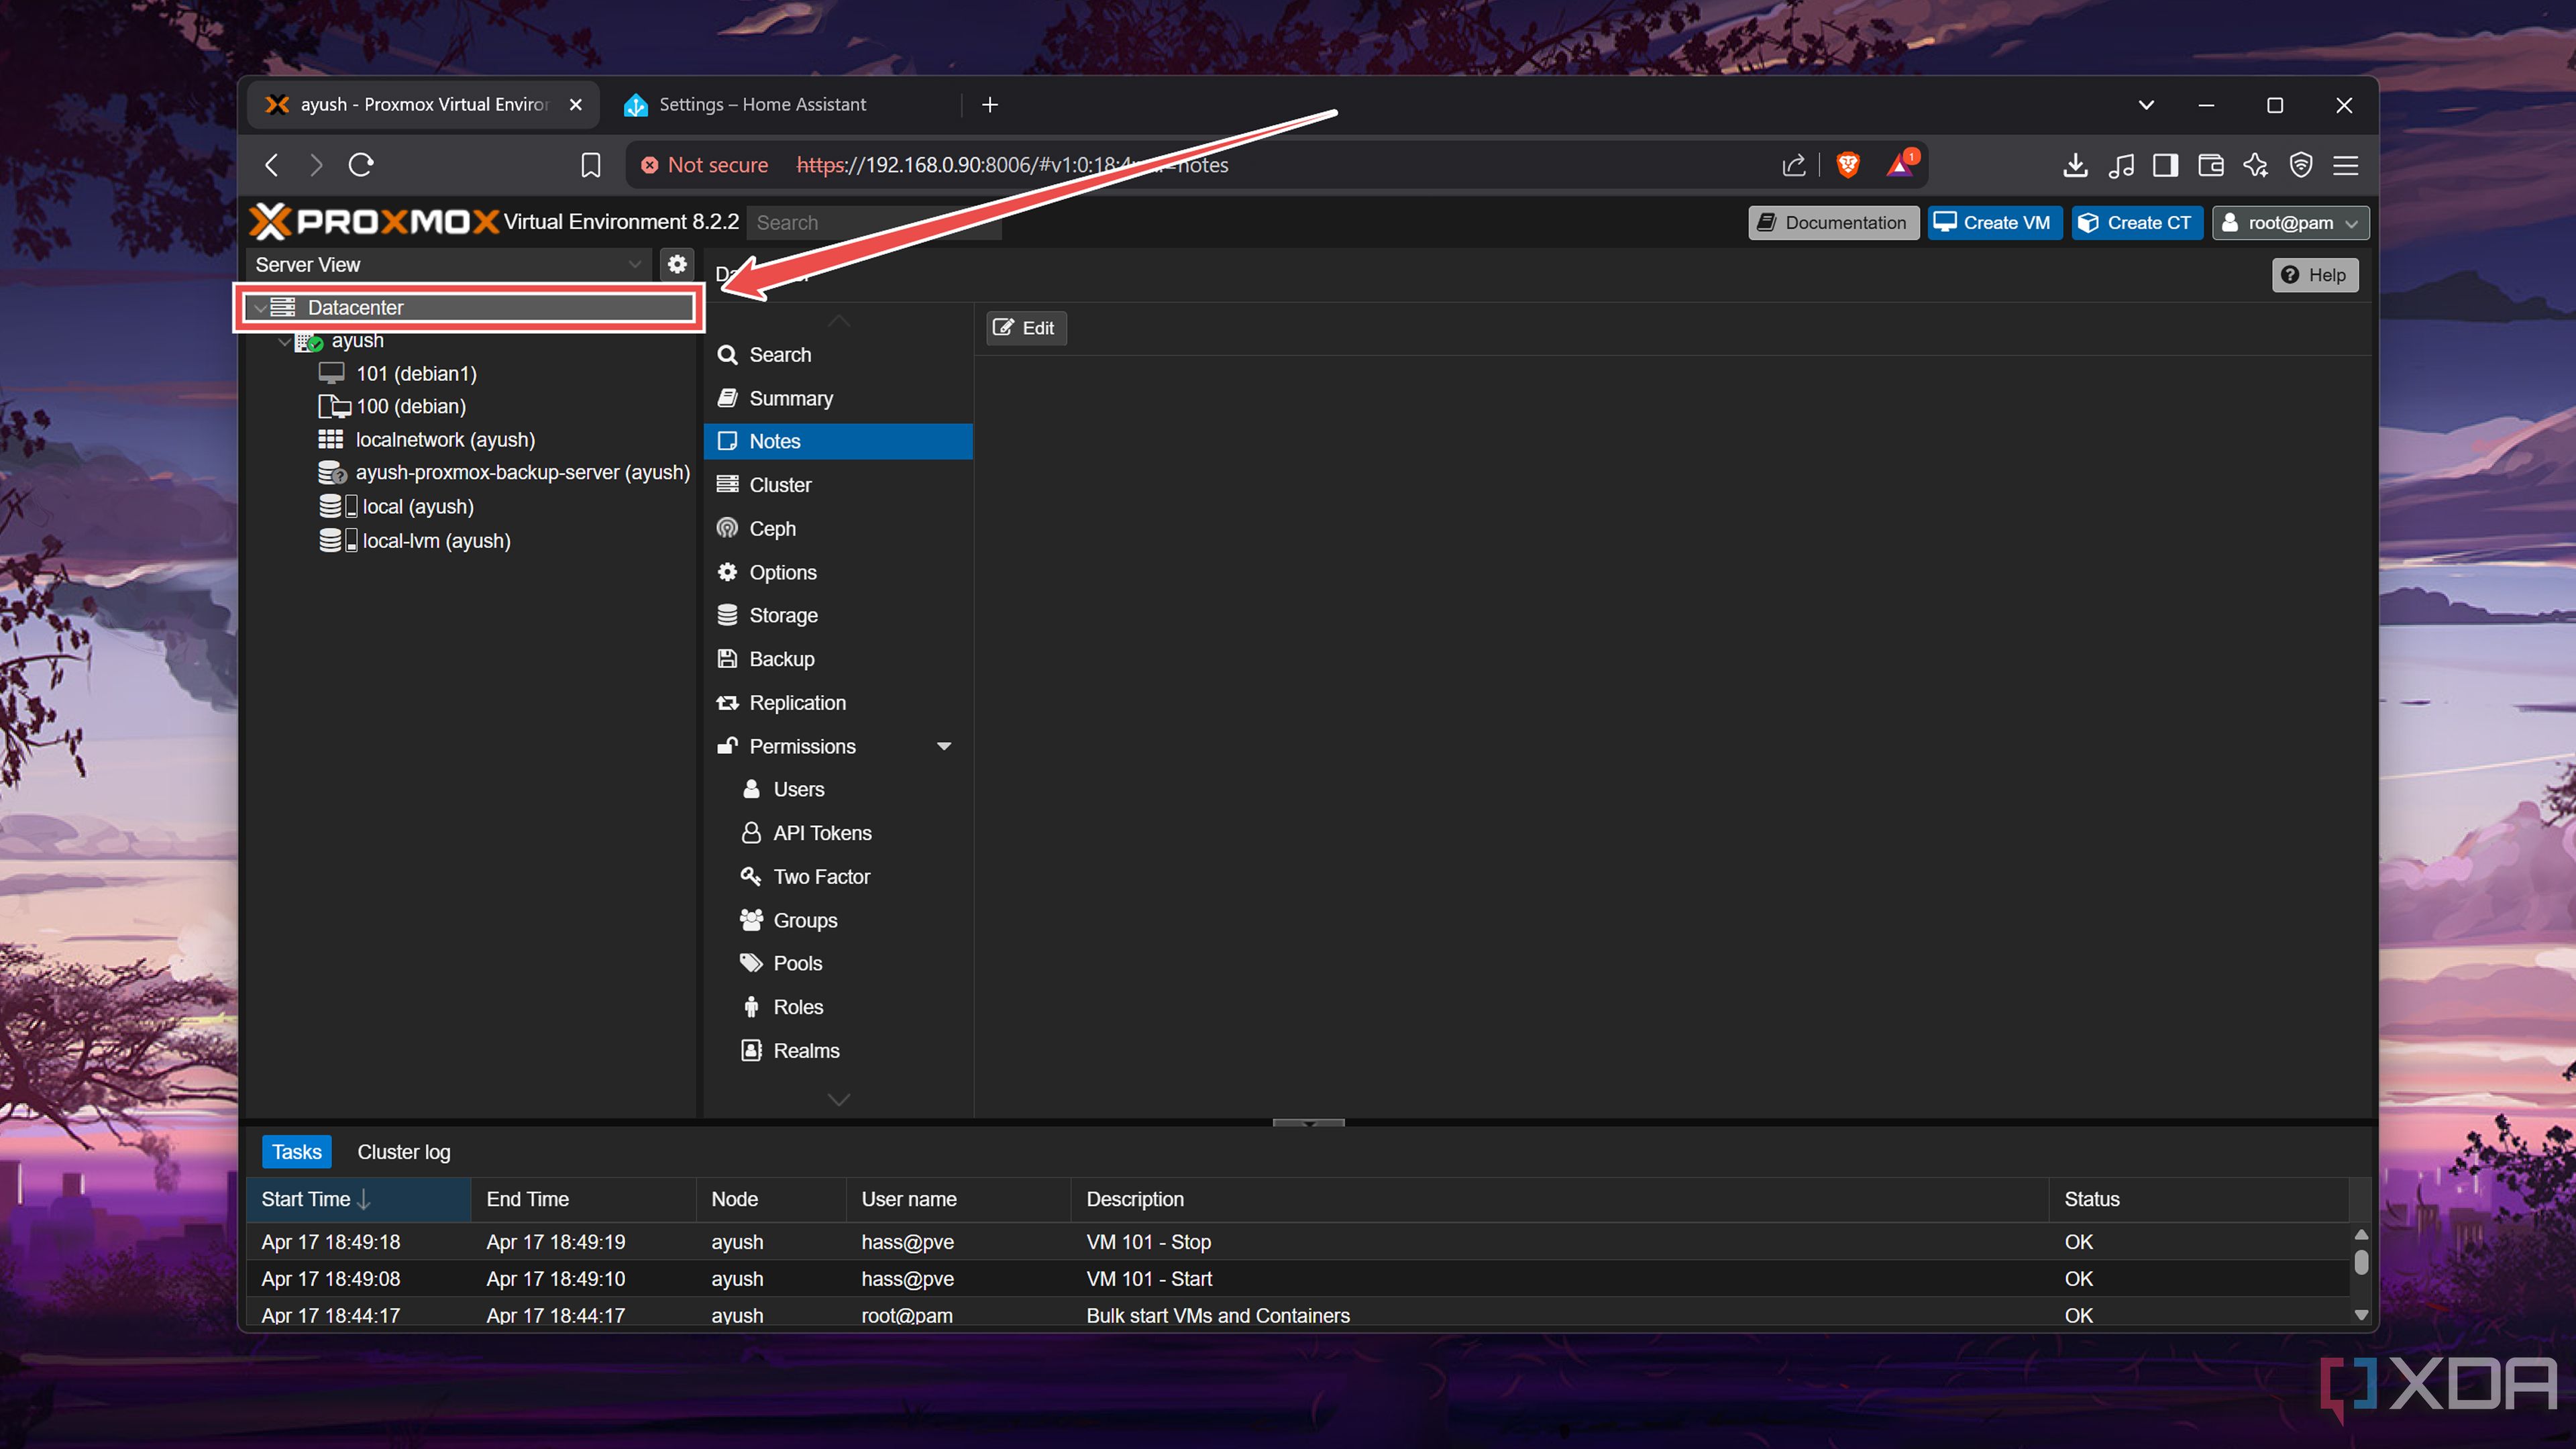
While the Home Assistant instance restarts, you’d want to create an API token for the Proxmox VE integration inside your PVE server.
- Click on the Datacenter tab inside the Proxmox UI.
- Switch to the API Tokens submenu and press Add.
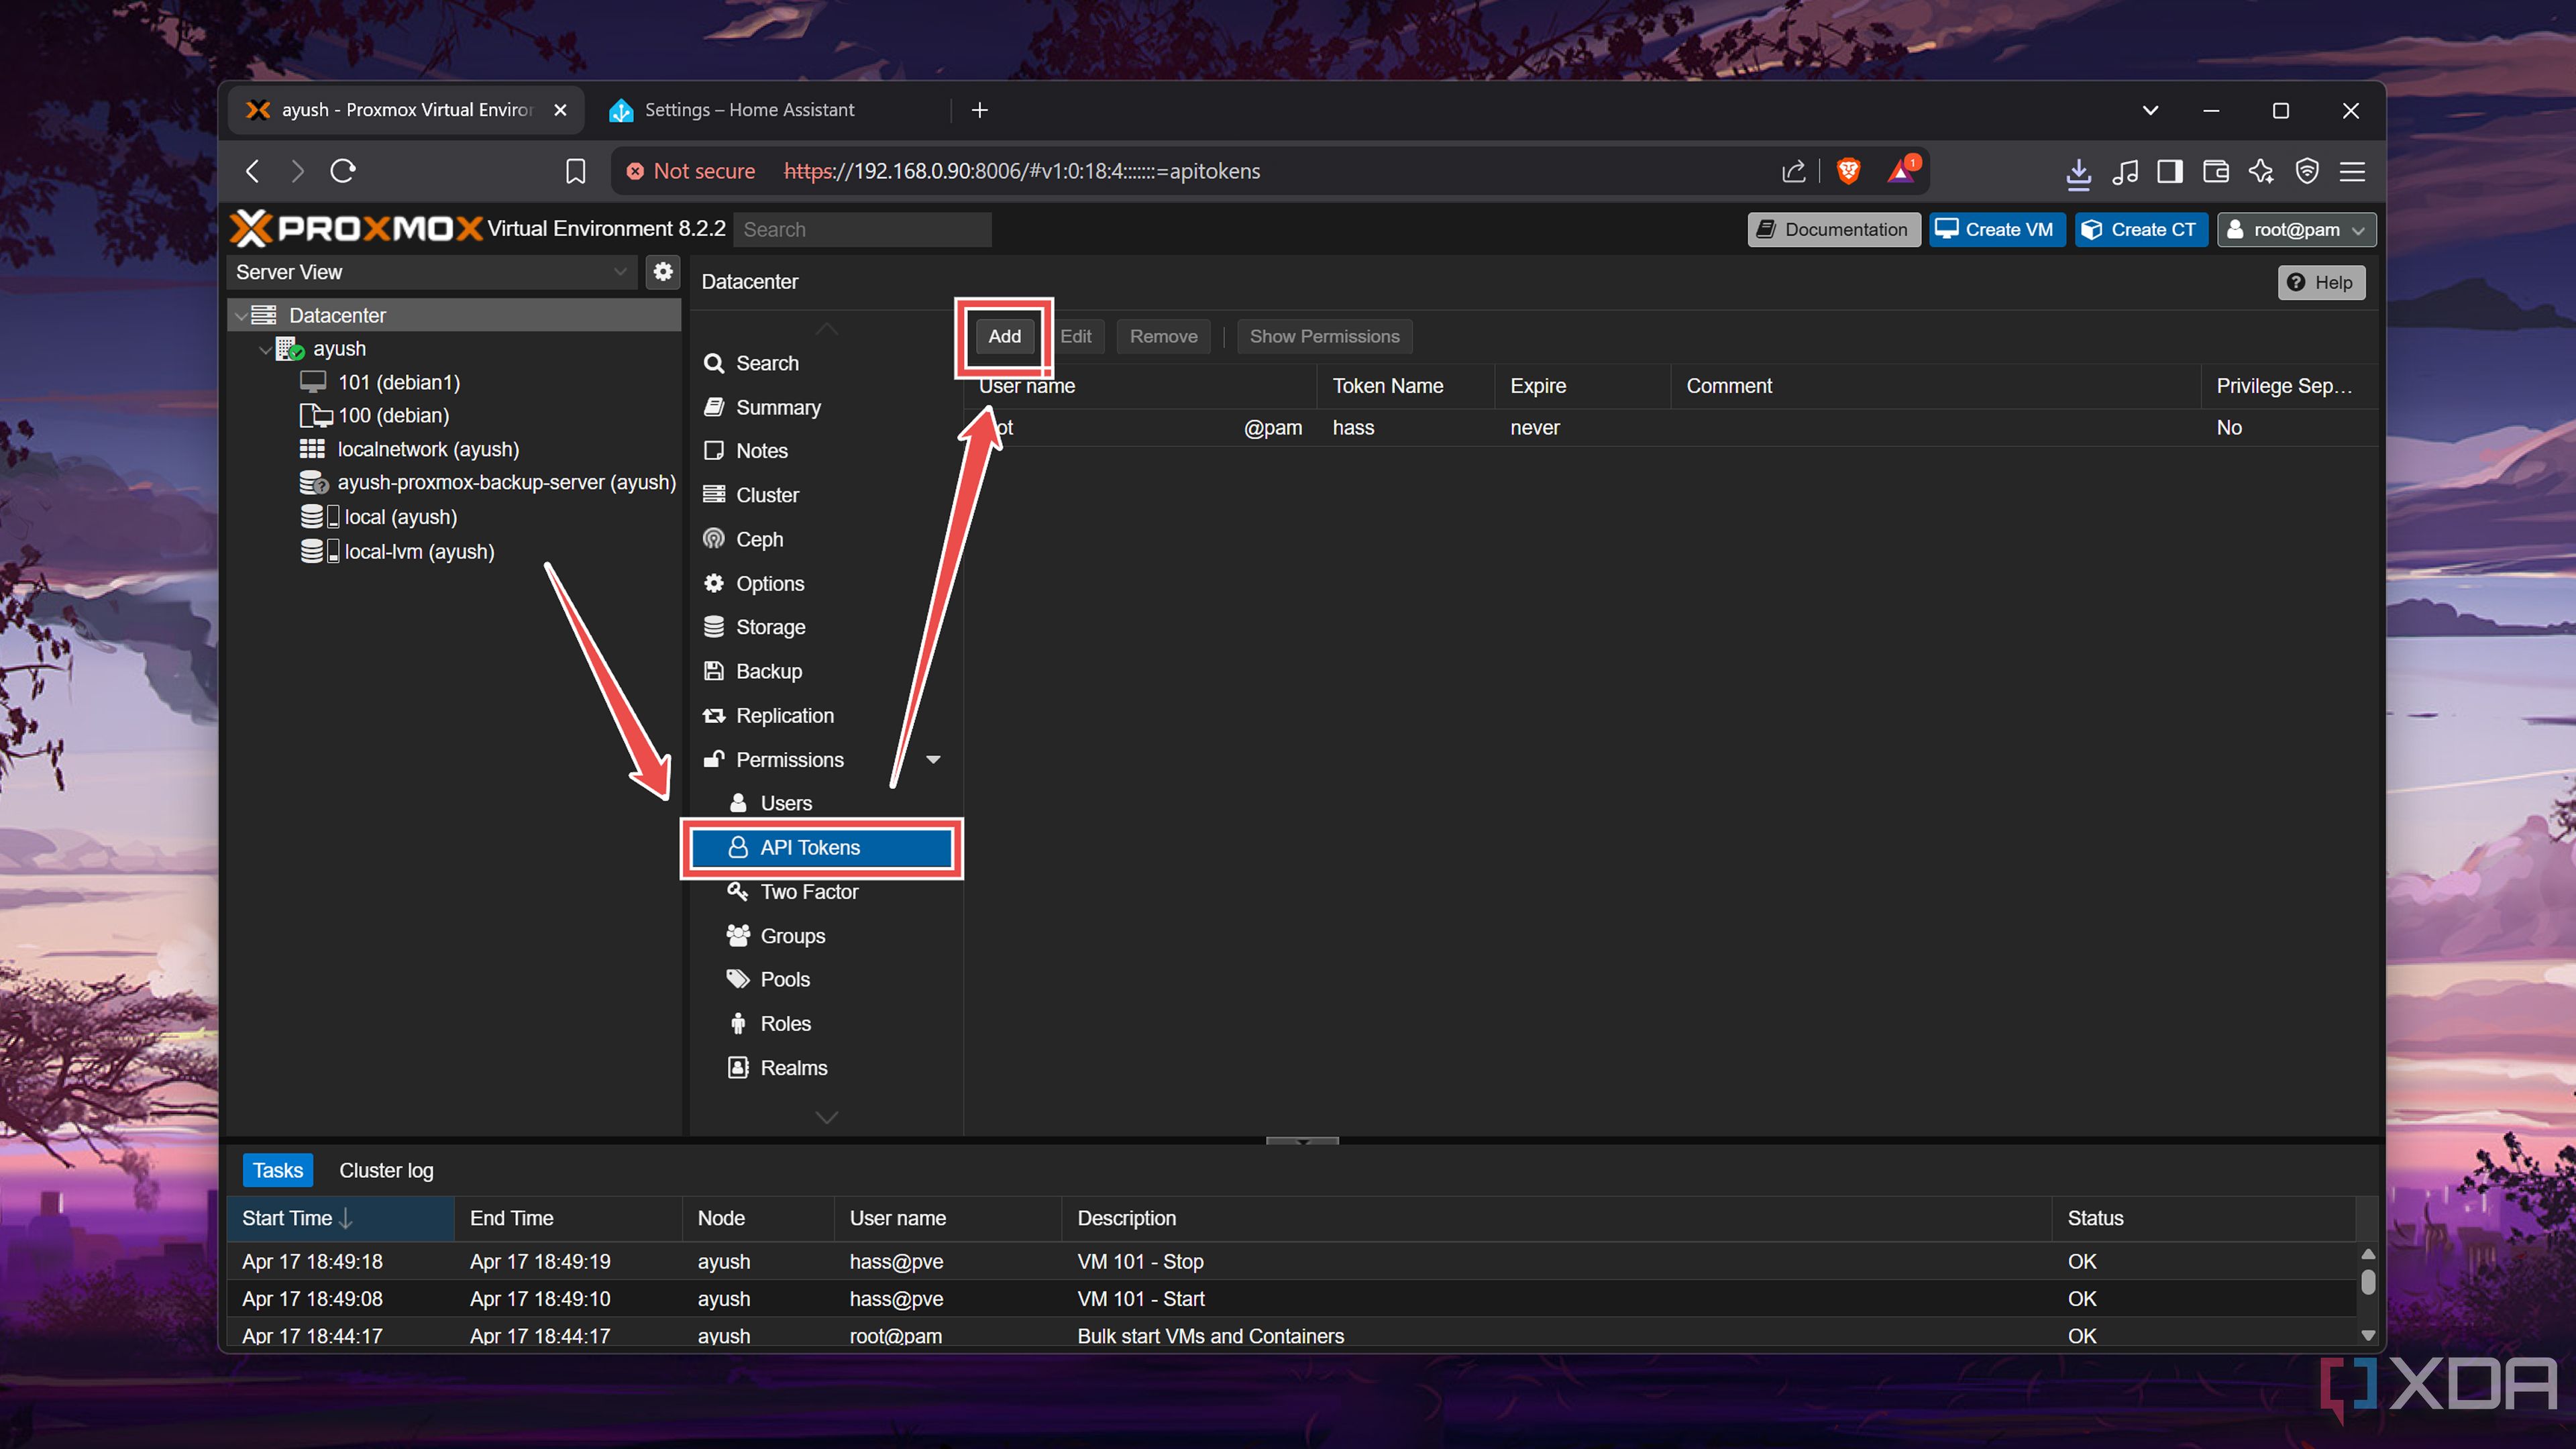
- Pick the User�you wish to connect to the Proxmox VE integration on HASS, enter a Token ID, uncheck the Privilege separation box, and tap the Add button.
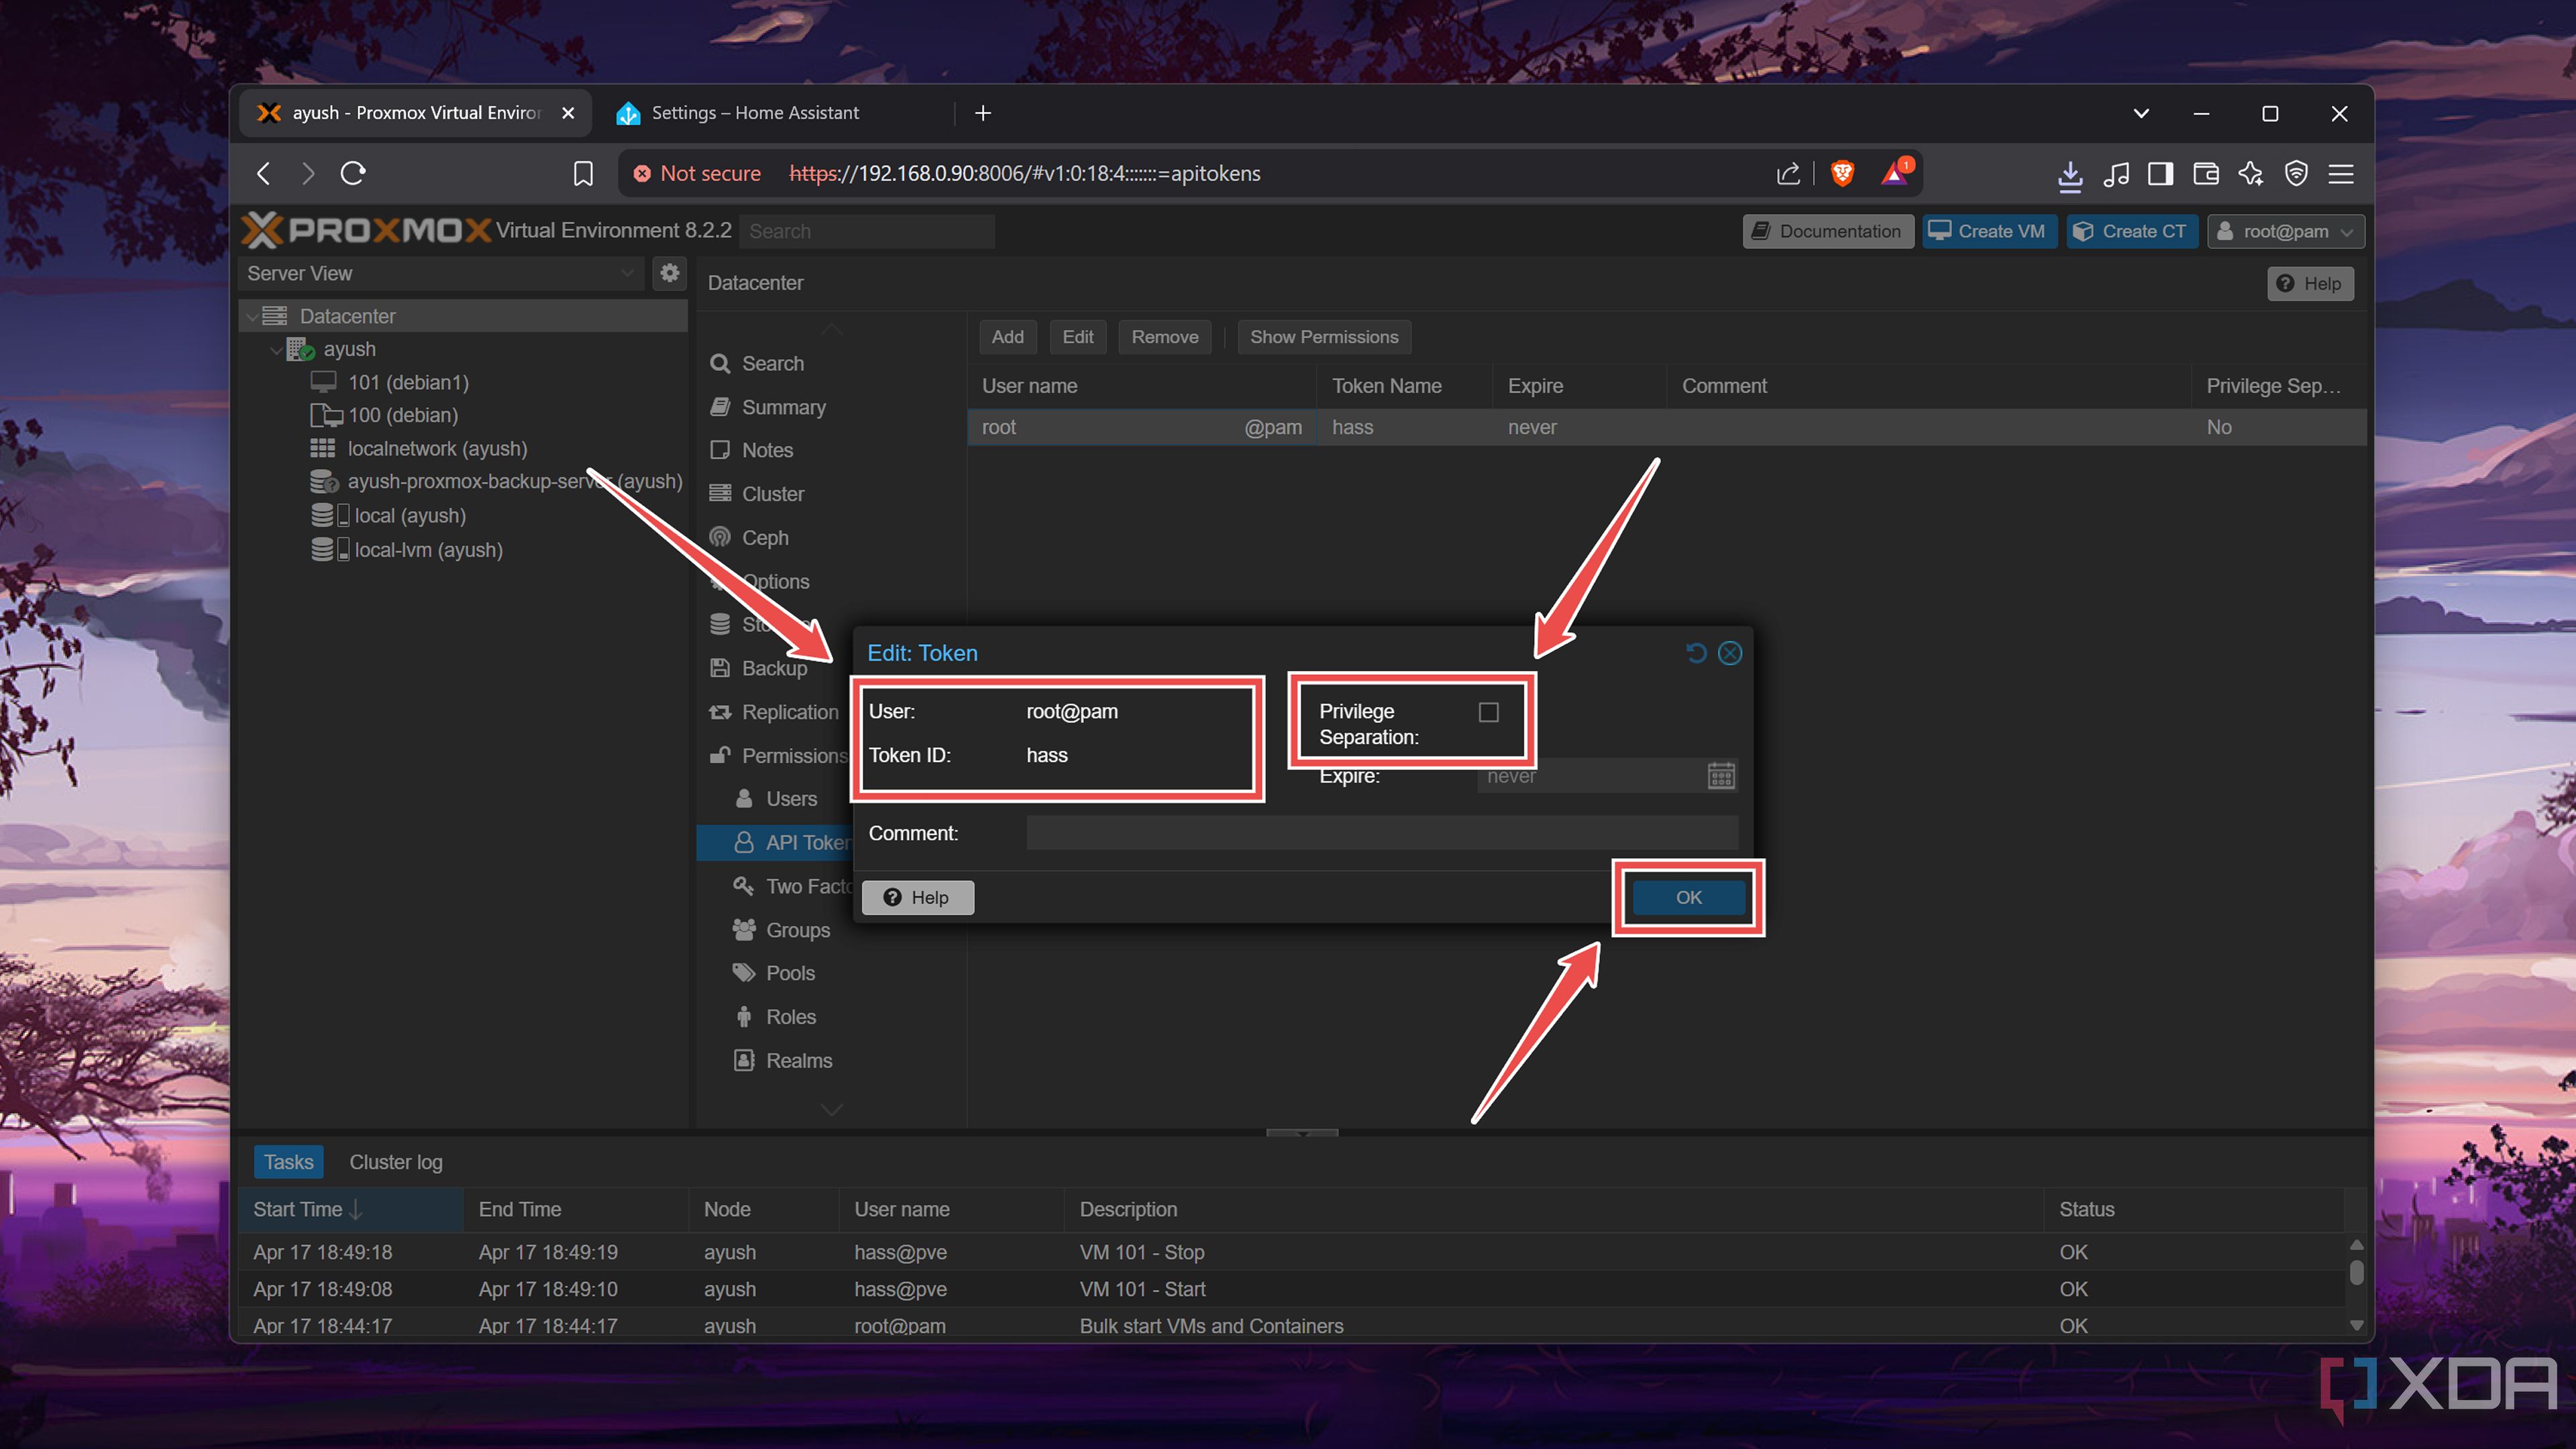
For maximum security, you’d want to use a new user to create the API Token instead of relying on the root user.
- Copy the secret key somewhere safe.


Connecting the Proxmox server to Home Assistant
With both the Proxmox workstation and HASS instance configured, it’s time to pair them together.
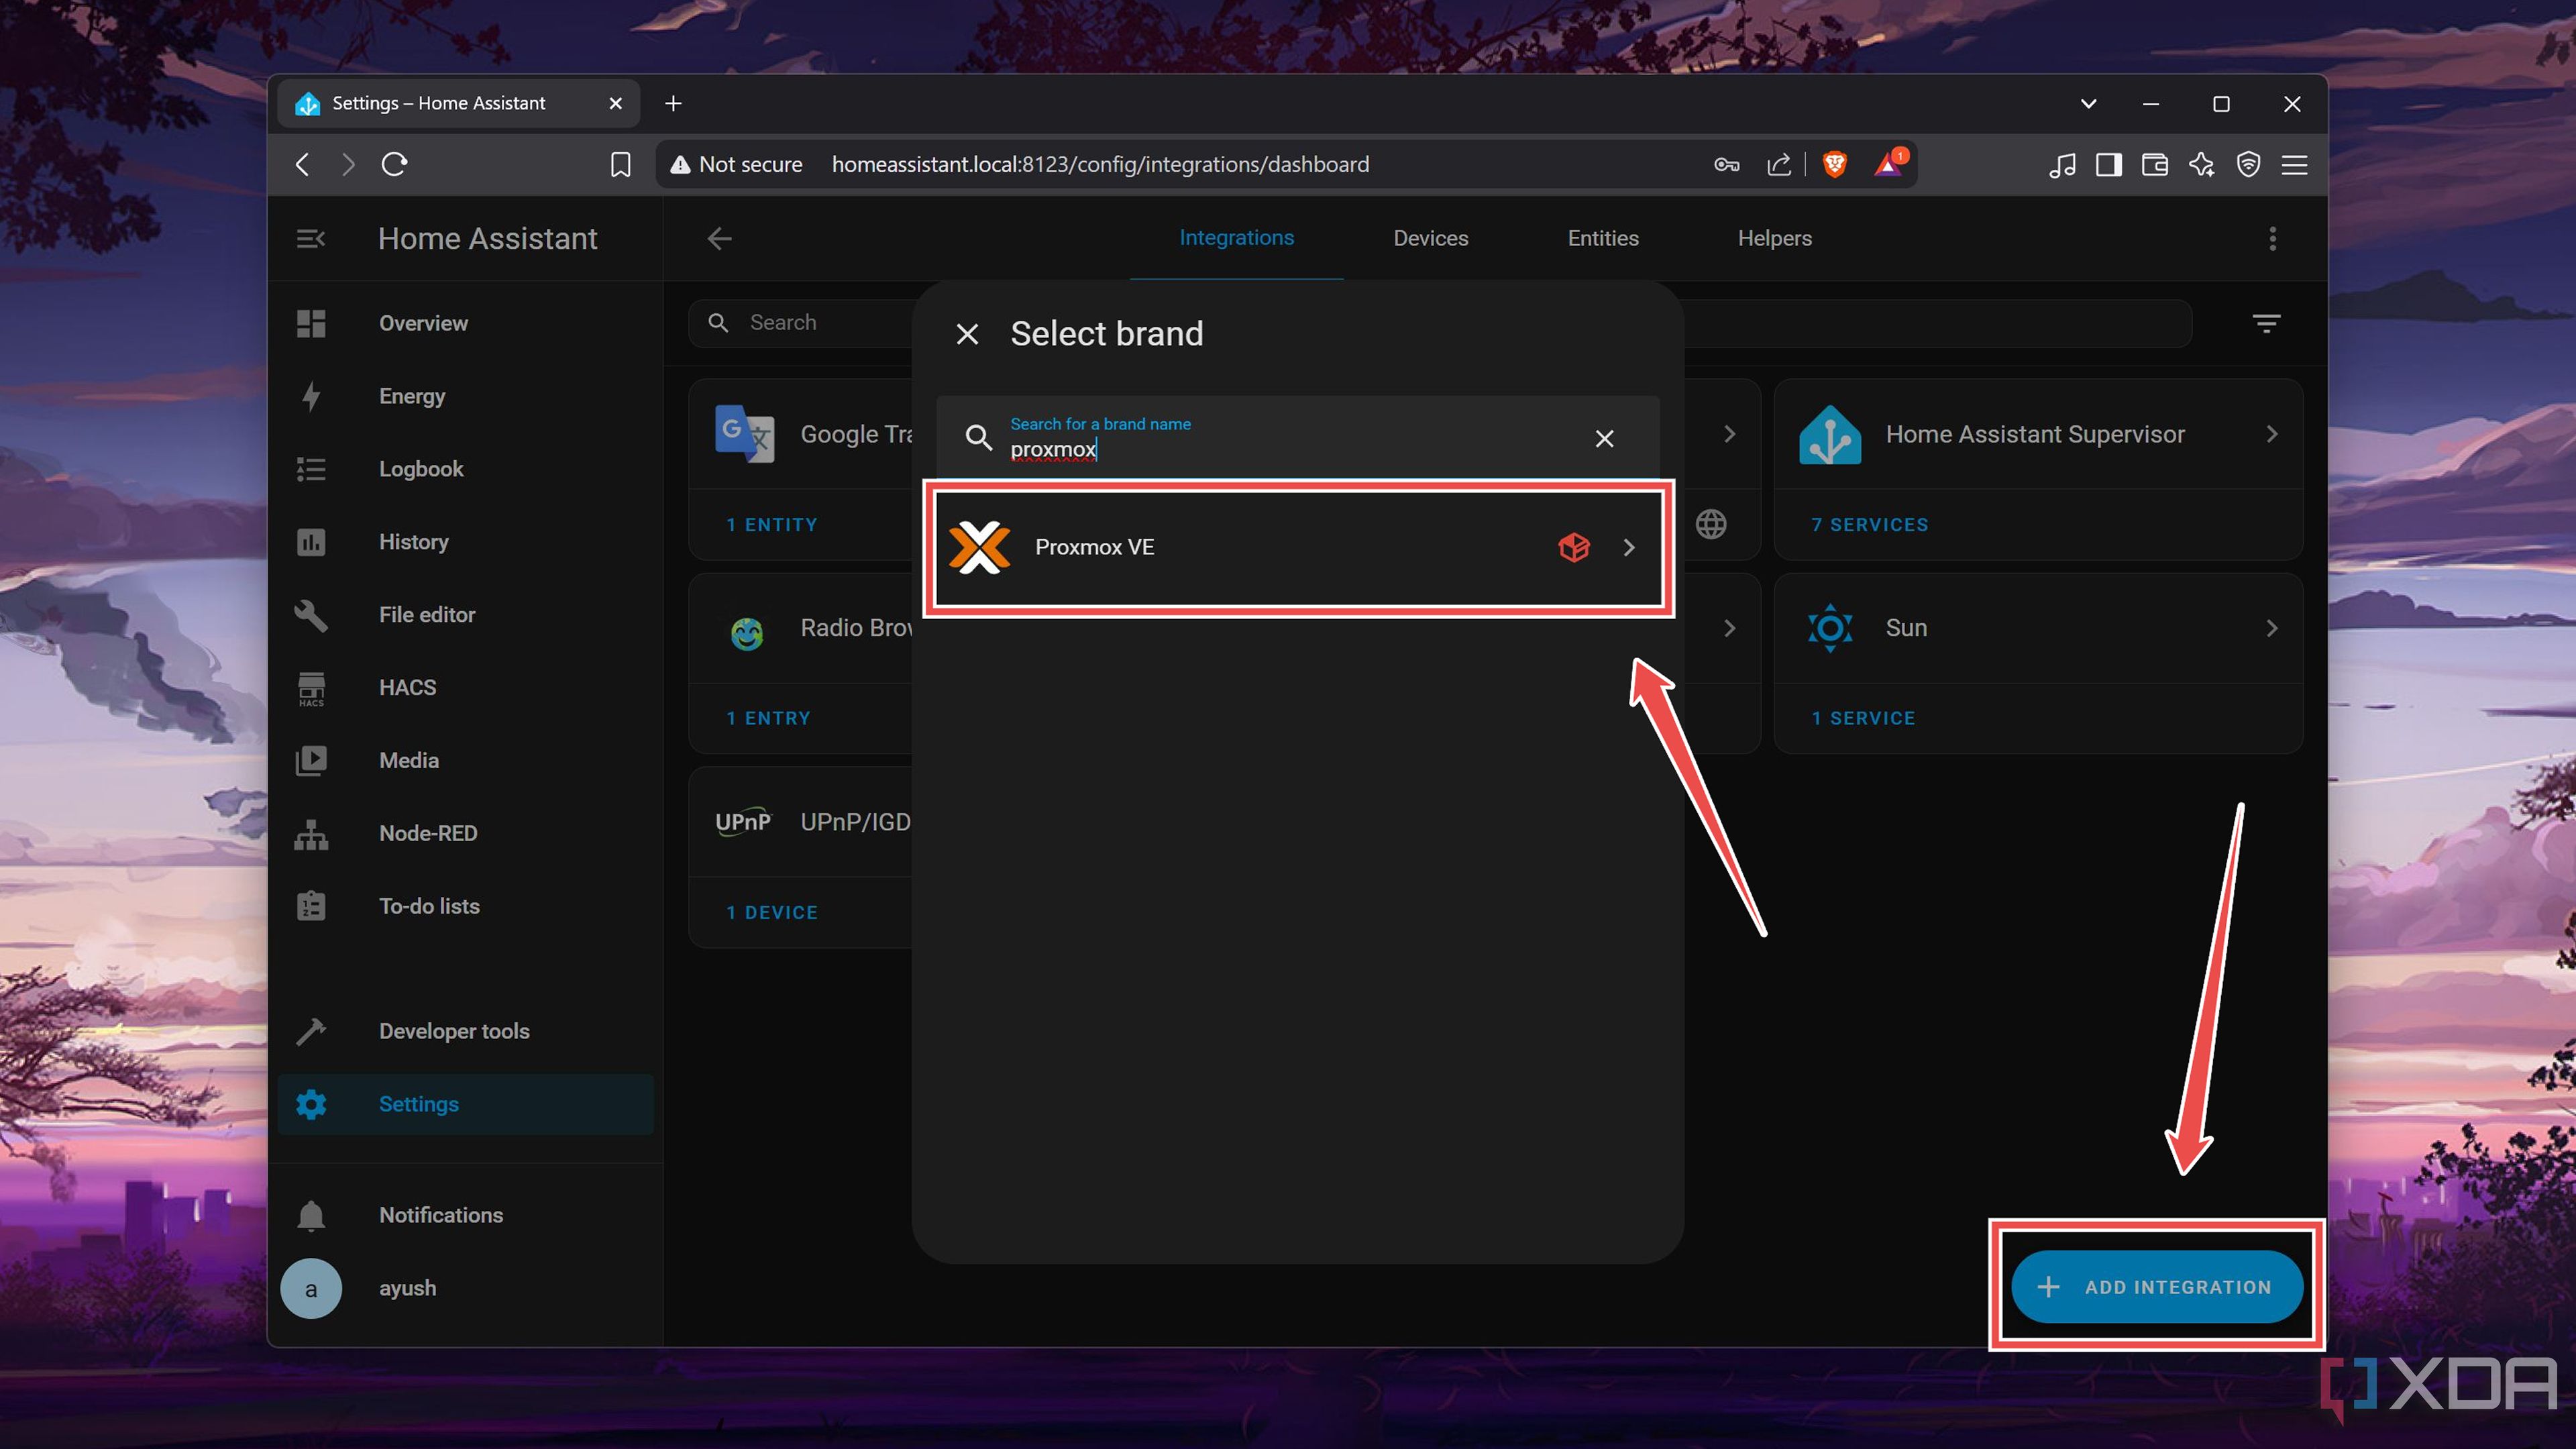
- Switch to the Home Assistant�web UI, head to the Settings header, and choose Devices & services.
- Tap on the Add Integration button once again and select Proxmox VE from the list.
- Enter the IP address of your Proxmox server under the Host�option and type the Username associated with the API token you created earlier before adding the Token name�and the secret value.
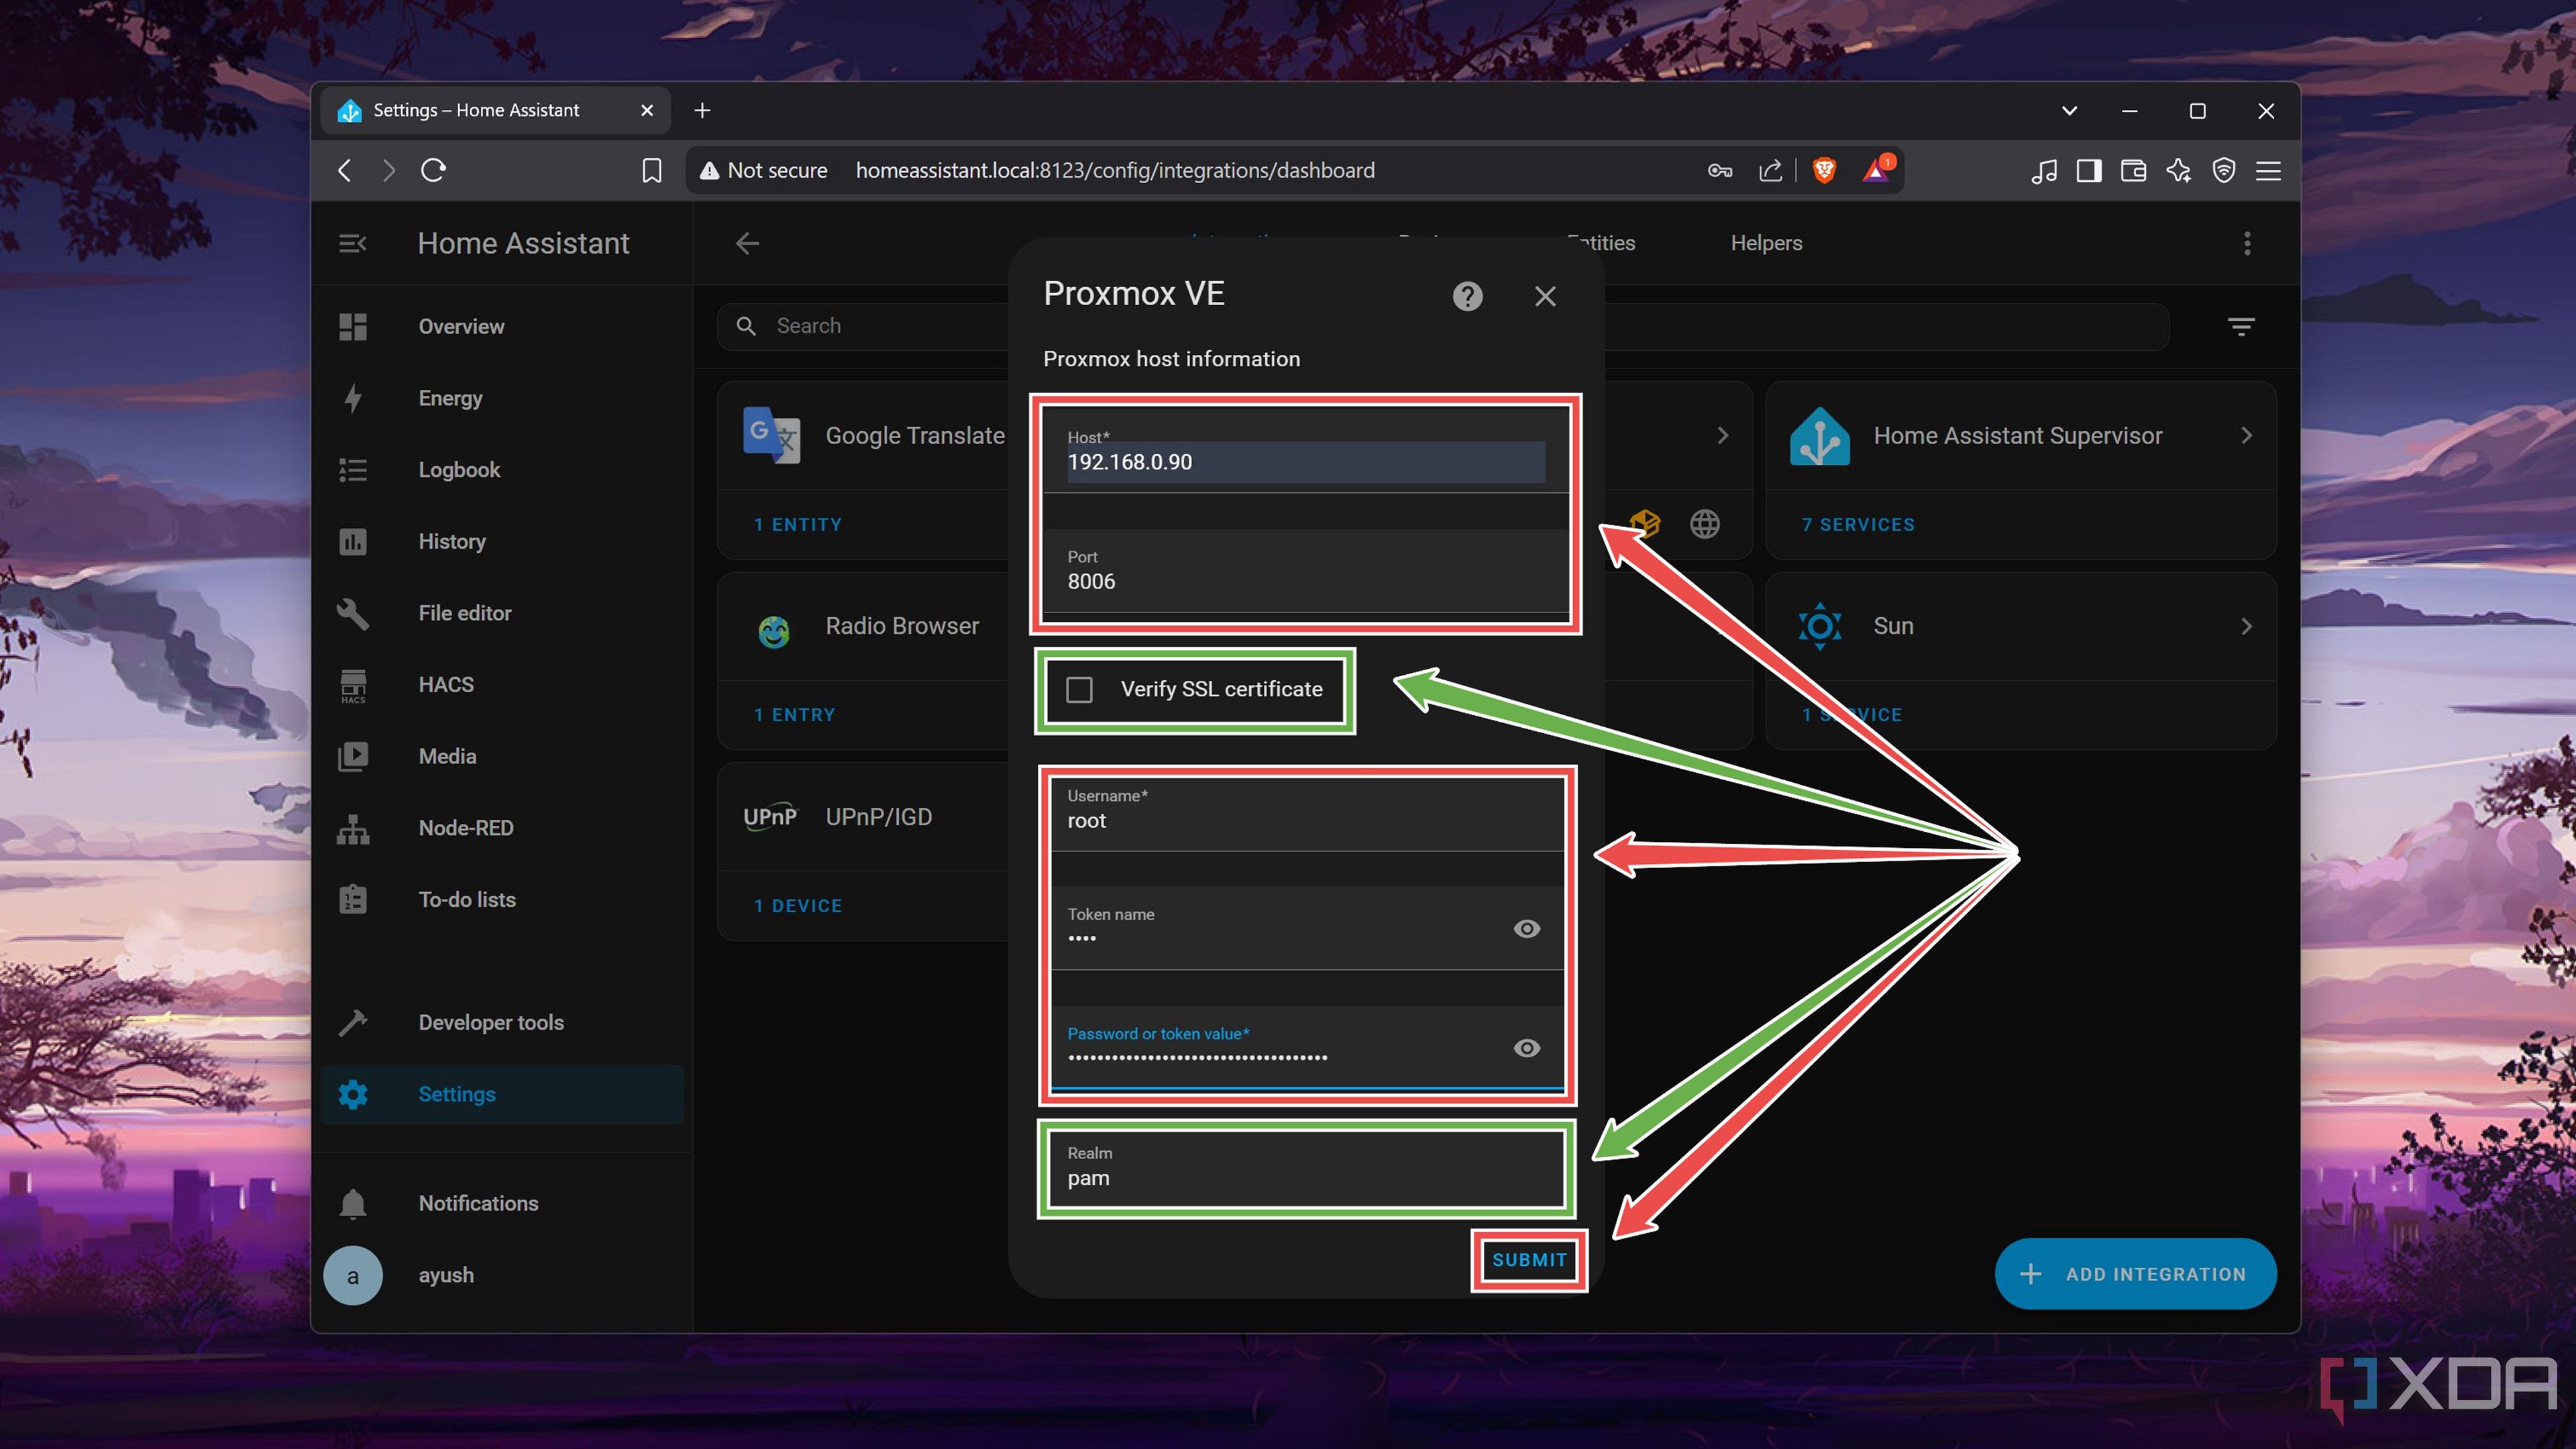
Replace pam with pve if the user of the API token has Proxmox VE authentication server as the realm. Likewise, if your PVE server doesn’t feature an SSL certification, uncheck the Verify SSL Certificate box.
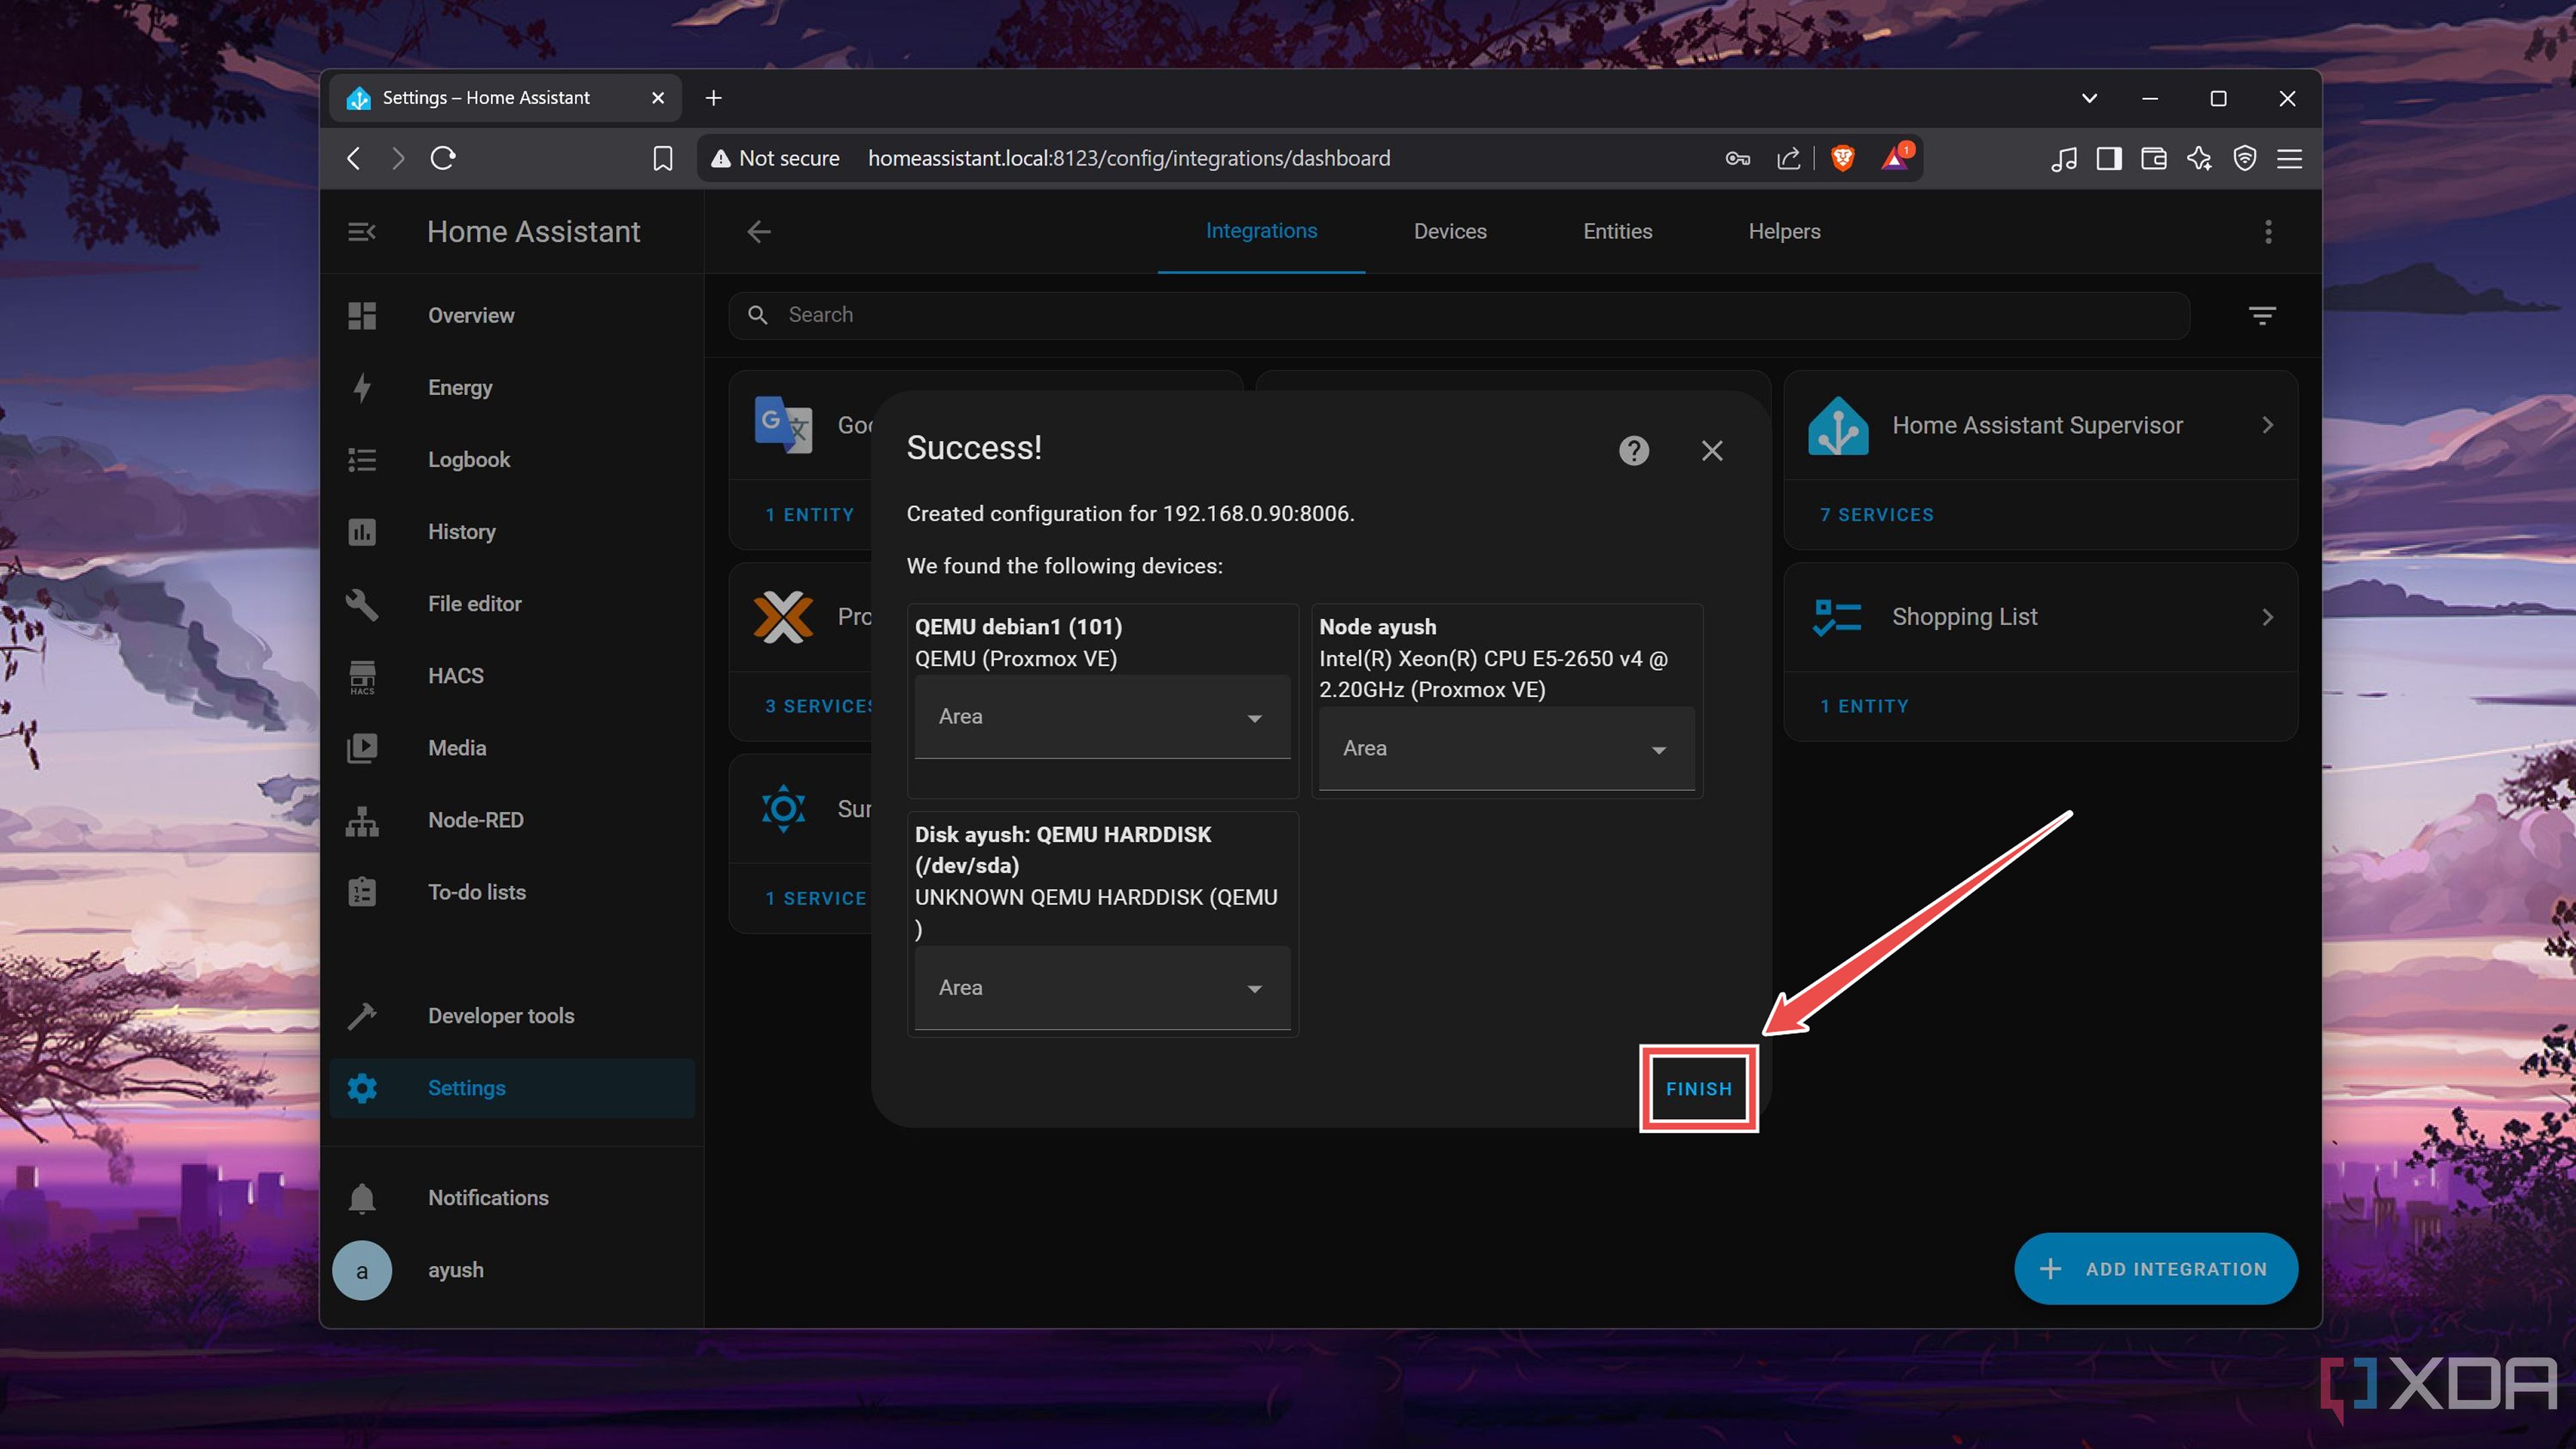
- Select the Proxmox Nodes, VMs, Containers, and Storage devices you wish to access from the Home Assistant interface and hit Submit.
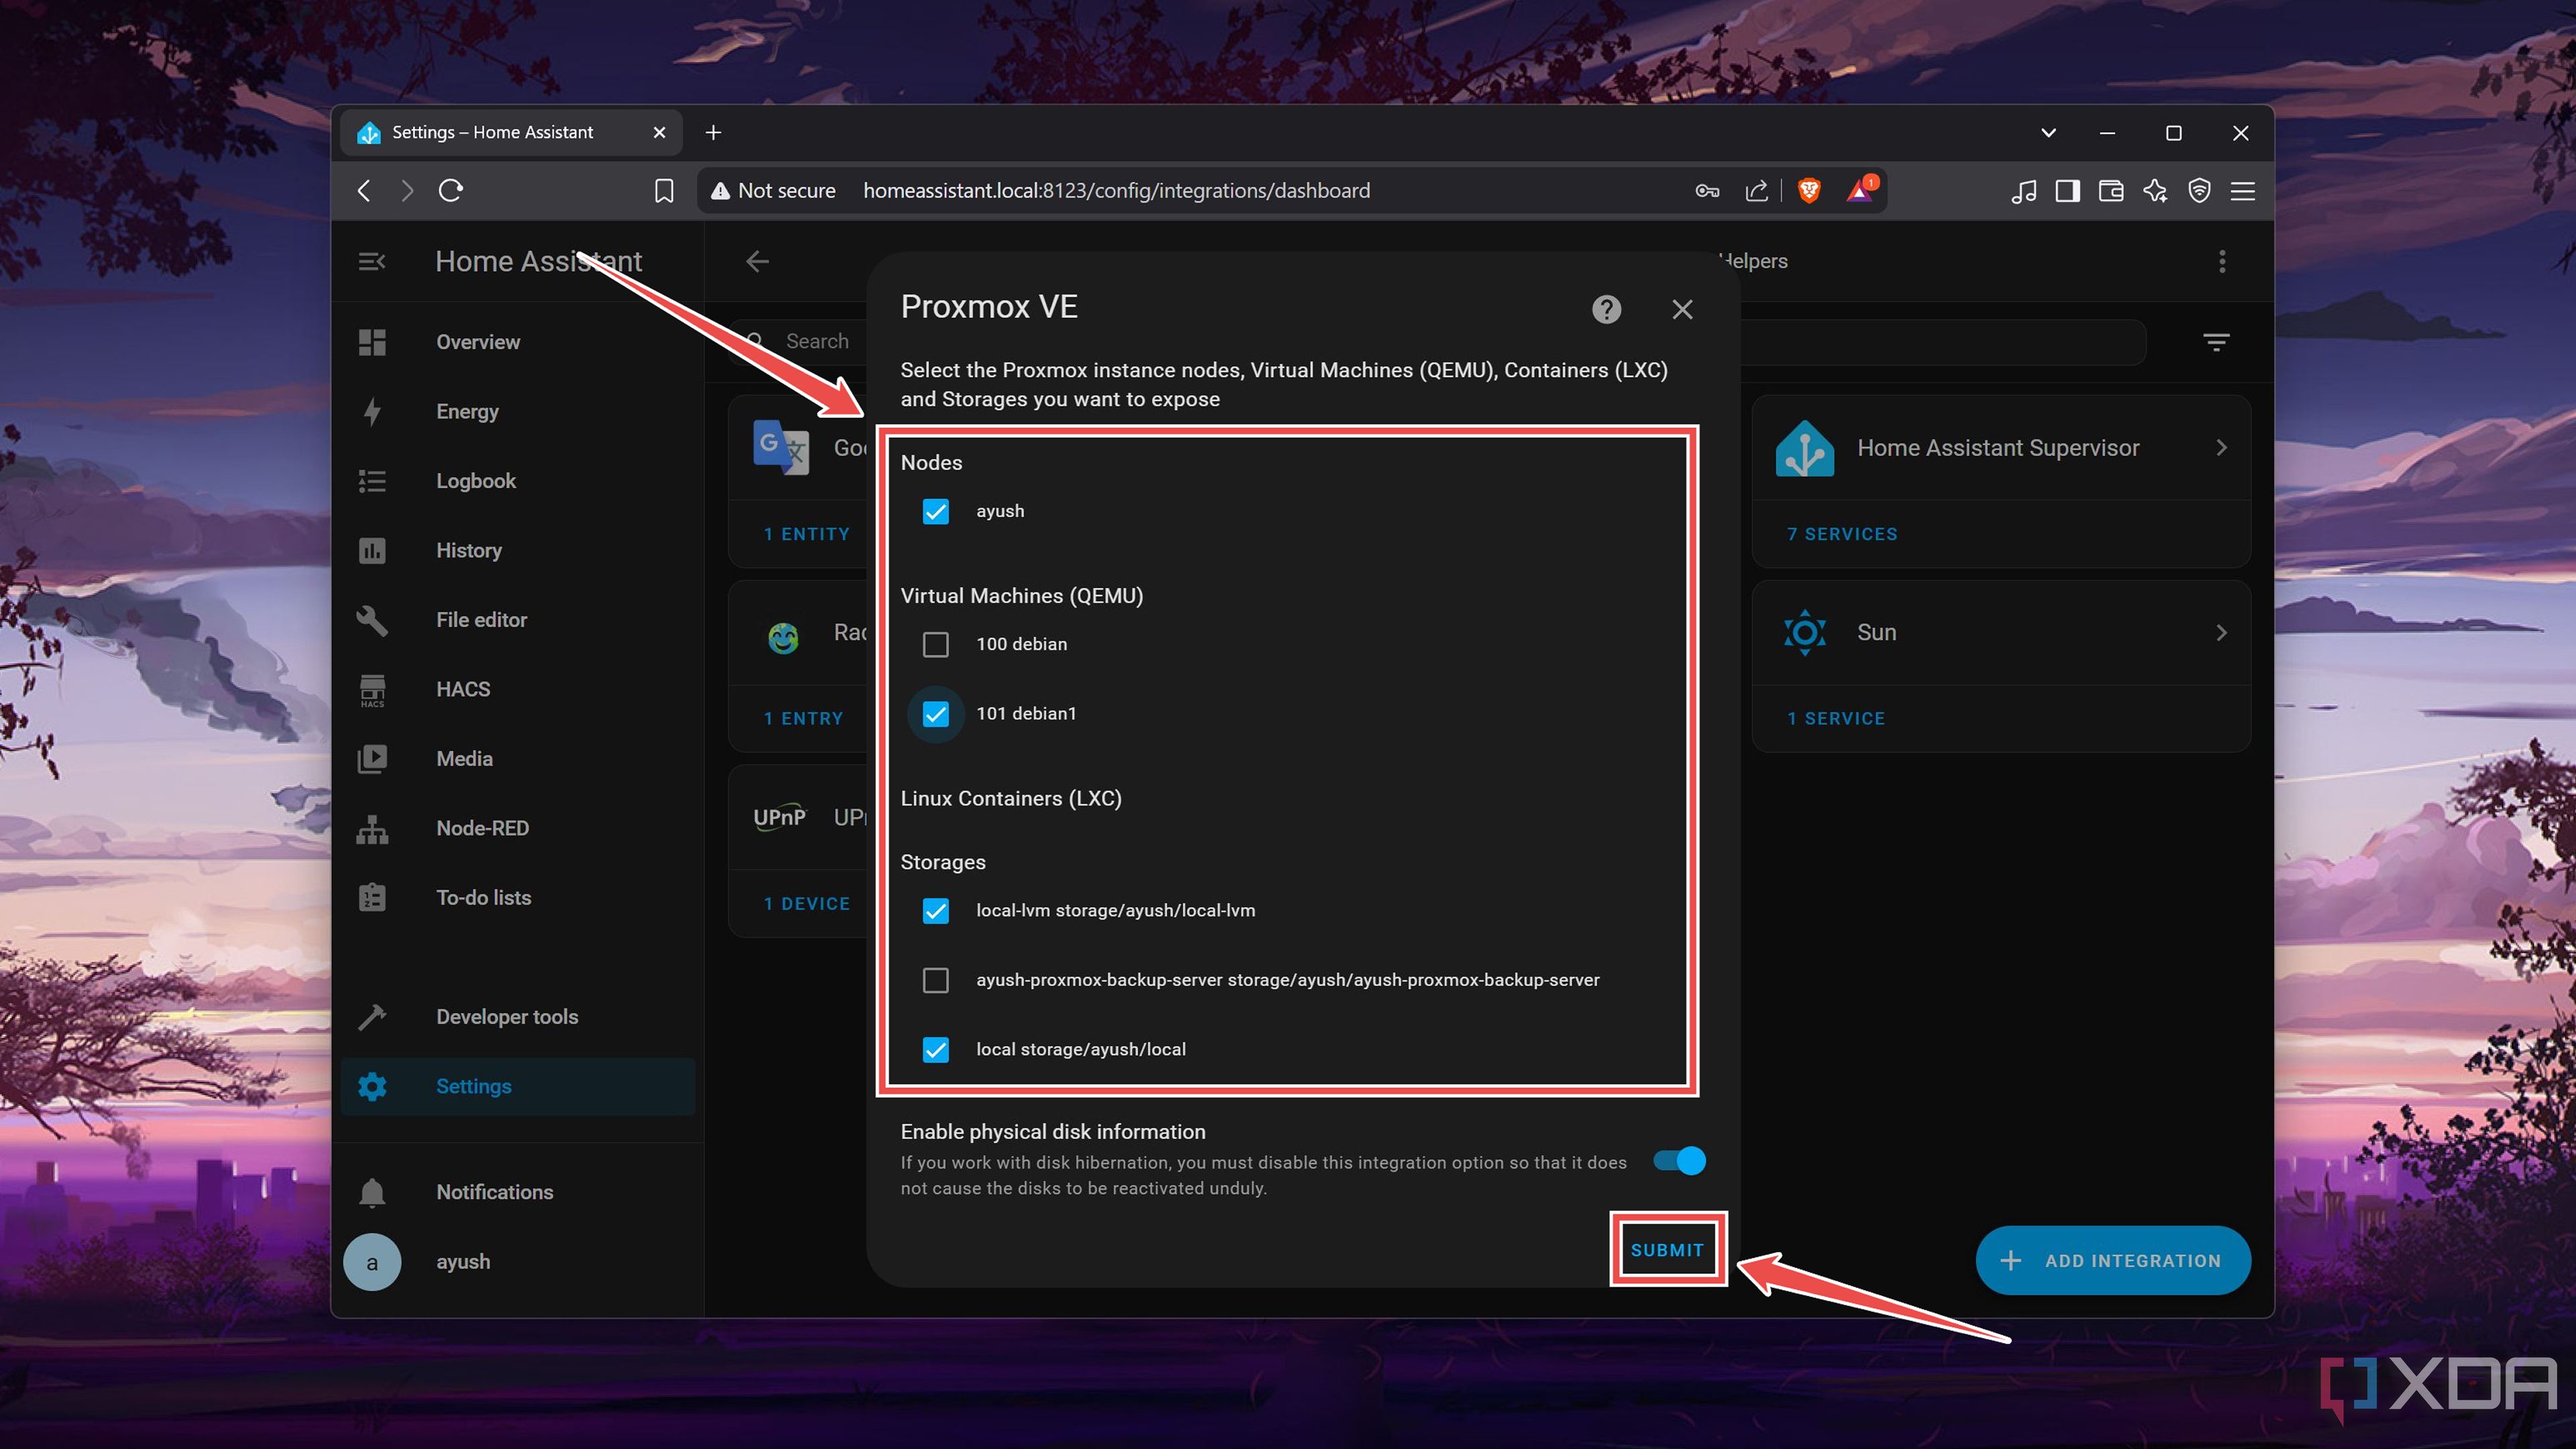
- Tap Finish once HASS detects your Proxmox workstation.


Control your Proxmox server from Home Assistant


If you’ve followed all the steps correctly, Home Assistant will display the resource consumption, specs, virtual guests, and other details of your Proxmox system in the Overview section. For folks who want even more control over their Proxmox VMs and containers, you can select them inside the Devices section of the Devices & services tab and enable the Start, Stop, Restart, and other toggles�inside the Services panel.
Source: XDA Developers Forum